Strawberry Crunch Ice Cream Bars
Creamy Strawberry Crunch Ice Cream Bars coated in a sweet strawberry cookie crumble. An easy no-bake frozen dessert perfect for summer.
📋 Table of Contents
Why You’ll Love This Recipe
These Strawberry Crunch Ice Cream Bars combine two textures that pastry chefs constantly chase in frozen desserts: a silky, creamy center and a crisp coating that stays pleasantly crunchy even after freezing. The cheesecake-style filling has a rich dairy flavor balanced by the natural brightness of strawberry puree, while the coating delivers the nostalgic strawberry shortcake flavor many people remember from ice cream trucks. When you bite into one, the outer layer gives a gentle crunch before revealing a smooth, cold interior with a subtle tang from the cream cheese.
After testing multiple versions in our kitchen, we found that freeze-dried strawberries make a remarkable difference. Fresh strawberries contain too much moisture for the coating and can quickly soften the crumb mixture. Freeze-dried berries provide concentrated fruit flavor, vibrant color, and a crisp texture that holds up in the freezer. The aroma is especially noticeable when the crumbs are freshly blended with the Golden Oreos, creating a sweet strawberry scent before the bars are even assembled.
One mistake we encountered during testing was rushing the freezing stage. Bars removed from the molds too early tended to bend or lose their shape. The solution was simple: allow a full six hours of freezing, preferably overnight. This extra time produces a firmer texture and makes coating much easier. Another useful trick is brushing the bars with a thin layer of melted white chocolate before adding the crumbs. The coating adheres more evenly and creates a cleaner finish.
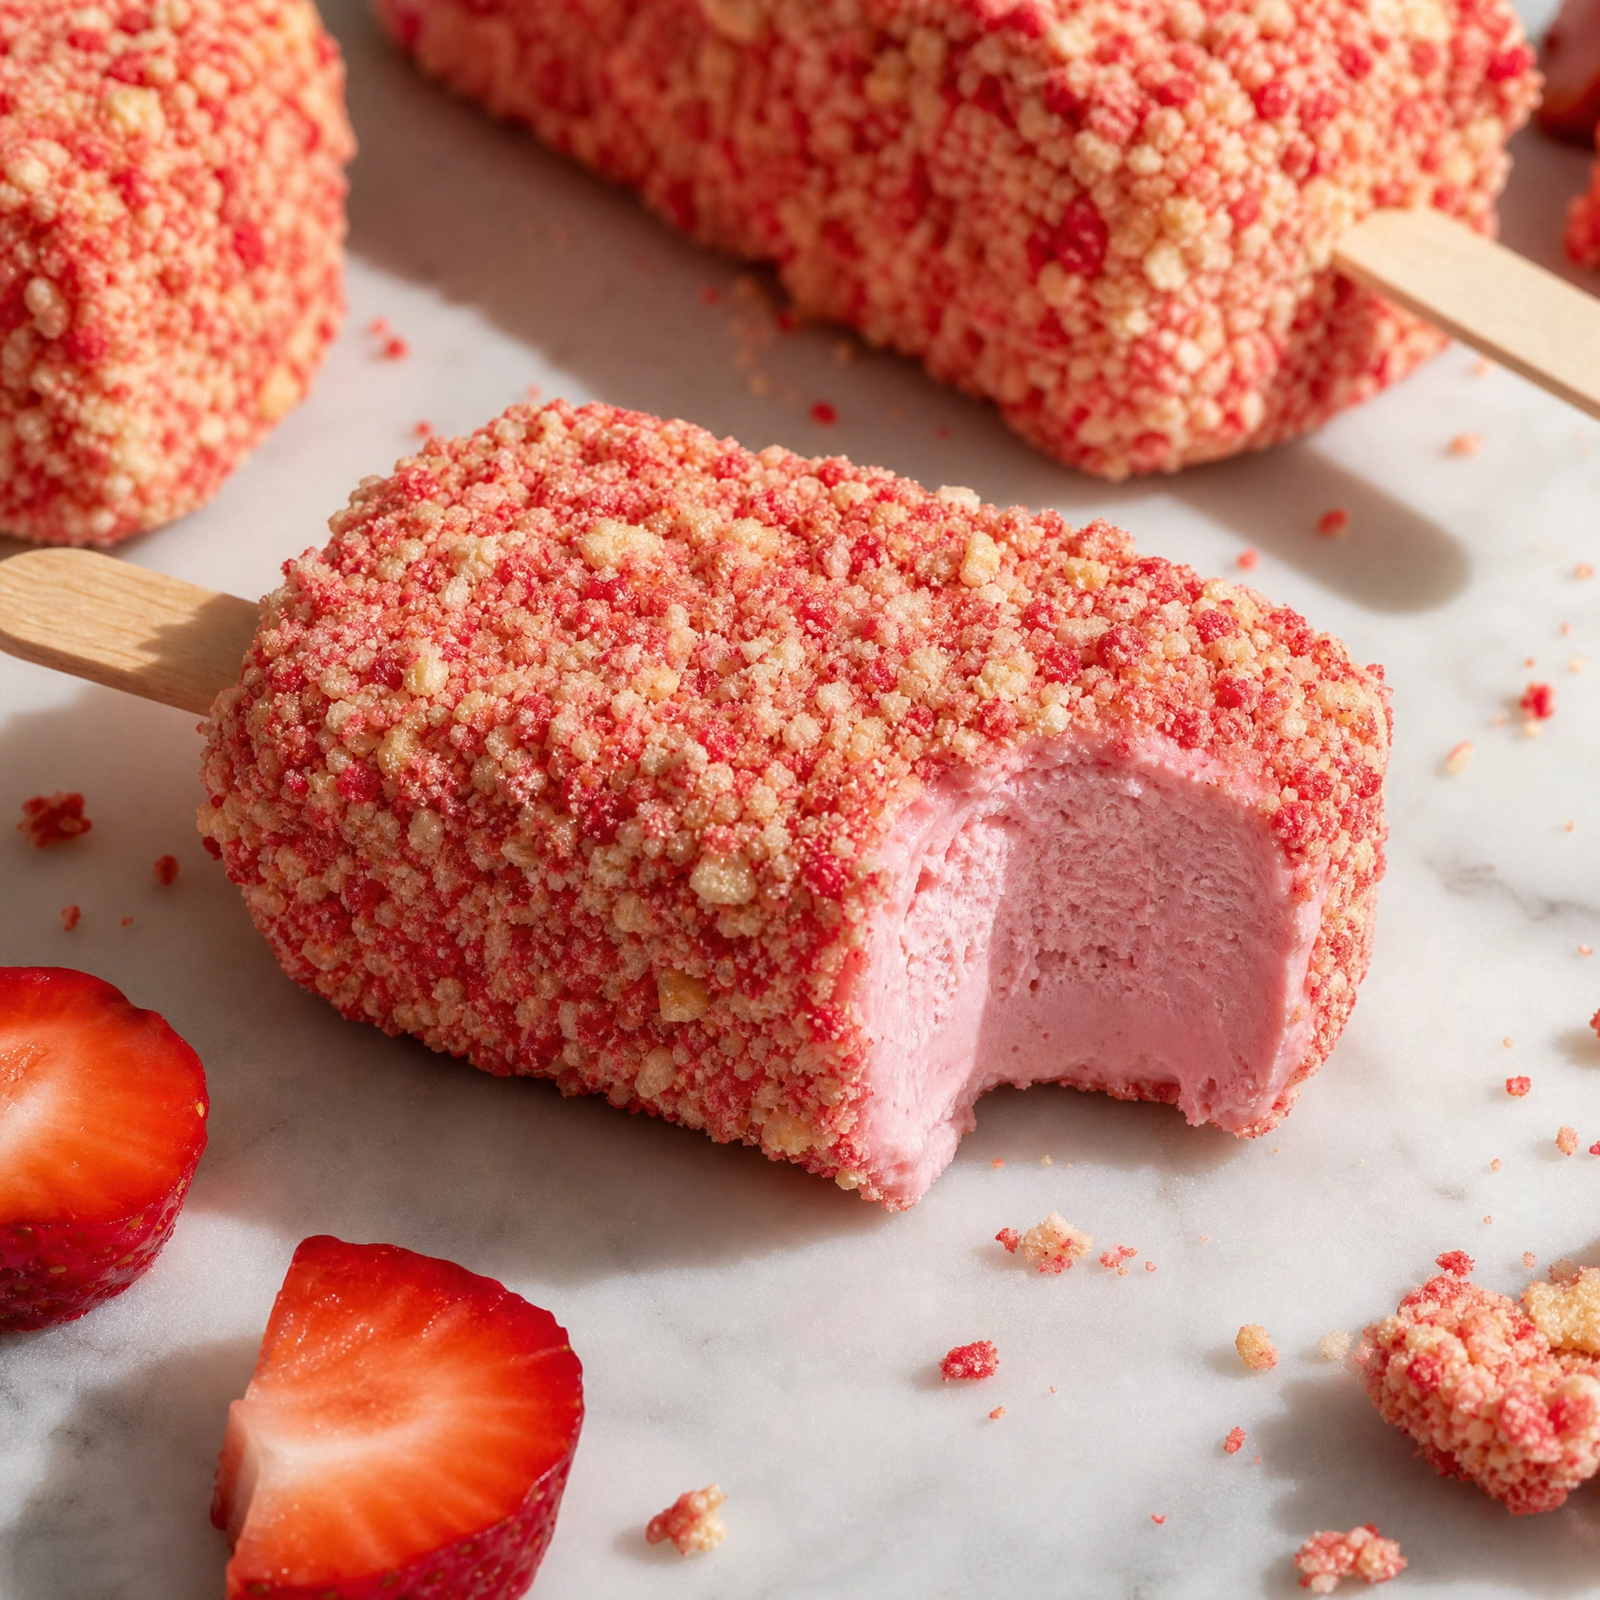
What makes this recipe especially reliable is the combination of whipped cream and sweetened condensed milk. The whipped cream introduces air into the mixture, giving the bars a lighter mouthfeel, while the condensed milk helps reduce ice crystal formation. The result is a creamy frozen dessert that remains scoopably soft rather than icy. As a professional pastry technique, balancing fat, sugar, and air is what creates that smooth texture often associated with premium ice cream products.
Whether served at a summer gathering, prepared ahead for a weekend barbecue, or enjoyed straight from the freezer on a warm afternoon, these Strawberry Crunch Ice Cream Bars offer a bakery-style presentation with surprisingly approachable preparation. They look impressive, store well, and deliver the kind of creamy, fruity flavor that keeps people reaching for a second bar.
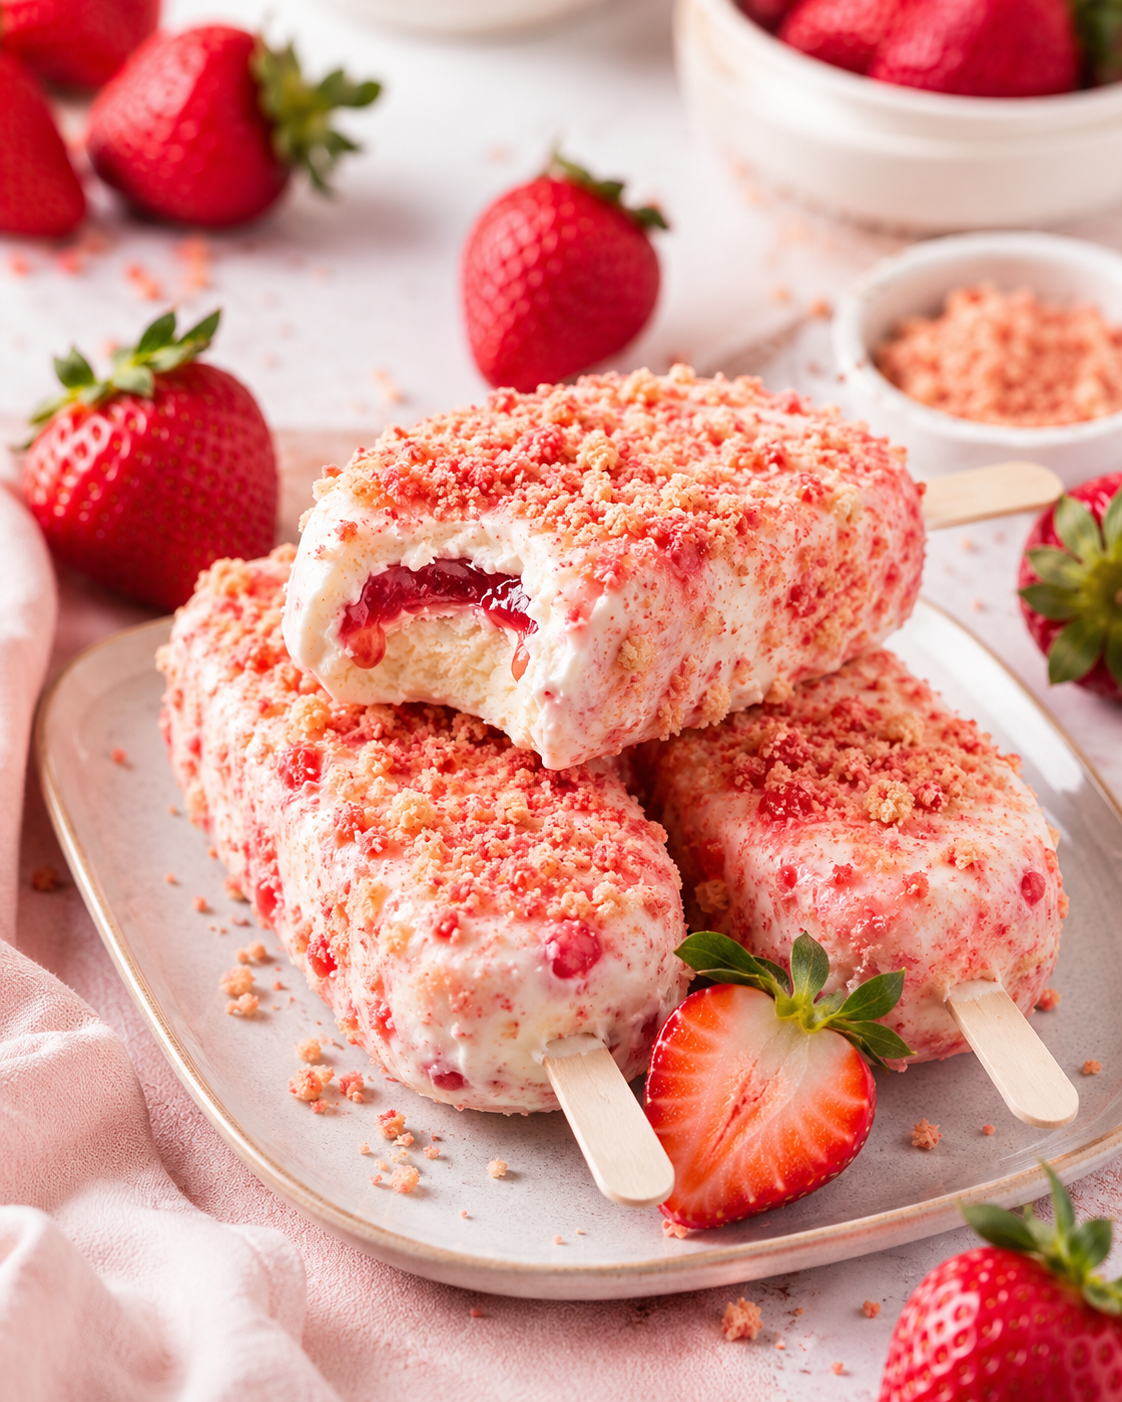
Strawberry Crunch Ice Cream Bars
Ingredients
Equipment
Method
- Step 1: Prepare Strawberry Puree
- Wash and hull strawberries.
- Blend until smooth.
- Measure 1 cup puree.
- Set aside.
- Step 2: Make Cheesecake Filling
- Beat softened cream cheese until smooth.
- Add powdered sugar.
- Mix until creamy.
- Stir in vanilla extract.
- Step 3: Whip Cream
- In a separate bowl whip heavy cream until stiff peaks form.
- Fold into cream cheese mixture.
- Step 4: Add Strawberry Flavor
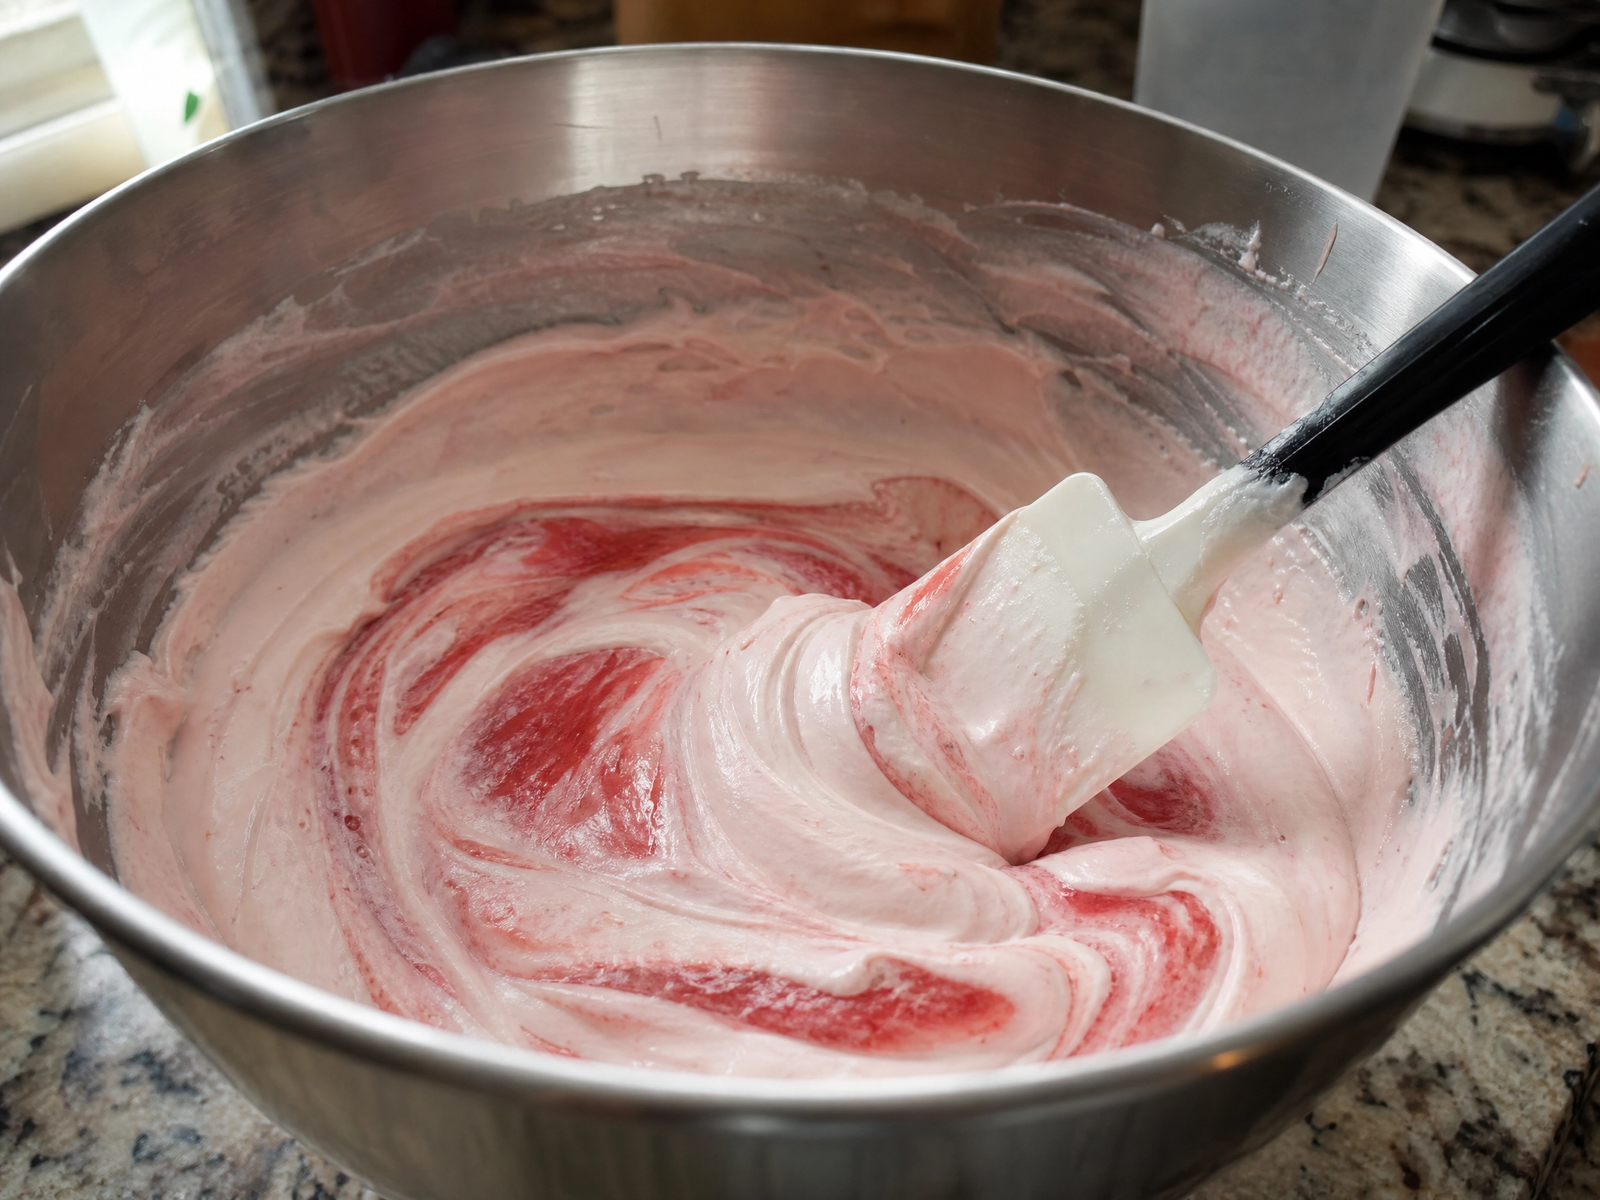
- Add strawberry puree.
- Add sweetened condensed milk.
- Fold gently until fully combined.
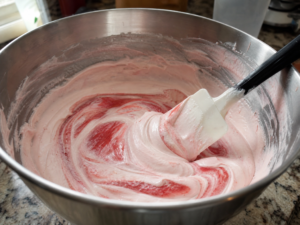
- The mixture should be smooth and pink.
- Step 5: Fill Molds
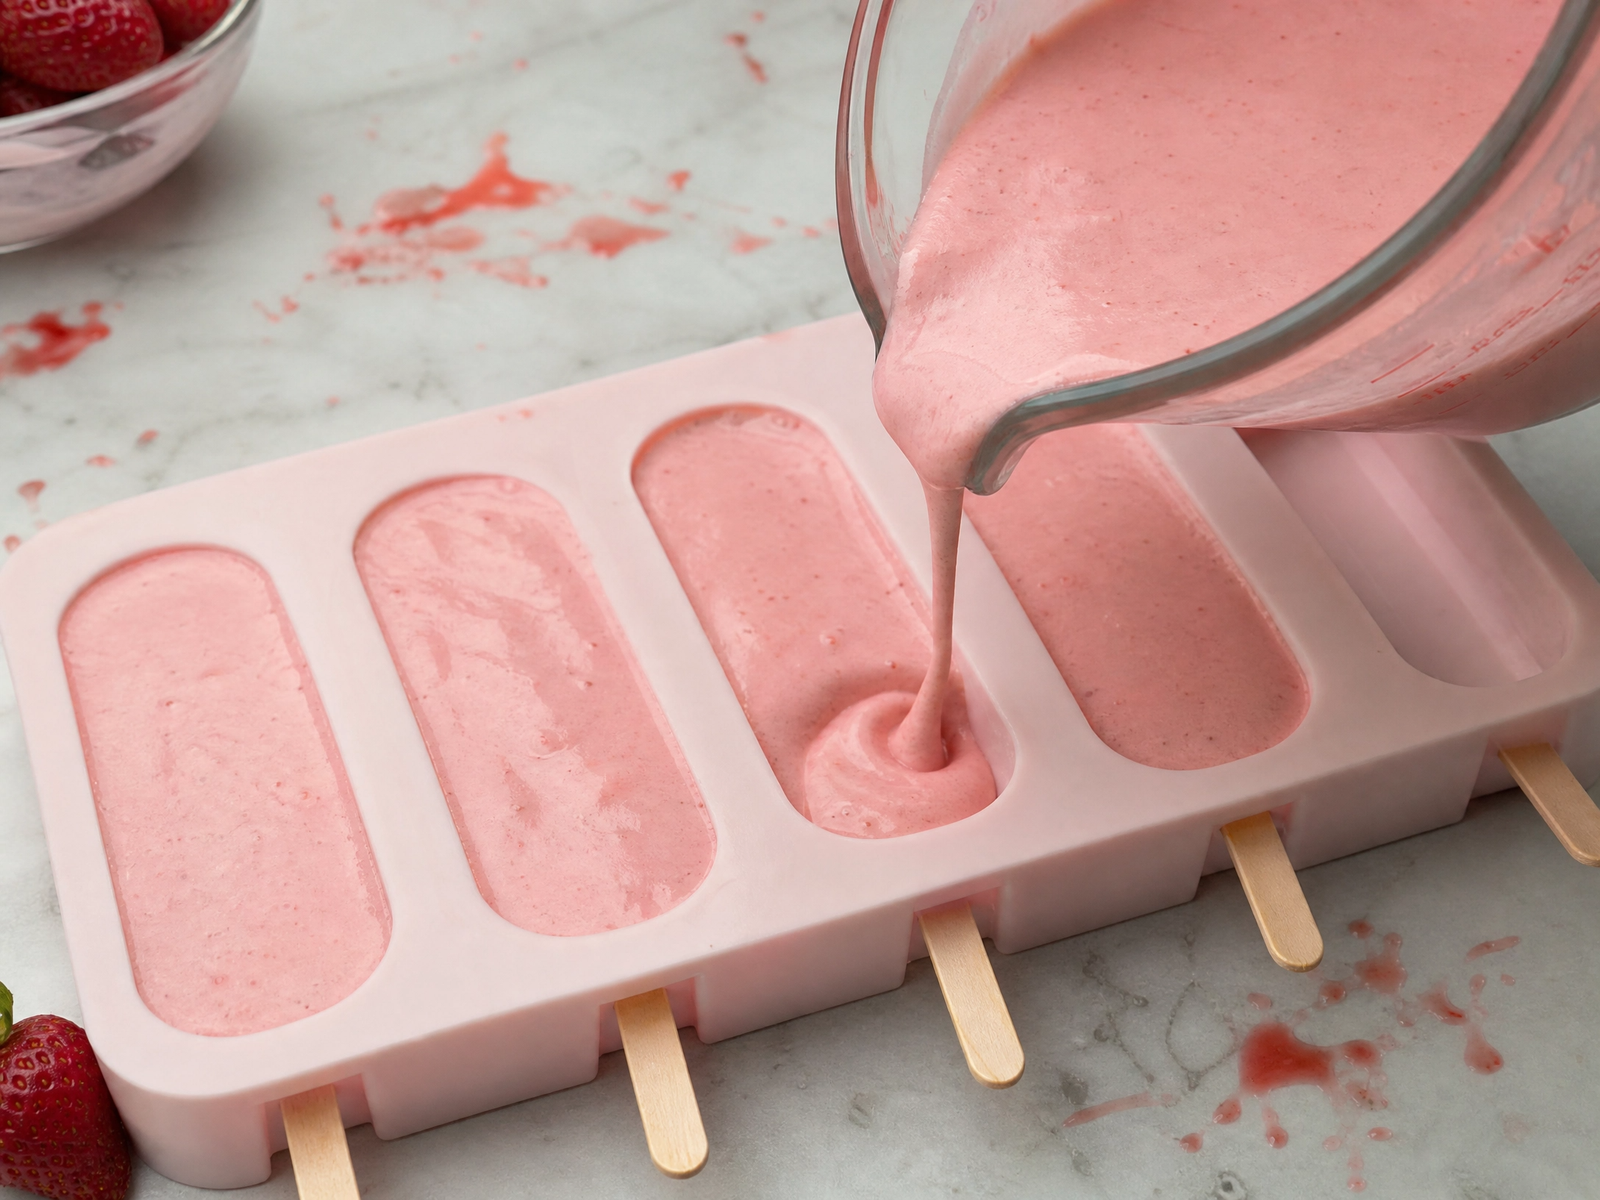
- Pour mixture into popsicle molds.
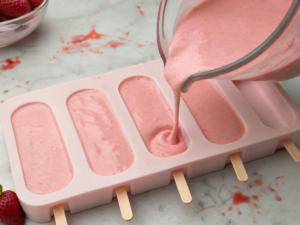
- Insert sticks.
- Freeze for at least 6 hours or overnight.
- Step 6: Make Strawberry Crunch Topping
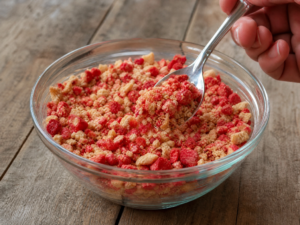
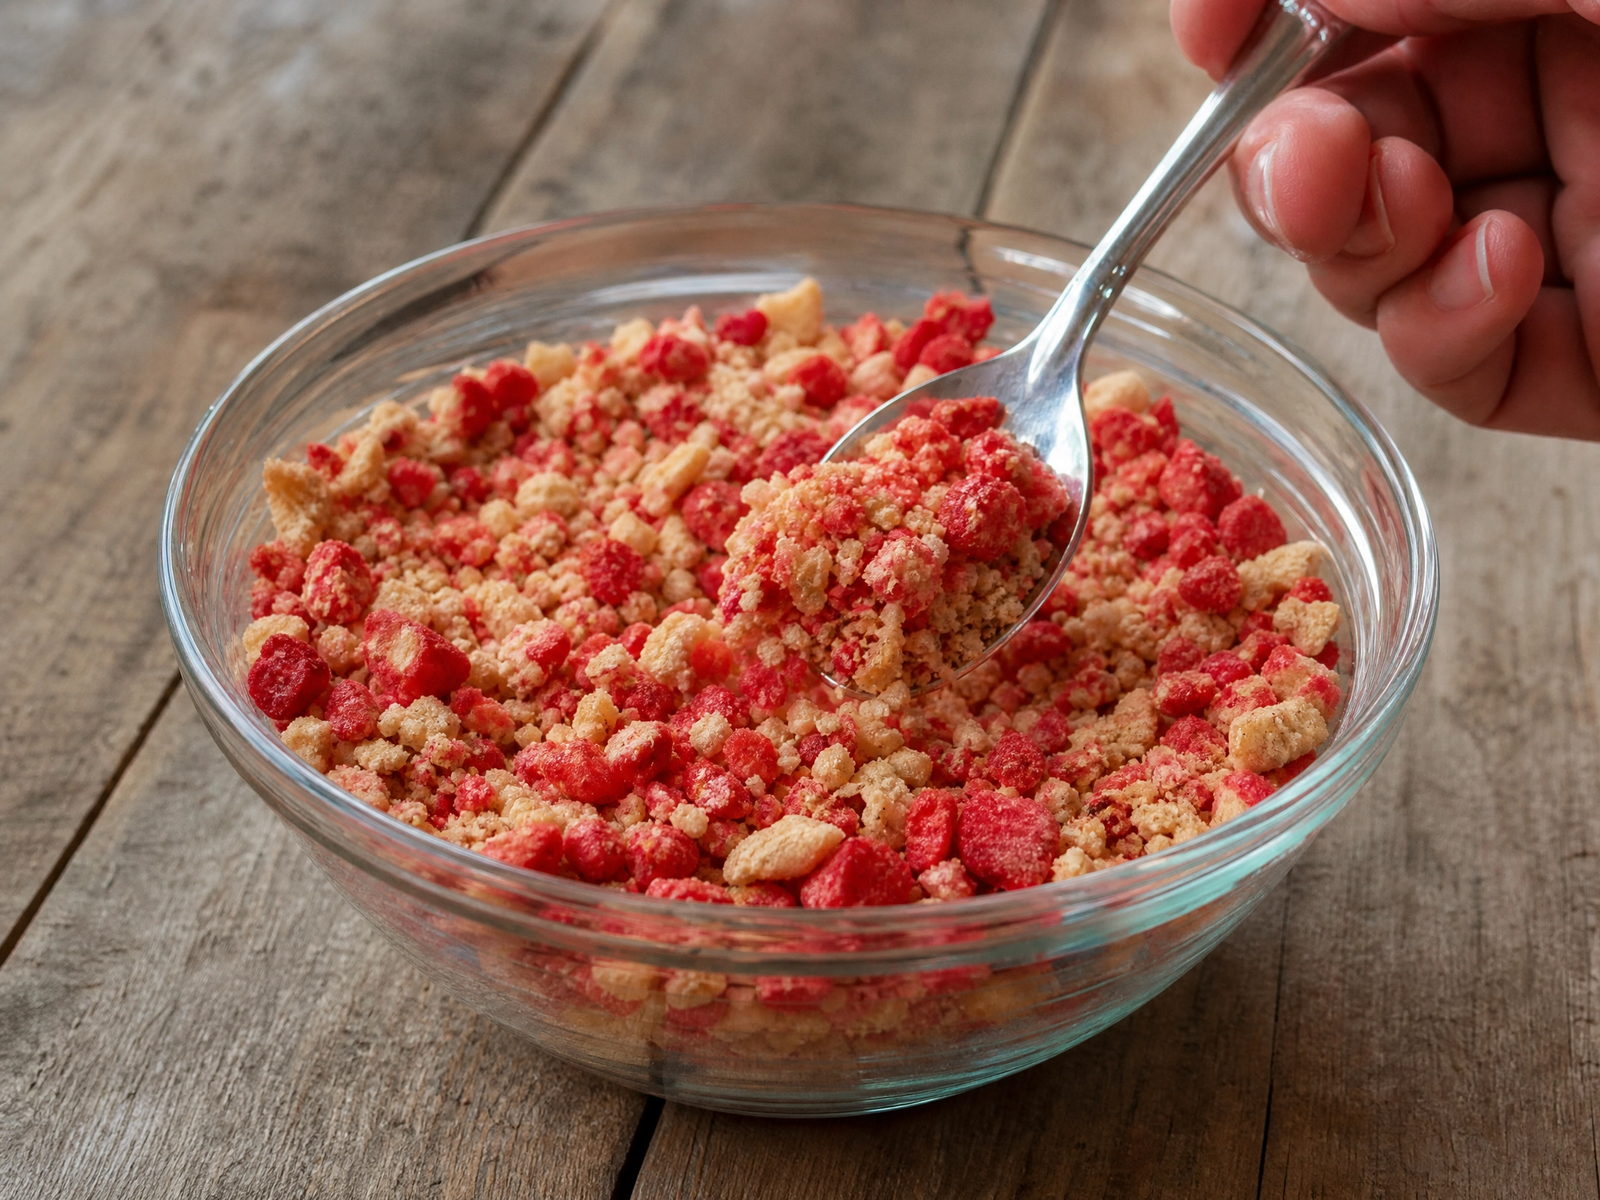
- Pulse Golden Oreos into coarse crumbs.
- Add freeze-dried strawberries.
- Pulse again.
- Mix with melted butter.
- The mixture should resemble the crunchy coating shown in the photo.
- Step 7: Coat Bars
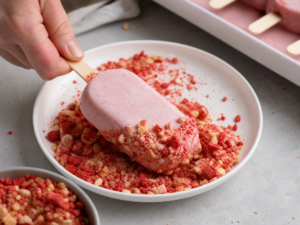
- Remove frozen bars from molds.
- Allow to sit 1 minute.
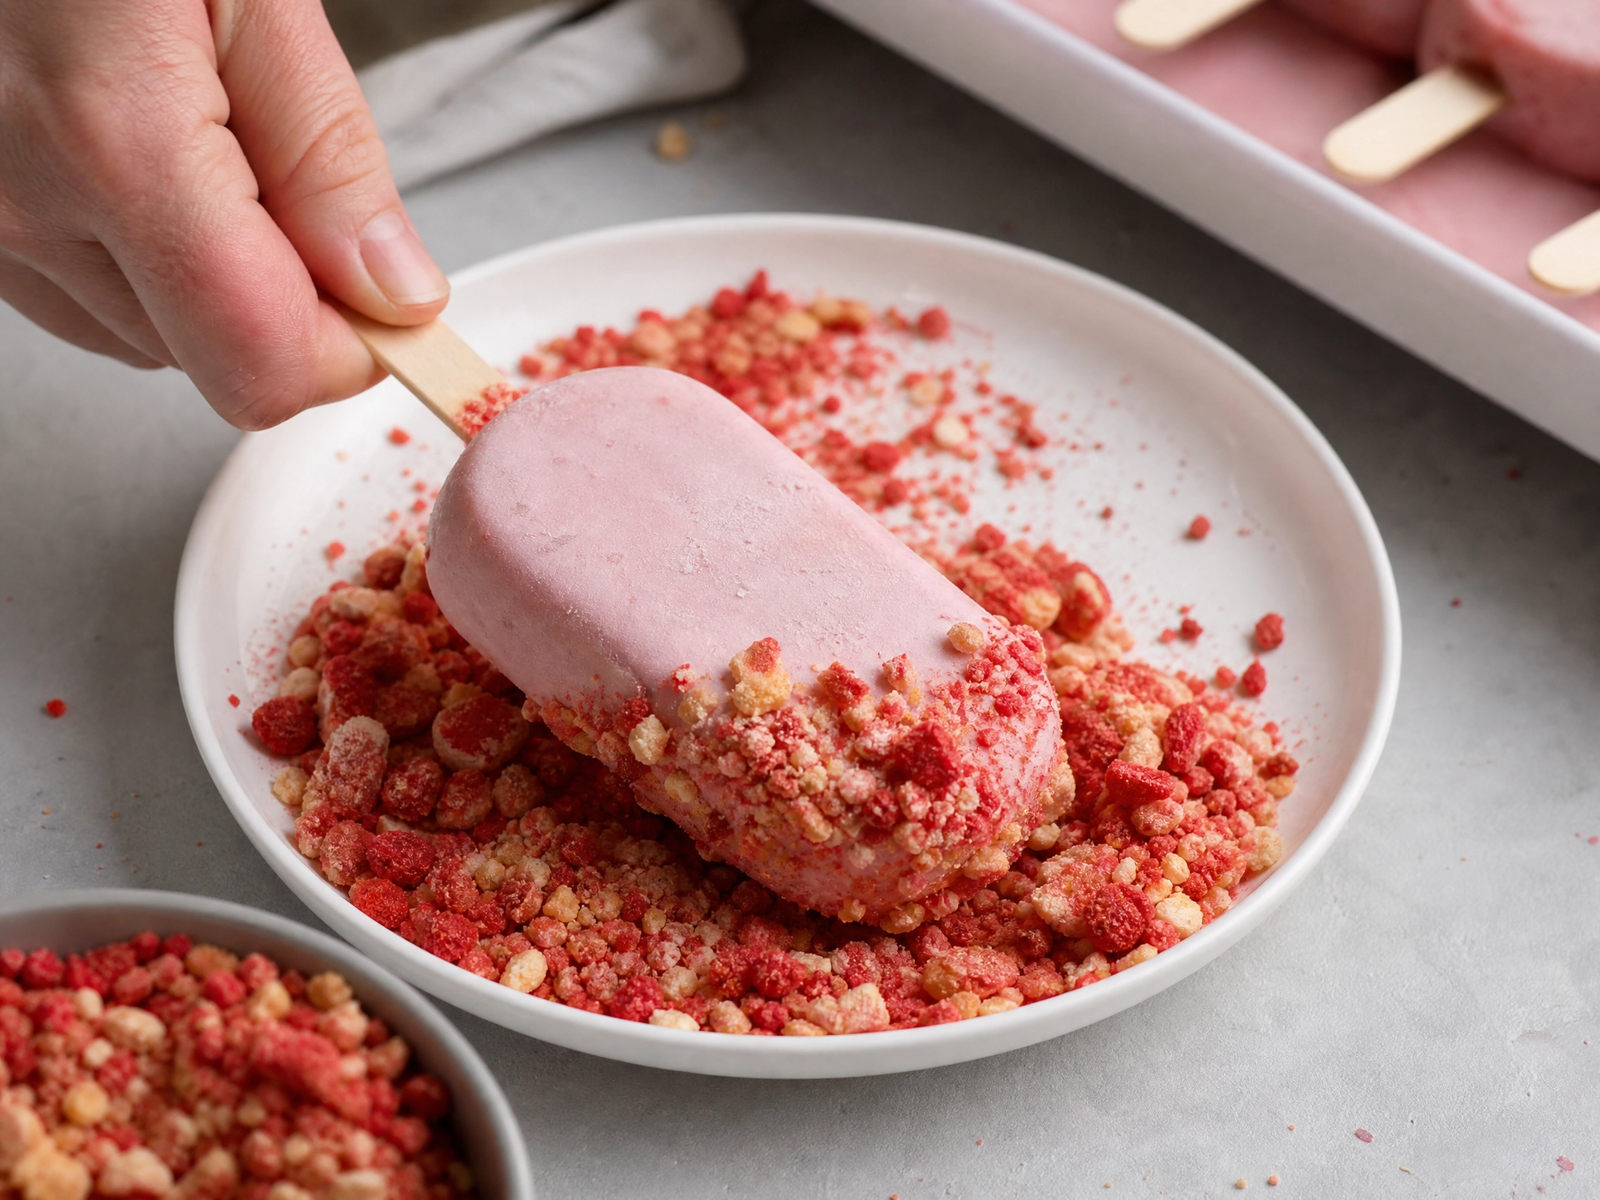
- Press strawberry crunch mixture onto all sides.
- For extra coverage:
- Lightly brush bars with melted white chocolate first.
- Then coat with crumbs.
- Step 8: Serve
- Serve immediately or return to freezer until needed.
- Garnish with: Fresh strawberries and Additional strawberry crumbs
Notes
- For the best strawberry flavor, use freeze-dried strawberries in the crunch coating rather than fresh strawberries.
- Make sure the bars are completely frozen before removing them from the molds to prevent breaking.
- If the crumb coating does not stick well, lightly brush the bars with melted white chocolate before coating.
- Golden Oreos provide the classic strawberry shortcake flavor, but vanilla sandwich cookies can also be used.
- Freeze the coated bars for 15–20 minutes before serving for a firmer texture.
- Store leftovers in an airtight container in the freezer for up to 2 months.
- For a richer cheesecake flavor, increase the cream cheese to 10 oz (280g).
- You can substitute the strawberry puree with raspberry or mixed berry puree for a different flavor variation.
- To reduce sweetness, use unsweetened whipped cream and decrease the powdered sugar by ¼ cup.
- Allow bars to sit at room temperature for 2–3 minutes before serving for the creamiest texture.
Expert Tips & Techniques
The most important factor in this recipe is temperature control. Start with softened cream cheese so it blends smoothly without lumps. Cold cream cheese often leaves tiny pockets that become noticeable after freezing. When whipping the cream, stop at stiff peaks rather than overwhipping. Excessively whipped cream can create a slightly grainy texture in frozen desserts.
For the cleanest presentation, freeze the bars overnight before coating. A fully frozen surface prevents fingerprints, cracking, and uneven crumb coverage. If the coating falls off, the bars are usually either too frozen or not sticky enough. Let them sit for 30–60 seconds at room temperature, or apply a thin layer of melted white chocolate as a binding layer.
Professional pastry kitchens often strain fruit puree before incorporating it into frozen desserts. This removes seeds and creates a smoother mouthfeel. If using homemade strawberry puree, this small step noticeably improves texture.
Storage also matters. Place the finished bars in a single layer until fully set, then transfer them to an airtight container. Separating layers with parchment paper prevents sticking. Properly stored, the bars maintain their flavor and texture for up to two months.
If strawberries are out of season, frozen strawberries can be used for the puree. Simply thaw, drain excess liquid, and blend. This approach often produces more consistent results than underripe fresh berries and helps maintain the rich strawberry flavor that defines the recipe.
Variations & Alternatives
This recipe adapts well to different flavor combinations. For a raspberry version, replace the strawberry puree and freeze-dried strawberries with raspberries. The result is slightly more tart and pairs beautifully with white chocolate. Blueberry cheesecake bars are another excellent option, offering a deeper berry flavor and striking purple color.
For a gluten-free variation, use gluten-free vanilla sandwich cookies in place of Golden Oreos. If you prefer a less sweet dessert, reduce the powdered sugar slightly and use unsweetened whipped cream. The tanginess of the cream cheese becomes more pronounced and creates a flavor profile closer to traditional cheesecake.
Dairy-free versions can be made using plant-based cream cheese, coconut whipping cream, and sweetened condensed coconut milk. While the texture is slightly different, the bars still freeze beautifully and maintain a creamy consistency.
You can also transform the recipe into a frozen dessert loaf. Instead of molds, freeze the mixture in a parchment-lined loaf pan, then slice and coat each piece individually before serving.
Frequently Asked Questions
- Q: Can I make these bars without popsicle molds?
Yes. A loaf pan or square baking dish works well. Freeze the mixture until firm, then cut into portions before coating. - Q: Why did my bars become icy instead of creamy?
This usually happens when the whipped cream was under-whipped or the mixture contained excess water. Using full-fat ingredients and properly whipped cream helps prevent ice crystals. - Q: Can I use fresh strawberries for the coating?
Fresh strawberries contain too much moisture and will soften the crumb mixture. Freeze-dried strawberries provide the best texture and concentrated flavor. - Q: How long do the bars last in the freezer?
When stored in an airtight container with parchment between layers, they keep their quality for up to two months. - Q: Can I prepare them ahead for a party?
Absolutely. In fact, making them one or two days in advance often improves texture because the bars have ample time to fully set.