The Best Easy No-Bake Oreo Cheesecake Truffles
Easy no-bake Oreo cheesecake truffles made with crushed Oreos and cream cheese, coated in smooth chocolate—perfect bite-sized dessert for parties and holidays.
📋 Table of Contents
Why You’ll Love This Recipe
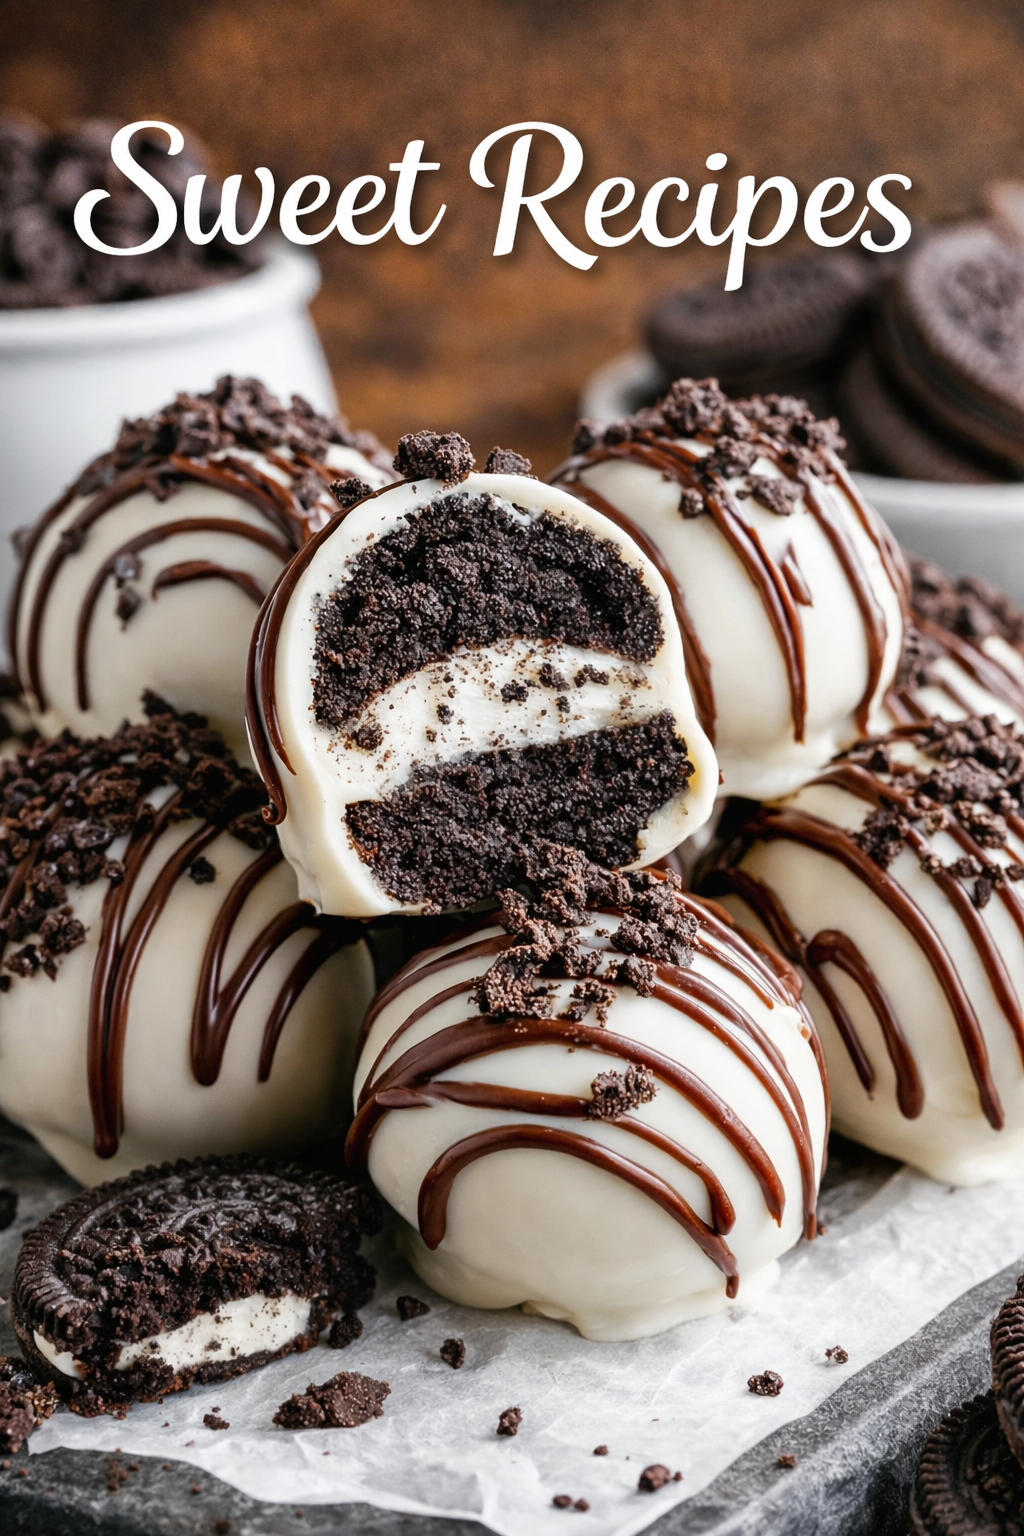
These no-bake Oreo cheesecake truffles are one of those desserts that look refined but rely on simple techniques done correctly. The first time I tested them in a professional kitchen, I expected something overly sweet and heavy—but the balance surprised me. The crushed Oreos bring a slightly crunchy texture that softens once mixed with cream cheese, creating a filling that’s dense yet creamy, almost like a firm ganache with a subtle tang.
One mistake that happens often is over-processing the cookies. If you blend them too long, they become almost pasty instead of crumbly, and the final texture loses that slight contrast. I learned to pulse the food processor just until fine crumbs form—this keeps a bit of structure in the truffle center, which makes a big difference when you bite into it.
The coating is where technique really matters. White chocolate can seize or become too thick if overheated. I’ve had batches where the chocolate turned grainy simply because I rushed the melting process. Heating in short intervals and stirring in between keeps it smooth and fluid, giving you that clean, glossy finish that snaps lightly when chilled.
Flavor-wise, these truffles are rich and chocolate-forward, with a creamy interior that melts slowly on the palate. The contrast between the cool, firm coating and the soft center is what makes them stand out. When freshly chilled, they have a slight firmness, but after a few minutes at room temperature, they become softer and more indulgent.
What makes this recipe especially practical is that it doesn’t rely on baking or precise temperature control. It’s about texture management—knowing when the mixture is firm enough to roll, and when the coating is fluid enough to dip. Once you understand those cues, the process becomes intuitive and repeatable.
No-Bake Oreo Cheesecake Truffles
Ingredients
Equipment
Method
- Crush Oreos:
- Blend Oreo cookies into fine crumbs using a food processor.
- Make Filling:
- Mix Oreo crumbs with softened cream cheese until smooth.
- Form Balls:
- Roll mixture into 1-inch balls and place on a lined tray.
- Chill:
- Freeze for 20–30 minutes until firm.
- Melt Chocolate:
- Melt white chocolate in microwave, stirring every 20 seconds.
- Dip Truffles:
- Coat each ball in melted chocolate and place on parchment paper.
- Decorate:
- Drizzle with melted dark chocolate and sprinkle crushed Oreos.
- Final Chill:
- Refrigerate for 15–20 minutes until set.
Notes
- Keep refrigerated for best texture
- Can be frozen for up to 2 months
- Try milk or dark chocolate instead of white for variation
Expert Tips & Techniques
The most important step in this recipe is achieving the right consistency before shaping. If the Oreo and cream cheese mixture feels too soft, it will stick to your hands and lose shape when dipped. In that case, chilling it for 10–15 minutes before rolling makes the process much cleaner. On the other hand, if it becomes too firm, it can crack during coating—letting it sit briefly at room temperature fixes that.
When melting white chocolate, avoid adding moisture at all costs. Even a small drop of water can cause it to seize. Use a completely dry bowl and stir frequently to distribute heat evenly. For a smoother coating, you can add a teaspoon of neutral oil to thin the chocolate slightly—this creates a more even shell around each truffle.
Storage also affects texture. These truffles stay best when refrigerated in an airtight container, where the coating remains firm and the center stays creamy. Freezing works too, but I recommend thawing them slowly in the fridge to prevent condensation from affecting the chocolate surface.
Variations & Alternatives
This base recipe can be adapted easily depending on your preference. Using dark chocolate instead of white creates a deeper, less sweet profile, while milk chocolate gives a softer, more rounded flavor. For a more complex variation, mix a small amount of espresso powder into the filling—it enhances the chocolate without making it taste like coffee.
For dietary adjustments, dairy-free cream cheese and vegan chocolate alternatives work surprisingly well, though the texture may be slightly softer. You can also experiment with different cookies—chocolate sandwich cookies with mint or peanut butter fillings add a new layer of flavor without changing the technique.
Frequently Asked Questions
- Q: Why are my truffles falling apart? The mixture likely needs more chilling time to firm up before shaping.
- Q: Can I skip the coating? Yes, but the coating helps hold structure and adds a contrasting texture.
- Q: How long do they last? Stored in the fridge, they stay fresh for up to 5 days.