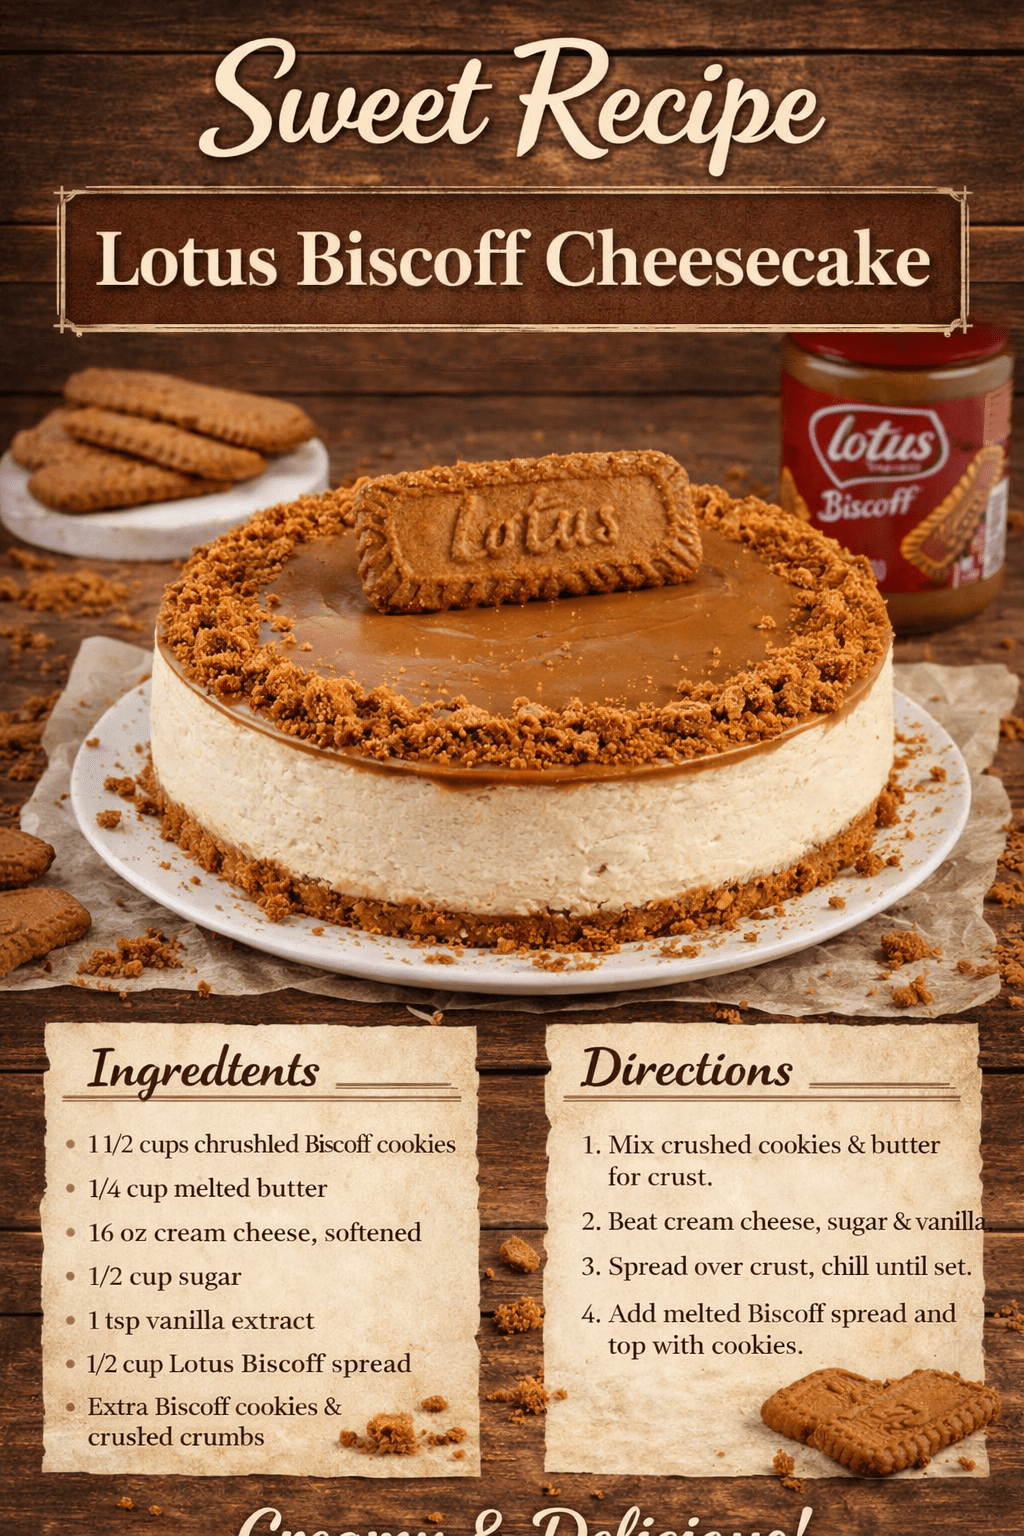
How to Make an Easy No-Bake Lotus Biscoff Cheesecake
Creamy no-bake Lotus Biscoff cheesecake with a buttery biscuit crust and rich Biscoff topping. Easy dessert perfect for any occasion.
📋 Table of Contents
Why You’ll Love This Recipe
This no-bake Lotus Biscoff cheesecake has become one of the most requested desserts in our kitchen because it delivers the rich flavor and creamy texture of a bakery-style cheesecake without turning on the oven. The combination of buttery Biscoff biscuit crumbs, silky cream cheese filling, and warm caramelized spice notes from the Lotus spread creates a dessert that tastes far more complex than the short ingredient list suggests. Once chilled, the filling turns smooth and airy while the crust stays slightly crisp underneath, giving every slice a contrast of textures that makes it hard to stop at one piece.
One detail that makes this cheesecake stand out is the balance between sweetness and richness. Many no-bake cheesecakes can feel heavy or overly sugary after a few bites, especially when cookie butter is involved. During testing, we found that whipping the cream separately before folding it into the filling creates a lighter texture and prevents the cheesecake from feeling dense. The whipped cream traps air inside the mixture, which helps the filling set with a mousse-like consistency rather than a thick paste. When sliced cold, the cheesecake should hold its shape cleanly while still melting softly on the tongue.
There is also a small mistake that can easily ruin the texture if you rush the process. The first time we tested this recipe, the Lotus spread was added straight from the jar while still too cold, which caused tiny lumps throughout the filling. Warming the spread slightly before mixing solved the problem immediately and created a glossy, velvety batter. Another helpful trick is pressing the crust firmly with the bottom of a measuring cup rather than using your hands. This compacts the crumbs evenly so the base does not crumble when sliced.
As the cheesecake chills, the aroma becomes even more inviting. The scent of cinnamon-spiced biscuits mixed with vanilla and cream develops into something similar to warm caramel biscuits fresh from a bakery counter. For cleaner slices and a professional finish, we usually chill the cheesecake overnight instead of only four hours. The extra resting time allows the flavors to deepen while the topping settles into a smooth, glossy layer that looks beautiful on the table for birthdays, dinner parties, or weekend gatherings.
How to Make an Easy No-Bake Lotus Biscoff Cheesecake
Ingredients
Equipment
Method
- Step 1: Prepare the Crust
- Crush the Lotus Biscoff biscuits into fine crumbs using a food processor or rolling pin. Mix with the melted butter until fully combined. Press the mixture firmly into the bottom of a lined springform pan. Refrigerate for 20 minutes to set.
- Step 2: Make the Cheesecake Filling
- In a large bowl, beat the cream cheese until smooth and creamy. Add powdered sugar and vanilla extract, and mix well. Gently mix in the Lotus Biscoff spread until fully incorporated.
- Step 3: Whip the Cream
- In a separate bowl, whip the heavy cream until stiff peaks form. Fold the whipped cream gently into the cheesecake mixture until light and smooth.
- Step 4: Assemble
- Pour the cheesecake filling over the chilled crust and smooth the top with a spatula. Refrigerate for at least 4 hours or until fully set.
- Step 5: Add the Topping
- Melt the Lotus Biscoff spread slightly until pourable. Spread evenly over the chilled cheesecake. Garnish with crushed Biscoff biscuits if desired.
- Step 6: Serve
- Remove from the pan, slice, and enjoy this creamy no-bake Lotus Biscoff cheesecake.
- SEO tip: numbered steps + verbs = perfect structure.
Notes
- For cleaner slices, dip your knife in hot water before cutting.
- You can chill the cheesecake overnight for best texture.
- Store leftovers in the refrigerator for up to 3 days.
Expert Tips & Techniques
One of the most important techniques in a no-bake Lotus Biscoff cheesecake is temperature control. Cream cheese that is too cold tends to form lumps, while over-whipped cream can create a grainy texture after chilling. For the smoothest filling, leave the cream cheese at room temperature for about 30 minutes before mixing and whip the cream only until stiff peaks form. The filling should look silky and thick, not airy like frosting.
If the crust feels too loose when slicing, it usually means the biscuit crumbs were not packed tightly enough. Pressing the crust firmly into the corners of the springform pan helps create a stable base that holds together cleanly. Chilling the crust before adding the filling is another small step that makes a noticeable difference because the butter solidifies and prevents the crumbs from mixing into the cheesecake layer.
For the topping, melt the Biscoff spread gently rather than overheating it. We tested this recipe several times and found that microwaving the spread in short bursts keeps it glossy and pourable without becoming oily. Pour it over the cheesecake once the filling is fully chilled so the layers stay distinct.
Storage matters too. Keep the cheesecake refrigerated and covered to preserve the creamy texture and prevent the topping from drying out. The flavor actually improves after the first night because the biscuit spice and vanilla have more time to blend together. If you want bakery-style slices, dip a sharp knife into hot water and wipe it clean between cuts.
Variations & Alternatives
This Lotus Biscoff cheesecake is flexible enough to adapt to different flavors and dietary needs without losing its signature creamy texture. For a chocolate version, fold melted dark chocolate into the filling and sprinkle chocolate shavings over the top. The bittersweet flavor pairs beautifully with the caramelized biscuit notes of the Biscoff spread.
If you prefer a lighter finish, add a thin layer of whipped cream and fresh berries before serving. Strawberries and raspberries cut through the richness and add a bright contrast to the sweet cookie butter flavor. We also tested a coffee variation by mixing one teaspoon of espresso powder into the filling, which gave the cheesecake a deeper aroma similar to a café-style dessert.
For gluten-free guests, substitute the Biscoff biscuits with gluten-free spiced cookies and check that the spread used is certified gluten-free in your region. Vegan cream cheese and coconut whipping cream can also work, although the texture will be slightly softer after chilling. In our experience, chilling overnight is especially important for dairy-free versions because plant-based fillings take longer to firm up properly.
Frequently Asked Questions
- Q: Can I freeze Lotus Biscoff cheesecake? Yes. Wrap the cheesecake tightly and freeze for up to one month. Thaw overnight in the refrigerator for the best creamy texture.
- Q: Why did my cheesecake not set properly? This usually happens if the whipped cream was under-whipped or if the cheesecake did not chill long enough. Overnight chilling gives the cleanest slices and firmest structure.
- Q: Can I make this cheesecake ahead of time? Absolutely. In fact, the flavor improves after several hours in the refrigerator because the biscuit and vanilla notes become more pronounced.
- Q: What can I use instead of Lotus Biscoff spread? Cookie butter from other brands works well, although the spice balance may vary slightly. Peanut butter is not recommended because it changes the texture and flavor profile completely.
- Q: How do I avoid cracks or uneven topping? Make sure the filling is fully chilled before adding the melted topping. Pour the spread slowly from the center outward and smooth gently with an offset spatula.
- Q: Can I use low-fat cream cheese? Full-fat cream cheese gives the richest texture and best stability. Low-fat versions often produce a softer filling that does not slice as neatly.
")


")