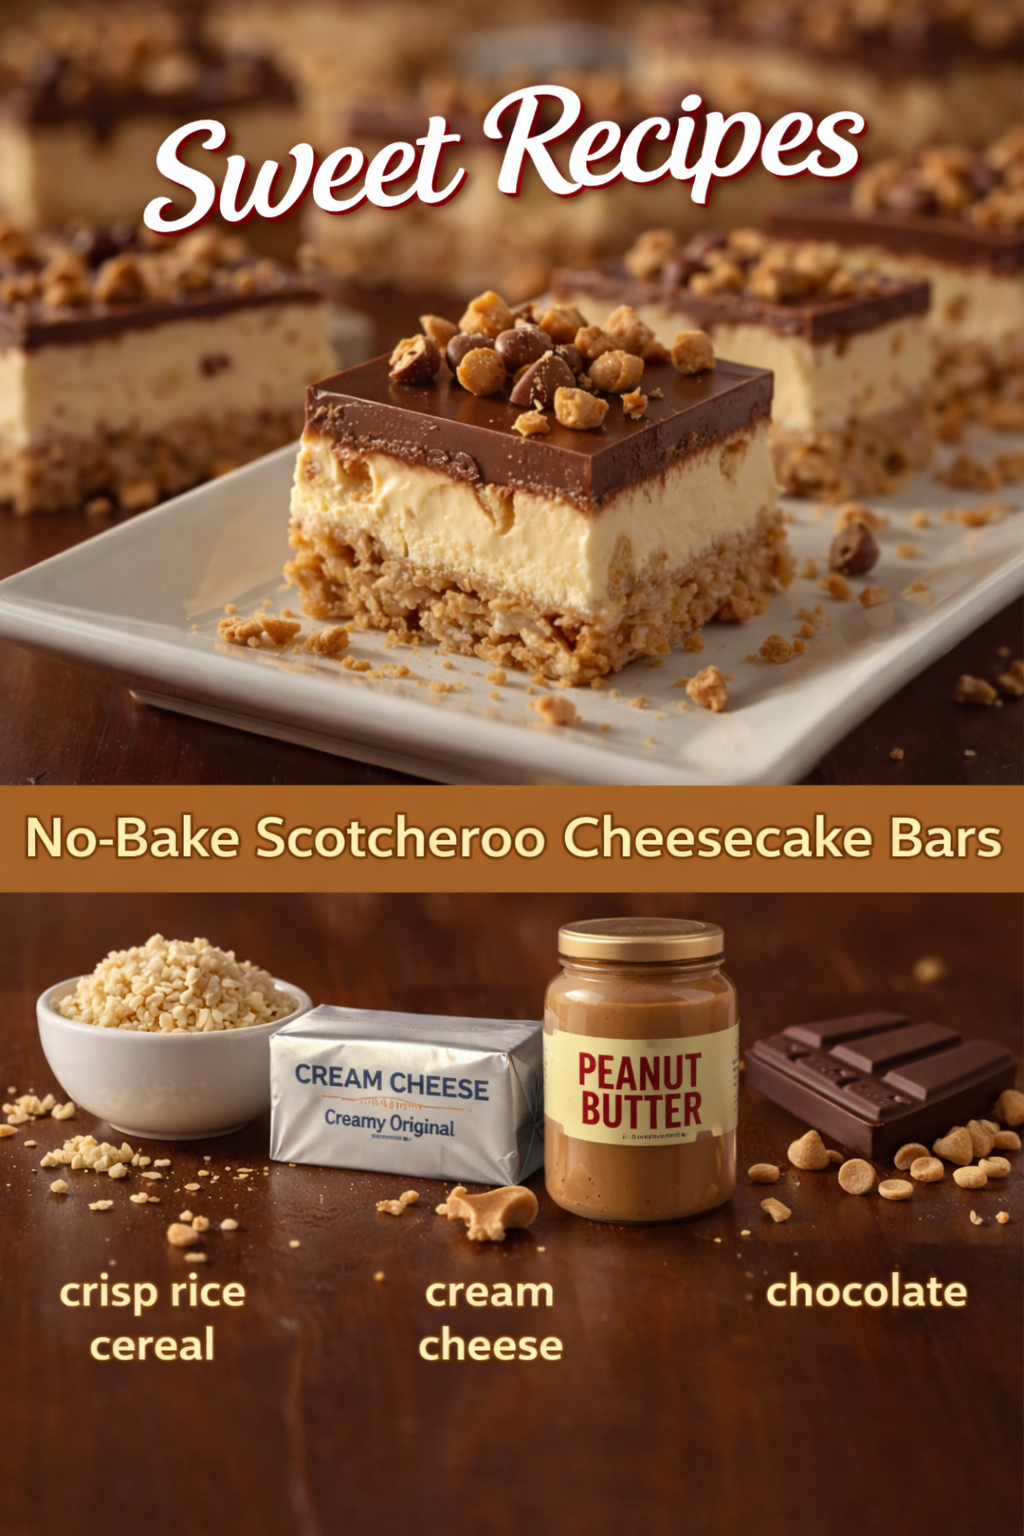
The Best Easy No-Bake Butterscotch Cheesecake Bars
Creamy no-bake butterscotch cheesecake bars with a buttery graham cracker crust and rich caramel topping. An easy, crowd-pleasing dessert perfect for any occasion.
📋 Table of Contents
Why You’ll Love This Recipe
These No-Bake Butterscotch Cheesecake Bars bring together two textures that pastry chefs constantly chase in chilled desserts: a crisp buttery base and a smooth, creamy filling that melts slowly on the tongue. After several rounds of testing, this version achieved the balance we wanted — rich enough to feel indulgent, yet light enough that each bite stays clean and silky instead of overly dense.
The butterscotch flavor is what truly sets these cheesecake bars apart. Warm brown sugar notes combined with butter and cream create a caramel-like aroma that fills the kitchen even before the dessert chills. When folded into the cheesecake filling, the butterscotch adds a deeper flavor than plain vanilla cheesecake, with subtle toasted sweetness and a soft buttery finish that lingers after each bite.
One thing we discovered while testing was how important ingredient temperature can be. In an early batch, the cream cheese was still slightly cold, which caused tiny lumps throughout the filling. Allowing the cream cheese to soften fully at room temperature fixed the issue immediately and created a smoother texture without overmixing. The whipped cream also folds more evenly into softened cream cheese, which helps the cheesecake stay airy rather than heavy.
Another detail that improves the final result is firmly pressing the crust into the pan before chilling. A loose crust tends to crumble when sliced, while a compact base holds together cleanly underneath the creamy filling. The melted butter coats the crumbs and firms up in the refrigerator, creating a satisfying contrast against the soft cheesecake layer above.
The texture after chilling overnight is especially rewarding. The filling becomes thick and velvety, the crust develops a slight crunch, and the butterscotch topping settles into glossy ribbons across the surface. For the cleanest slices, warming the knife between cuts makes a noticeable difference. It glides through the chilled filling instead of dragging across it.
These bars work beautifully for gatherings because they can be prepared entirely ahead of time. Served cold straight from the refrigerator, they taste rich, creamy, and lightly buttery with hints of vanilla and caramelized sugar in every bite. The contrast between cool cheesecake and sweet butterscotch drizzle gives the dessert a bakery-style finish without ever needing to turn on the oven.
No-Bake Butterscotch Cheesecake Bars
Ingredients
Equipment
Method
- Prepare the Crust
- In a bowl, mix graham cracker crumbs, melted butter, and brown sugar.
- Press mixture firmly into the bottom of a lined 8×8-inch pan.
- Refrigerate for 15–20 minutes to set.
- Make the Filling
- Beat cream cheese until smooth and creamy.
- Add powdered sugar and vanilla; mix well.
- In a separate bowl, whip heavy cream until stiff peaks form.
- Fold whipped cream gently into the cream cheese mixture.
- Add butterscotch sauce and mix until smooth.
- Assemble
- Spread cheesecake filling evenly over the chilled crust.
- Smooth the top with a spatula.
- Chill
- Refrigerate for at least 4 hours (overnight is best for firm texture).
- Add Topping
- Drizzle butterscotch sauce over the top.
- Add whipped cream or garnish if desired.
- Slice into bars and serve chilled.
- 🍯 Optional Homemade Butterscotch Sauce
- ½ cup butter
- 1 cup brown sugar
- 1 cup heavy cream
- Pinch of salt
- Steps:
- Melt butter and brown sugar together.
- Add cream slowly while stirring.
- Simmer 3–5 minutes until thickened.
- Cool before using.
Notes
Chill overnight for cleaner slices
Line pan with parchment for easy removal
Warm your knife slightly for perfect cuts
Expert Tips & Techniques
For the smoothest cheesecake filling, start with fully softened cream cheese. Cold cream cheese often leaves tiny lumps that become difficult to remove later. Professional pastry kitchens typically allow cream cheese to rest at room temperature for at least 45 minutes before mixing because softer cream cheese blends faster and traps less air.
Whipping the cream separately before folding it into the filling is another important technique. This step creates a lighter texture and prevents the cheesecake from becoming dense or overly heavy after chilling. Fold gently with a spatula instead of stirring aggressively so the whipped cream keeps its structure.
During recipe testing, one batch turned slightly runny because the butterscotch sauce was added while still warm. Allowing the sauce to cool first solved the problem immediately. Warm sauce softens the cream mixture too much and delays setting time in the refrigerator.
If you want bakery-style slices, line the pan with parchment paper and leave extra paper hanging over the edges. Once chilled, you can lift the entire cheesecake slab out cleanly before slicing. Running a knife under warm water between cuts also helps create smooth edges without pulling the filling apart.
Storage is simple but important for texture. Keep the bars refrigerated in an airtight container for up to four days. The crust stays crisp longer when the dessert is covered tightly, preventing the filling from absorbing refrigerator moisture. Freezing is possible as well, although the texture becomes slightly firmer after thawing.
Variations & Alternatives
These cheesecake bars adapt well to different flavors and dietary preferences. Crushed chocolate cookies can replace graham crackers for a darker, richer crust that pairs beautifully with butterscotch. Some testers preferred adding chopped toasted pecans into the crust mixture for extra crunch and a subtle roasted flavor.
For a lighter version, mascarpone cheese can replace part of the cream cheese, creating a softer and more delicate filling. If you prefer stronger caramel notes, a pinch of flaky sea salt on top balances the sweetness and enhances the buttery butterscotch flavor.
Gluten-free digestive biscuits work surprisingly well for the crust, while dairy-free cream cheese and coconut cream can be used for a non-dairy alternative. During testing, adding a thin layer of sliced bananas beneath the cheesecake filling created a flavor similar to banoffee pie, especially when topped with extra butterscotch drizzle.
Frequently Asked Questions
-
Q: Why didn’t my cheesecake bars set properly?
The filling usually needs more chilling time. Overnight refrigeration gives the cream cheese and whipped cream enough time to firm up completely. -
Q: Can I use store-bought butterscotch sauce?
Yes. Store-bought sauce works well for convenience, but homemade butterscotch often gives a deeper buttery flavor and smoother consistency. -
Q: How do I prevent the crust from crumbling?
Press the crust firmly into the pan and chill it before adding the filling. The melted butter helps bind the crumbs together as it firms up in the refrigerator. -
Q: Can these bars be frozen?
They freeze well for up to one month. Wrap the bars tightly and thaw overnight in the refrigerator before serving. -
Q: Why should the butterscotch sauce cool before mixing?
Warm sauce softens the filling too much and can affect the final texture. Cooling the sauce helps the cheesecake remain thick and stable while chilling.


