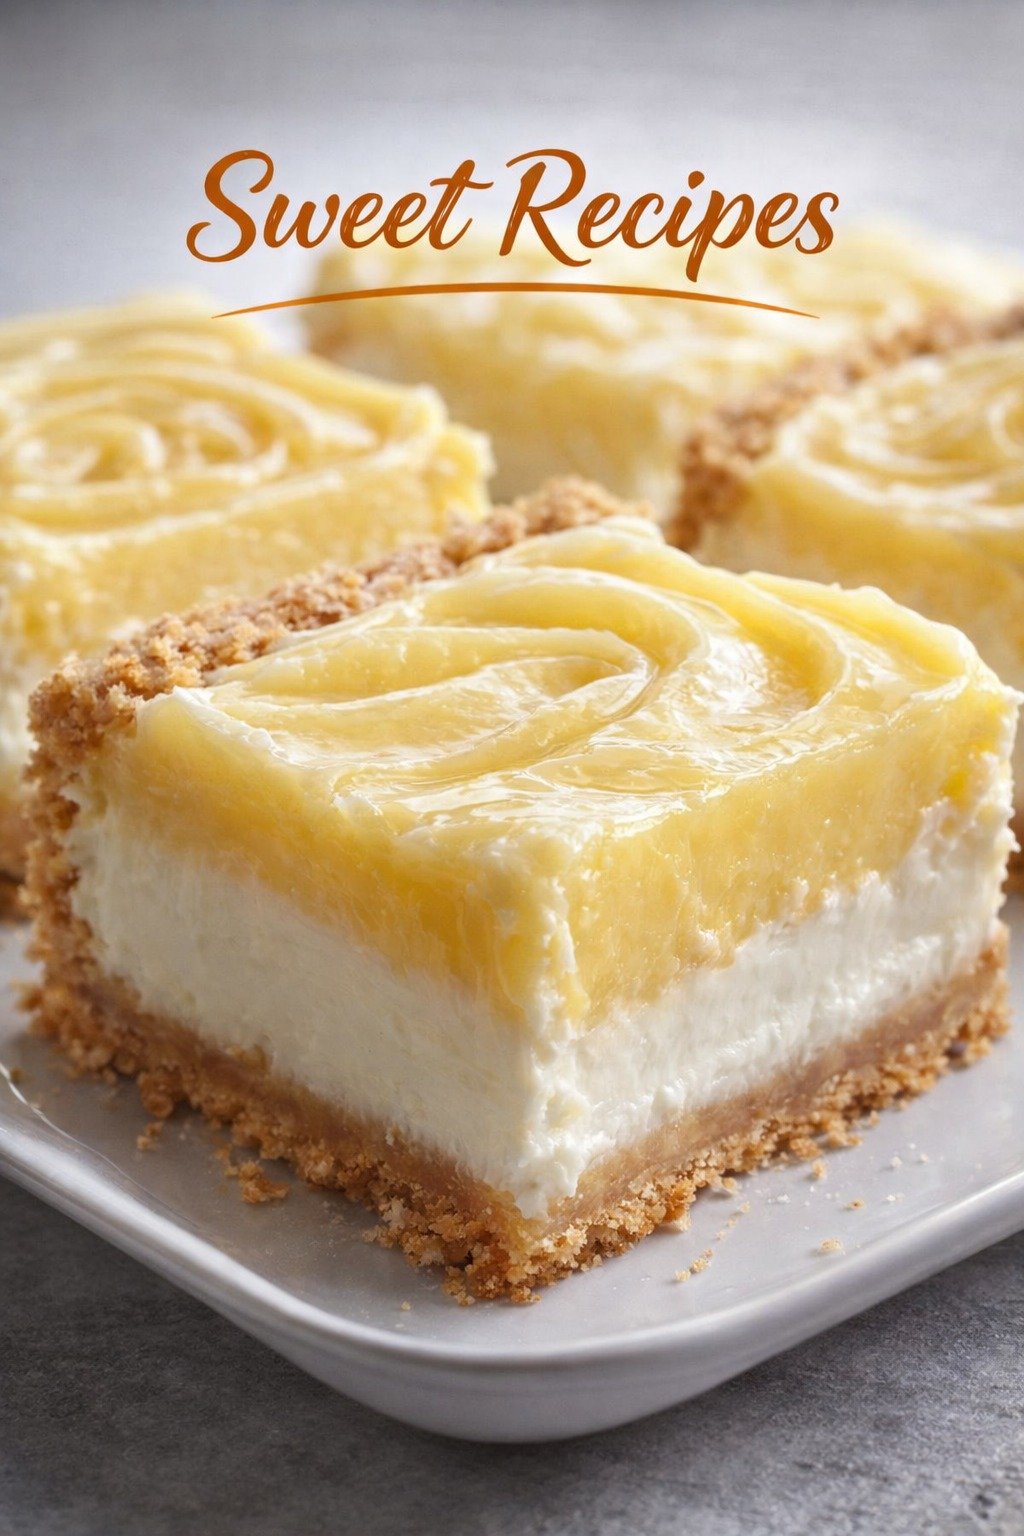
The Best Easy Creamy Lemon Cheesecake Bars
Creamy lemon cheesecake bars with a buttery graham cracker crust and tangy citrus flavor. Easy homemade dessert recipe perfect for any occasion.
📋 Table of Contents
Why You’ll Love This Recipe
These creamy lemon cheesecake bars are one of those desserts where precision matters more than complexity. The crust should be buttery and slightly crisp at the edges, while the filling stays smooth, tangy, and just firm enough to slice cleanly after chilling. When baked correctly, the surface appears pale and slightly glossy, with a gentle wobble in the center that signals a perfectly set cheesecake rather than an overbaked one.
During early kitchen testing, one of the most common mistakes was overbaking the cheesecake layer. Even a few extra minutes caused small cracks and a dry, grainy texture instead of the silky creaminess expected. The solution was to remove the pan while the center still jiggles slightly. The residual heat continues cooking the filling gently, resulting in a smooth, custard-like texture once cooled.
The aroma while baking is subtle but distinctive: warm cream cheese, bright lemon zest, and a faint vanilla note that fills the kitchen without being overpowering. Once chilled, the flavor profile transforms completely. The lemon becomes sharper and more refreshing, cutting through the richness of the cream cheese, while the crust adds a toasted, biscuit-like depth that anchors every bite.
Texture is where these bars truly stand out. The filling is dense yet creamy, almost like a soft mousse that holds its shape. When you press a fork into a chilled square, it glides through smoothly before meeting the slight resistance of the crust. The contrast between the tangy lemon filling and the sweet base creates a balanced bite that feels refreshing rather than heavy.
Another detail we discovered during recipe refinement is how much room temperature ingredients matter. Cold cream cheese leads to small lumps that never fully disappear, even after mixing. When properly softened, however, the filling becomes glossy and uniform, ensuring a professional bakery-style finish that slices into perfect, clean-edged bars.
Creamy Lemon Cheesecake Bars
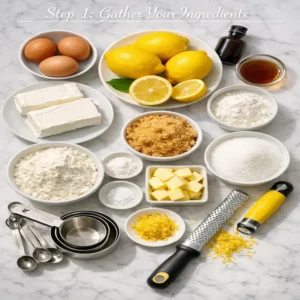
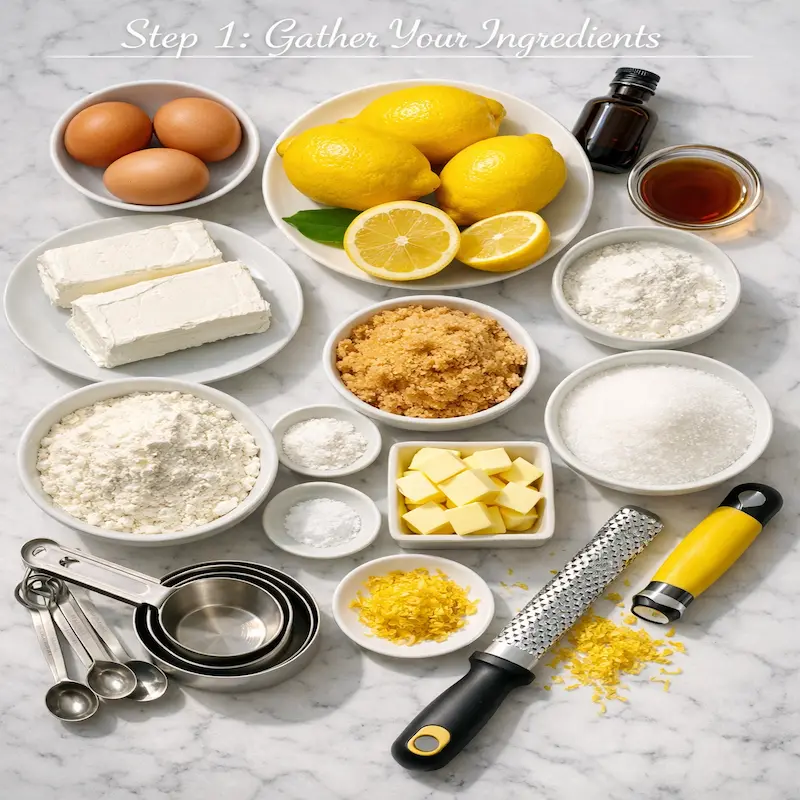
Ingredients
Equipment
Method
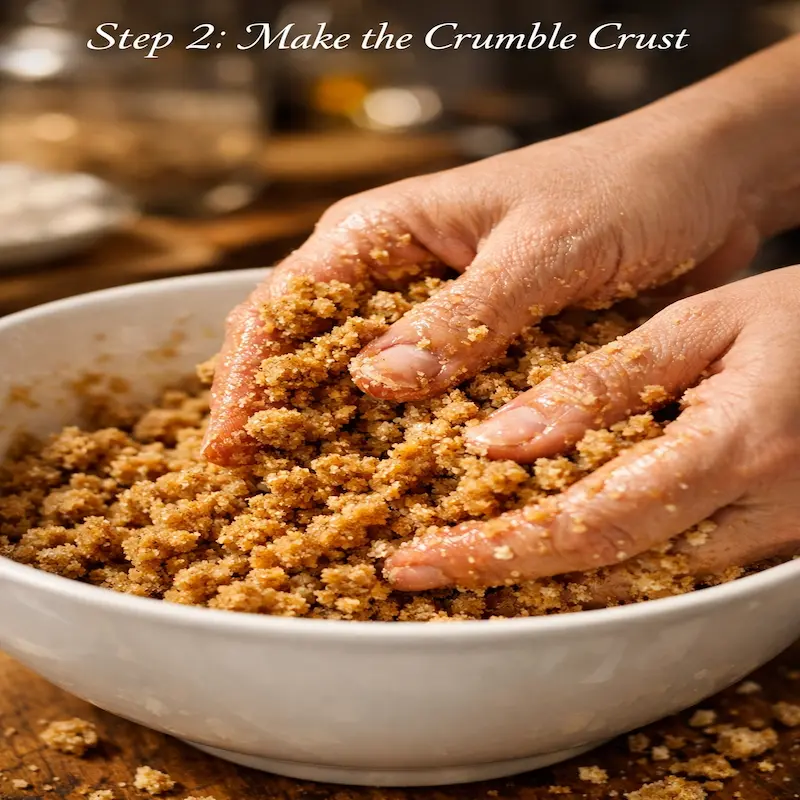
- Prepare the crust
- Preheat oven to 325°F (160°C).
- Line an 8×8-inch (20×20 cm) baking pan with parchment paper.
- Mix graham crumbs, sugar, and melted butter until combined.
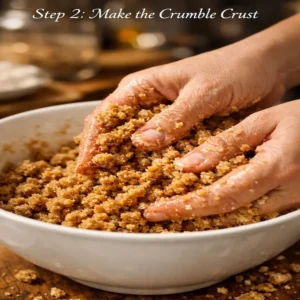
- Press firmly into the bottom of the pan.
- Bake for 8–10 minutes, then let cool slightly.
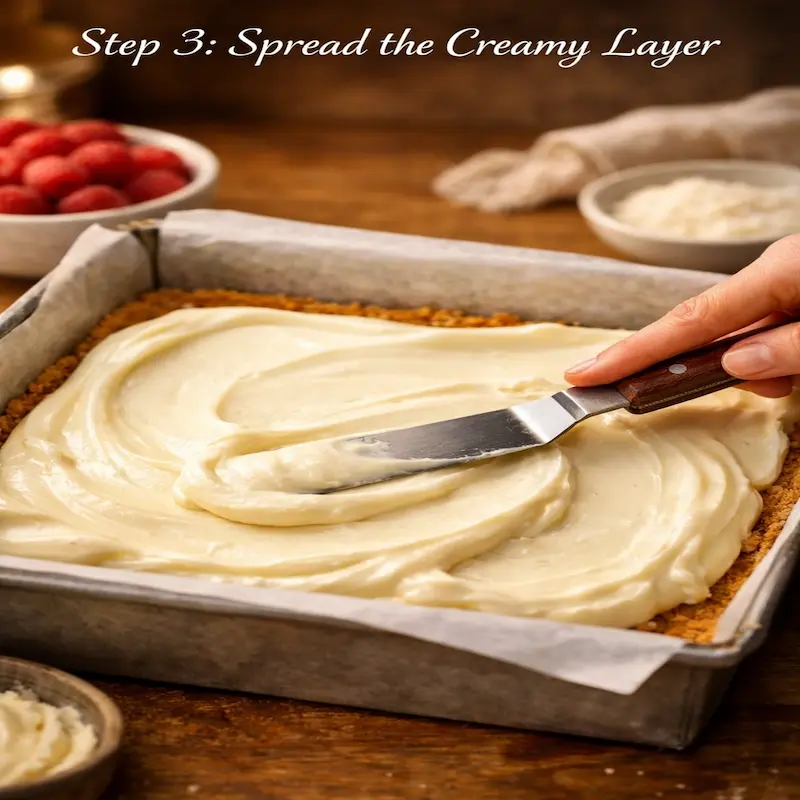
- Make the filling
- Beat cream cheese until smooth and creamy.
- Add sugar and mix until combined.

- Beat in eggs one at a time.
- Add sour cream, lemon juice, zest, and vanilla.
- Mix until smooth (avoid overmixing).
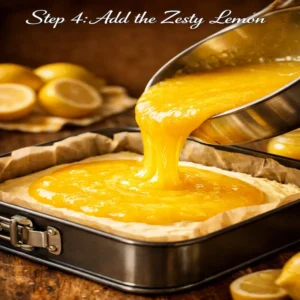
- Assemble & bake
- Pour filling over the crust.
- If using lemon curd, drop small spoonfuls on top and swirl with a knife.
- Bake for 30–35 minutes, until center is slightly set but still soft.
- Cool & chill
- Let cool at room temperature for 1 hour.
- Refrigerate for at least 3 hours (preferably overnight).
- Slice into squares using a clean, sharp knife.


Notes
- Use room temperature cream cheese for smooth texture
- Don’t overbake—center should jiggle slightly
- Chill fully before cutting for clean edges
- Wipe knife between cuts for neat squares
Expert Tips & Techniques
The most important factor in achieving a smooth cheesecake layer is ingredient temperature. Cream cheese must be fully softened before mixing; otherwise, small lumps will remain and affect the final texture. In our tests, even slight chill in the cream cheese resulted in a grainy batter that never fully corrected after baking.
Another common mistake is overmixing after adding the eggs. This introduces excess air, which causes the cheesecake to puff up in the oven and then collapse while cooling, sometimes leading to cracks. The correct approach is to mix just until combined, keeping the batter dense and stable.
For clean slicing, chilling overnight is not optional—it allows the fats to fully stabilize. A warm knife wiped between cuts ensures sharp, bakery-style edges.
Variations & Alternatives
For a more intense citrus profile, add a touch of lime or orange zest alongside the lemon. This creates a layered citrus aroma that feels brighter and more complex. A graham crust can also be replaced with digestive biscuits or even crushed vanilla wafers for a sweeter base.
If you prefer a lighter version, replace sour cream with Greek yogurt. For a richer dessert, swirl lemon curd into the batter before baking to create pockets of tangy sweetness throughout each slice.
Frequently Asked Questions
- Q: Why did my cheesecake crack? It was likely overbaked or cooled too quickly. Bake until slightly jiggly and cool gradually.
- Q: Can I skip sour cream? Yes, but the texture will be slightly less creamy and more dense.
- Q: How long should I chill it? At least 3 hours, but overnight chilling gives the best structure and flavor.
- Q: Can I freeze these bars? Yes, they freeze well for up to 1 month when tightly wrapped.

")

")
")