The Best Easy Caramel Chocolate Ice Cream Dessert Cups
Creamy caramel chocolate ice cream dessert made with rich vanilla ice cream, caramel sauce, and chocolate chunks. A quick and easy no-bake dessert perfect for parties or sweet cravings.
📋 Table of Contents
Why You’ll Love This Recipe
Layering a frozen dessert in cups introduces a problem that a single-flavour tub does not have: each layer has to be firm enough to support the next without the two bleeding together.
Freeze between layers rather than building the whole thing at once. Twenty minutes is usually enough for a layer to set at the surface, which is all that is needed to keep the next one from sinking into it.
Caramel is the layer that resists freezing hardest, because its high sugar content lowers the freezing point sharply. That is useful: it stays soft and spoonable straight from the freezer instead of turning into a solid disc. It also means a thick caramel layer will never fully firm, so keep it thin.
If a chocolate shell goes on top, add a little neutral oil to it. Pure chocolate sets brittle at freezer temperature and shatters into shards under a spoon; a small amount of extra fat keeps it flexible enough to crack cleanly instead.
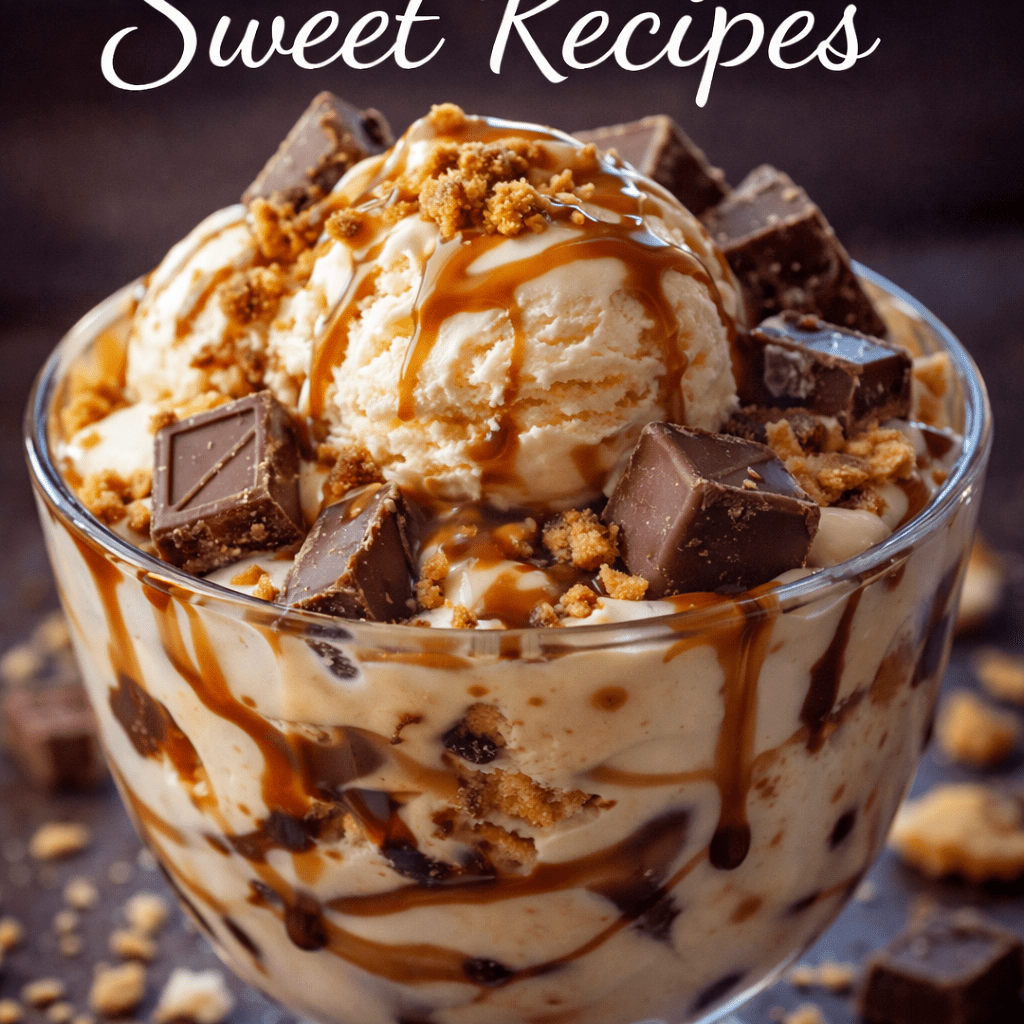
Easy Caramel Chocolate Ice Cream Dessert Cups
Ingredients
Equipment
Method
- Prepare the glasses
- Take 4 serving glasses or dessert cups.
- Add the base layer
- Scoop vanilla ice cream into each cup.
- Add toppings
- Sprinkle chocolate chips and crushed biscuits over the ice cream.
- Drizzle sauces
- Pour caramel sauce and chocolate syrup on top.
- Add whipped cream
- Top with a swirl of whipped cream.
- Final garnish
- Add a final drizzle of caramel and a few chocolate pieces.
- Serve immediately
- Enjoy while cold and creamy.
Notes
- Use slightly softened ice cream so it scoops smoothly and layers nicely.
- Chill the dessert glasses in the fridge for 10 minutes to keep the dessert colder longer.
- Warm the caramel sauce slightly so it drizzles beautifully over the ice cream.
- Add texture with crushed cookies, nuts, or brownie pieces.
- Make it extra indulgent by adding a scoop of chocolate ice cream along with vanilla.
Why Homemade Freezes Harder Than Store-Bought
Texture in a frozen dessert comes down to one thing: the size of the ice crystals. Small crystals read as smooth, large ones read as icy. Crystals grow when water freezes slowly and when a partly thawed mixture refreezes, which is why the freezer door matters as much as the recipe.
Two ingredients work against large crystals. Sugar lowers the freezing point, so more of the water stays liquid at freezer temperature. Fat physically blocks crystals from joining up. That is why a low-fat, low-sugar version of the same recipe always comes out harder and grainier, and why cutting the sugar “to make it lighter” backfires.
Commercial ice cream is softer for two reasons you cannot fully copy at home: stabilisers that bind free water, and overrun, which is air whipped in during churning. A tub from the shop can be up to half air by volume. A homemade batch is much denser, so it freezes harder.
What does work at home: a tablespoon or two of a liquid that will not freeze, such as corn syrup or a spirit, keeps the mixture softer without changing the flavour much. Freeze in a shallow container rather than a deep one so the whole batch passes through the crystal-forming range quickly. Press a sheet of plastic wrap directly onto the surface before the lid goes on, which keeps ice from forming on top. And let it sit at room temperature for ten to fifteen minutes before scooping.
What Trips People Up
The key to a well-balanced dessert cup is layering with intention rather than simply stacking ingredients. Start with slightly softened ice cream so it spreads smoothly and creates an even base. If it’s too soft, however, it will melt quickly and blur the layers, so timing matters.
When working with caramel, gently warming it makes a significant difference. Cold caramel tends to sit heavily on top, while warm caramel flows and integrates into the dessert. I’ve tested both, and the latter creates a more cohesive flavor throughout.
A common issue is soggy texture from biscuits. To avoid this, add them just before serving. If they sit too long, they absorb moisture and lose their crunch. For extra texture, lightly toast crushed biscuits beforehand.
If your whipped cream deflates quickly, it may be under-whipped. Aim for soft peaks that hold their shape but remain airy. Overwhipping leads to a dense, almost buttery texture, which doesn’t complement the lightness needed on top.
Swaps and Substitutions
This dessert can easily be adapted depending on what you have available. Swap vanilla ice cream for chocolate or coffee for a deeper flavor profile. For a lighter version, use frozen yogurt. It adds a slight tang that balances the sweetness of caramel.
You can also experiment with textures by adding brownie chunks, toasted nuts, or even a layer of fruit like sliced bananas. For a dairy-free option, coconut-based ice cream works well and pairs beautifully with caramel notes.
Frequently Asked Questions
- Q: Can I prepare these dessert cups in advance? Yes, but assemble them without biscuits and whipped cream, then add those just before serving.
- Q: Why is my caramel hardening on the ice cream? This happens if the caramel is too cold, warm it slightly before drizzling.
- Q: Can I freeze the assembled dessert? You can, but the texture will change slightly. It’s best enjoyed freshly assembled.