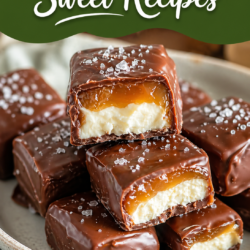
The Best Chocolate Coconut Bars
Try rich chocolate coconut bars with a fudgy brownie base and sweet, chewy coconut layer. This easy homemade dessert recipe is perfect for parties, snacks, or satisfying your chocolate cravings.
📋 Table of Contents
Why You’ll Love This Recipe
The coconut you use changes this recipe more than any other ingredient. Sweetened shredded coconut is moist and already carries sugar; unsweetened desiccated coconut is dry and will absorb liquid from the rest of the mixture. Substituting one for the other without adjusting anything gives either a wet, loose bar or a dry, crumbly one.
The contrast that makes these work is a slightly crisp top over a fudgy interior, and that comes from underbaking rather than from any special technique. Pull them when the edges are set and the middle still looks soft. They firm considerably as they cool.
Chill before cutting. A warm chocolate and coconut bar tears along the coconut fibres instead of slicing cleanly; a cold one cuts in a single pass with a hot knife.
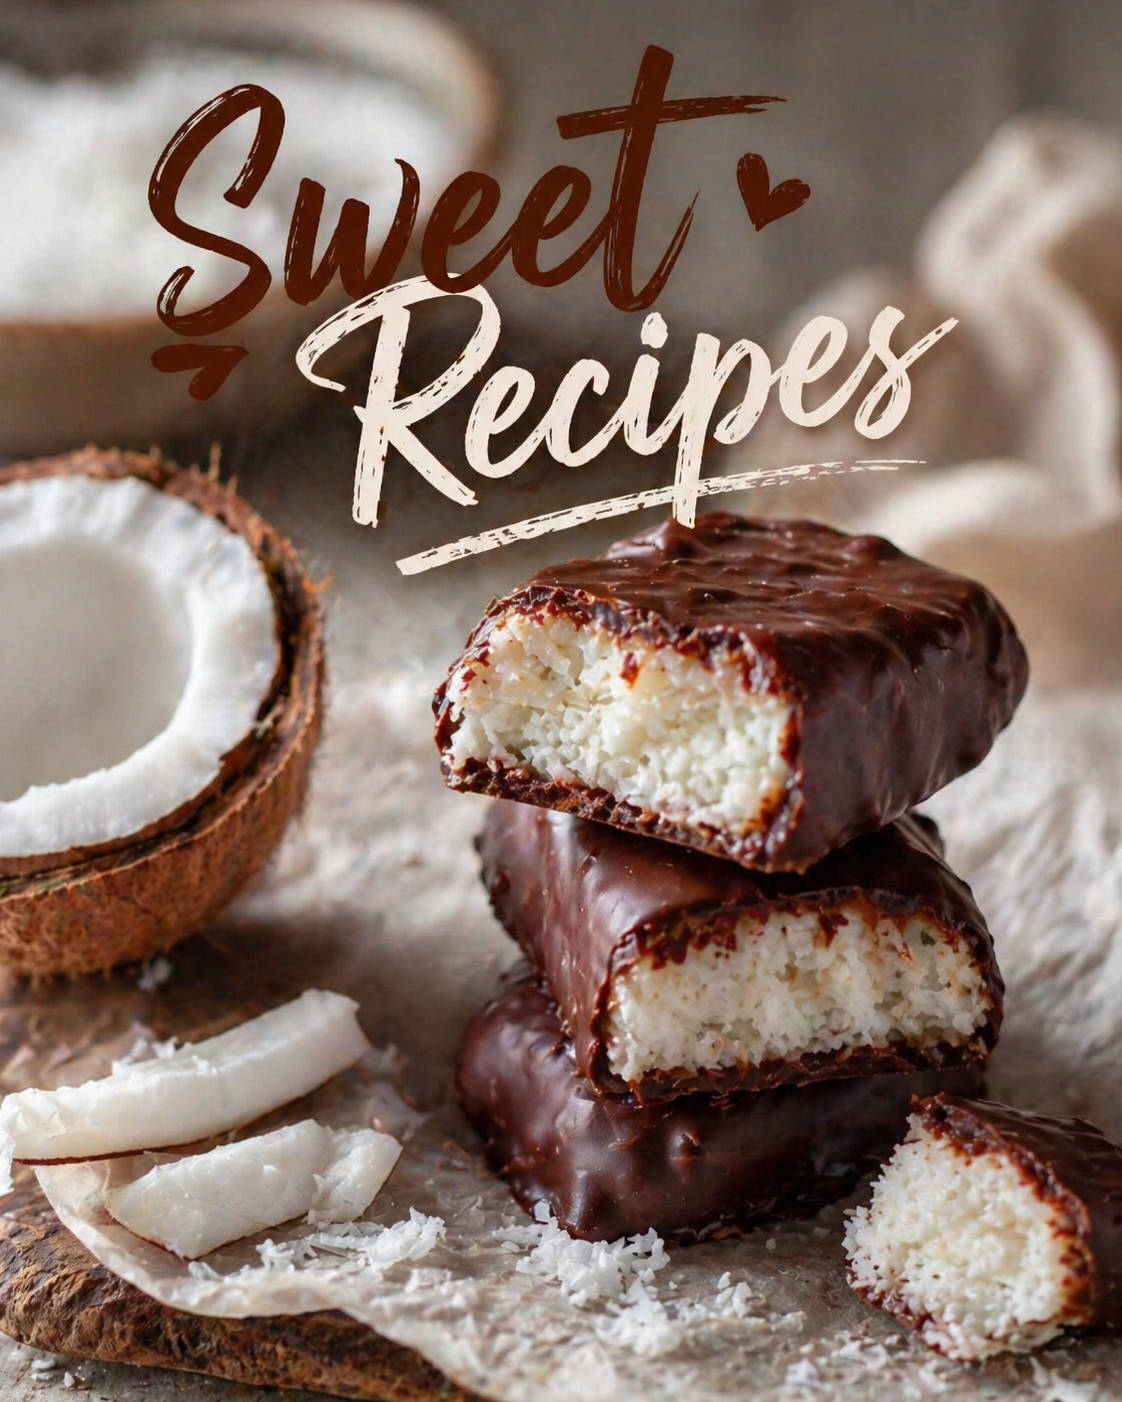
Chocolate Coconut Bars
Ingredients
Equipment
Method
- Prepare the Pan
- Preheat oven to 350°F (175°C)
- Line an 8×8 or 9×9 inch baking pan with parchment paper
- Make the Chocolate Base
- In a bowl, mix melted butter, sugar, and brown sugar
- Add eggs one at a time, whisking well
- Stir in vanilla
- Sift in flour, cocoa powder, salt, and baking powder
- Mix until just combined (don’t overmix)
- 👉 Pour about ¾ of the batter into the pan and spread evenly
- Make the Coconut Layer
- In another bowl, combine:
- Shredded coconut
- Sweetened condensed milk
- Vanilla
- Salt
- Mix until fully coated and sticky
- 👉 Spread this mixture evenly over the chocolate base
- Add Remaining Chocolate
- Drop spoonfuls of remaining chocolate batter over the coconut layer
- Gently spread or swirl (it doesn’t need to fully cover)
- Bake
- Bake for 30–35 minutes
- Center should be set but still slightly soft
- Optional Chocolate Topping
- Melt chocolate chips with cream/butter (microwave in 20-second intervals)
- Spread over cooled bars
- Cool & Slice
- Let cool completely before cutting
- For clean cuts, chill in fridge for 30 minutes
Notes
Add chopped nuts for extra crunch
Store in airtight container up to 4 days
Controlling Spread and Chew
Whether these come out thin and crisp or thick and chewy is decided mostly before baking, by butter temperature and by which sugar you use.
Butter is the main lever. Melted butter coats the flour and spreads freely, giving a flatter, denser result. Softened butter creamed with sugar traps air and holds more height. Cold butter cut in barely spreads at all. If a batch came out flatter than you wanted, the butter was warmer than the recipe assumed, and a warm kitchen is enough to cause it.
Chilling the dough does two separate things. Firm fat takes longer to melt in the oven, so there is less time to spread. And resting the dough lets the flour hydrate fully, which deepens the flavour noticeably. Thirty minutes helps; overnight is better, and the difference is real rather than superstition.
Sugar changes the outcome too. Brown sugar holds moisture and is slightly acidic, giving a softer, chewier, more spread-out result. White sugar gives crisper edges and a more even shape. Shifting the ratio between them adjusts the texture without touching anything else.
Finally, pull them early. Take them out when the edges are set and the centres still look slightly underdone. The tray holds a lot of heat and keeps cooking them for several minutes after it leaves the oven. Anything that looks properly done in the oven will be dry once it cools.
Where This One Goes Wrong
The most critical step in this recipe is controlling the bake time of the chocolate base. A common mistake is waiting for the center to look fully set before removing it from the oven. In reality, the perfect texture comes when the center still appears slightly soft. As it cools, the residual heat finishes the cooking process, preserving a fudgy interior instead of turning it into a dry cake-like structure.
Another issue we encountered during testing was the coconut layer becoming too loose. This happens when the condensed milk is not evenly distributed. The solution is to mix until every shred of coconut is fully coated and sticky. This ensures the layer binds together during baking and slices cleanly once chilled.
For slicing, always chill the bars for at least 30 minutes. A warm knife dipped in hot water creates smooth, bakery-style edges without cracking the chocolate surface unevenly.
Changing the Texture
For a richer version, add a thin layer of dark chocolate ganache on top instead of melted chocolate chips. It creates a softer, truffle-like finish. If you prefer a less sweet profile, use unsweetened coconut and 70% dark chocolate to balance the condensed milk.
A nut variation works beautifully. Add toasted almonds or hazelnuts into the coconut layer for extra crunch. For a tropical twist, mix a small amount of lime zest into the coconut filling to brighten the flavor and cut through the richness.
Frequently Asked Questions
- Q: Why are my bars too dry? They were likely overbaked. Remove them while the center is still slightly soft.
- Q: Can I use unsweetened coconut? Yes, but the texture will be less moist and slightly more fibrous.
- Q: How do I get clean slices? Chill the bars and use a hot, dry knife for each cut.
- Q: Can I store them at room temperature? Yes for up to 2 days, but refrigeration keeps the texture firmer and cleaner.