The Best 3 Ingredient Crunch Bars (Easy No-Bake Recipe)
These 3 ingredient crunch bars are an easy no-bake dessert made with chocolate, cereal, and peanut butter. Quick, crunchy, and perfect for any sweet craving.
📋 Table of Contents
Why You’ll Love This Recipe
These homemade Crunch Bars combine everything people tend to crave in a quick chocolate dessert: a crisp cereal crunch, a smooth chocolate coating, and just enough peanut butter richness to make each bite feel balanced instead of overly sweet. Unlike many store-bought versions that can taste waxy or overly processed, these bars have a fresher flavor and a softer melt on the tongue because the chocolate mixture is prepared gently over low heat.
One of the first things we noticed while testing this recipe was how much texture matters. If the cereal sits too long before being mixed into the melted chocolate, it starts losing its crispness quickly. Folding the cereal in immediately while the chocolate is still warm keeps every piece coated without becoming soggy. When chilled properly, the finished bars develop a satisfying snap when sliced, followed by a light crunch that contrasts beautifully with the creamy chocolate base.
The smell alone is enough to make this recipe memorable. As the butter, peanut butter, and chocolate melt together, the kitchen fills with a warm roasted aroma similar to chocolate fudge fresh from a candy shop. The vanilla added at the end rounds out the flavor and softens the sweetness slightly, while the pinch of salt keeps the bars from tasting flat.
During one test batch, the mixture became grainy because the chocolate overheated. Lowering the heat and stirring continuously fixed the issue immediately. Chocolate melts more evenly at gentle temperatures, which is why this recipe specifically recommends low heat instead of rushing the process. That extra patience creates a silkier coating and prevents oily separation.
Another detail that improved the bars significantly was pressing the mixture firmly into the pan without crushing the cereal. Too much pressure compresses the bars into a hard block instead of keeping that airy crunch. Using the back of a lightly greased spoon gives enough pressure for clean slices while preserving texture.
These Crunch Bars work especially well for make-ahead desserts because the flavor actually deepens after chilling for a few hours. The cereal stays crisp, the chocolate firms into smooth layers, and the peanut butter becomes more noticeable with time. Whether packed into lunchboxes, served cold from the refrigerator, or cut into small squares for parties, they deliver a rich chocolate crunch without requiring baking or complicated techniques.
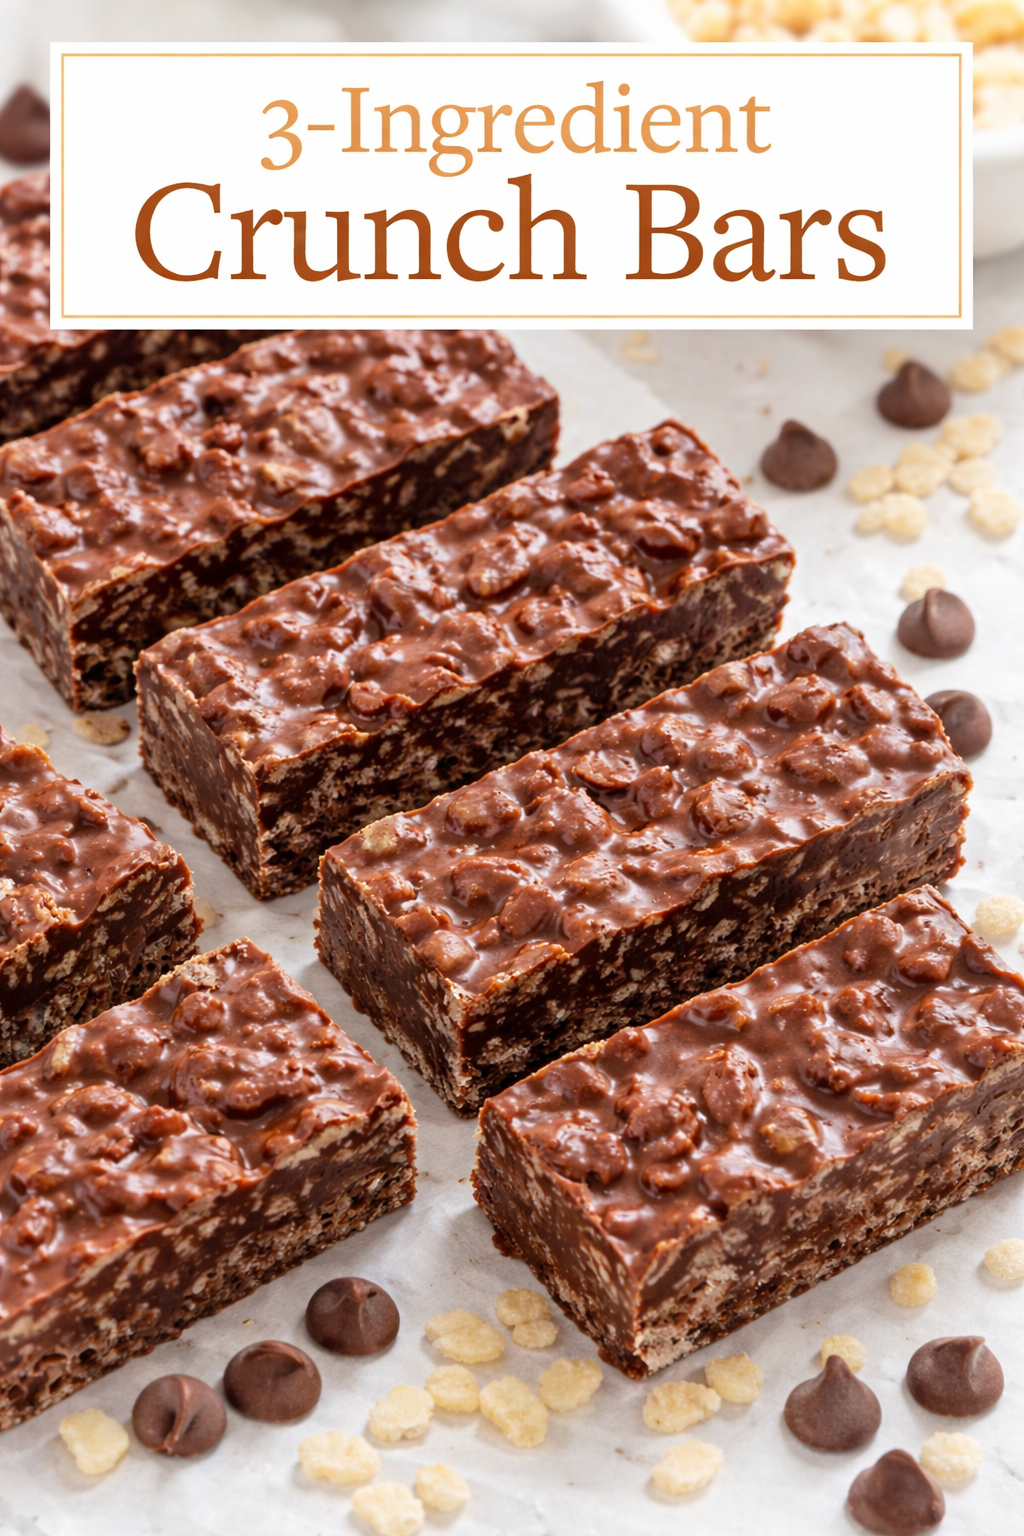
Crunch Bars
Ingredients
Equipment
Method
- Prepare your pan
- Line an 8×8 inch (20×20 cm) pan with parchment paper.
- Lightly grease it to prevent sticking.
- Melt the base
- In a saucepan over low heat, add:
- butter
- chocolate chips
- peanut butter
- honey (or syrup)
- Stir continuously until smooth and fully melted.
- ⚠️ Don’t overheat—low heat keeps the chocolate silky.
- Add flavor
- Remove from heat.
- Stir in:
- vanilla extract
- pinch of salt
- Mix with cereal
- Pour the melted mixture over the crispy rice cereal in a large bowl.
- Gently fold until all cereal is evenly coated.
- Press into pan
- Transfer mixture into the lined pan.
- Press down firmly using a spatula or the back of a spoon.
- Tip: Lightly grease your hands or spoon to prevent sticking.
- Chill
- Refrigerate for 1–2 hours until firm.
- Slice & serve
- Lift out using parchment.
- Cut into squares or bars.
Notes
For extra crunch: mix in crushed biscuits or pretzels.
For a cleaner cut: use a warm knife.
🍽️ Storage
Keep in an airtight container:
Fridge: up to 1 week
Freezer: up to 2 months
Expert Tips & Techniques
For the best texture, melt the chocolate mixture slowly over low heat rather than medium or high. Chocolate chips contain stabilizers that can seize or become grainy if overheated too quickly. Stirring constantly keeps the mixture glossy and smooth while helping the peanut butter blend evenly into the melted chocolate.
A common mistake when making no-bake crunch bars is adding the cereal too aggressively. Stir gently with a spatula instead of a spoon so the cereal stays intact. Crushed cereal leads to dense bars with less crunch. The goal is a light, crisp bite rather than a compact chocolate square.
If your bars feel too soft after chilling, the ratio of wet ingredients may be slightly high. Adding an extra half cup of crispy rice cereal balances the mixture quickly without changing flavor too much. On the other hand, if the bars seem dry or crumbly, a spoonful of warm peanut butter usually restores the right consistency.
For cleaner slices, refrigerate the bars fully before cutting and warm the knife under hot water between cuts. Wiping the blade each time prevents the chocolate from dragging across the surface. This small bakery technique makes the finished bars look much neater for serving or gifting.
Storage matters more than many people expect. Keeping the bars in an airtight container prevents the cereal from absorbing moisture from the refrigerator, which helps maintain that signature crunch. If freezing, wrap the bars individually so condensation does not soften the chocolate coating as they thaw.
Variations & Alternatives
These Crunch Bars are flexible enough to adapt to different flavors and dietary preferences. Semi-sweet chocolate creates a richer flavor profile, while milk chocolate gives a softer, sweeter finish closer to classic candy bars. Dark chocolate also works beautifully if you prefer a deeper cocoa taste with less sweetness.
For extra texture, chopped roasted peanuts, toasted almonds, or crushed pretzels can be folded into the cereal mixture before pressing into the pan. Pretzels add a subtle salty contrast that pairs especially well with peanut butter and chocolate.
A dairy-free version can be made using vegan butter and dairy-free chocolate chips. If peanut allergies are a concern, almond butter or sunflower seed butter provides similar creaminess without affecting the structure of the bars too much.
Some bakers enjoy drizzling melted white chocolate or caramel over the chilled bars for presentation. During testing, adding flaky sea salt on top gave the bars a more balanced flavor and highlighted the roasted peanut notes beautifully.
Frequently Asked Questions
-
Q: Why are my Crunch Bars falling apart?
This usually means there is not enough melted chocolate mixture to bind the cereal together. Pressing the mixture firmly into the pan also helps the bars hold their shape once chilled. -
Q: Can I make these bars without peanut butter?
Yes. The peanut butter adds richness and helps create a creamier texture, but the bars still work with just chocolate, butter, and honey or syrup. -
Q: How long do Crunch Bars stay fresh?
Stored properly in an airtight container, they stay crisp in the refrigerator for about one week. Freezing extends freshness up to two months. -
Q: Can I use different cereals?
Absolutely. Crushed cornflakes, puffed rice, or even chopped pretzels can replace part of the crispy rice cereal for different textures and flavors. -
Q: Why should I chill the bars before slicing?
Chilling firms the chocolate and helps the bars set completely. Cutting too early can cause uneven slices and a sticky texture.