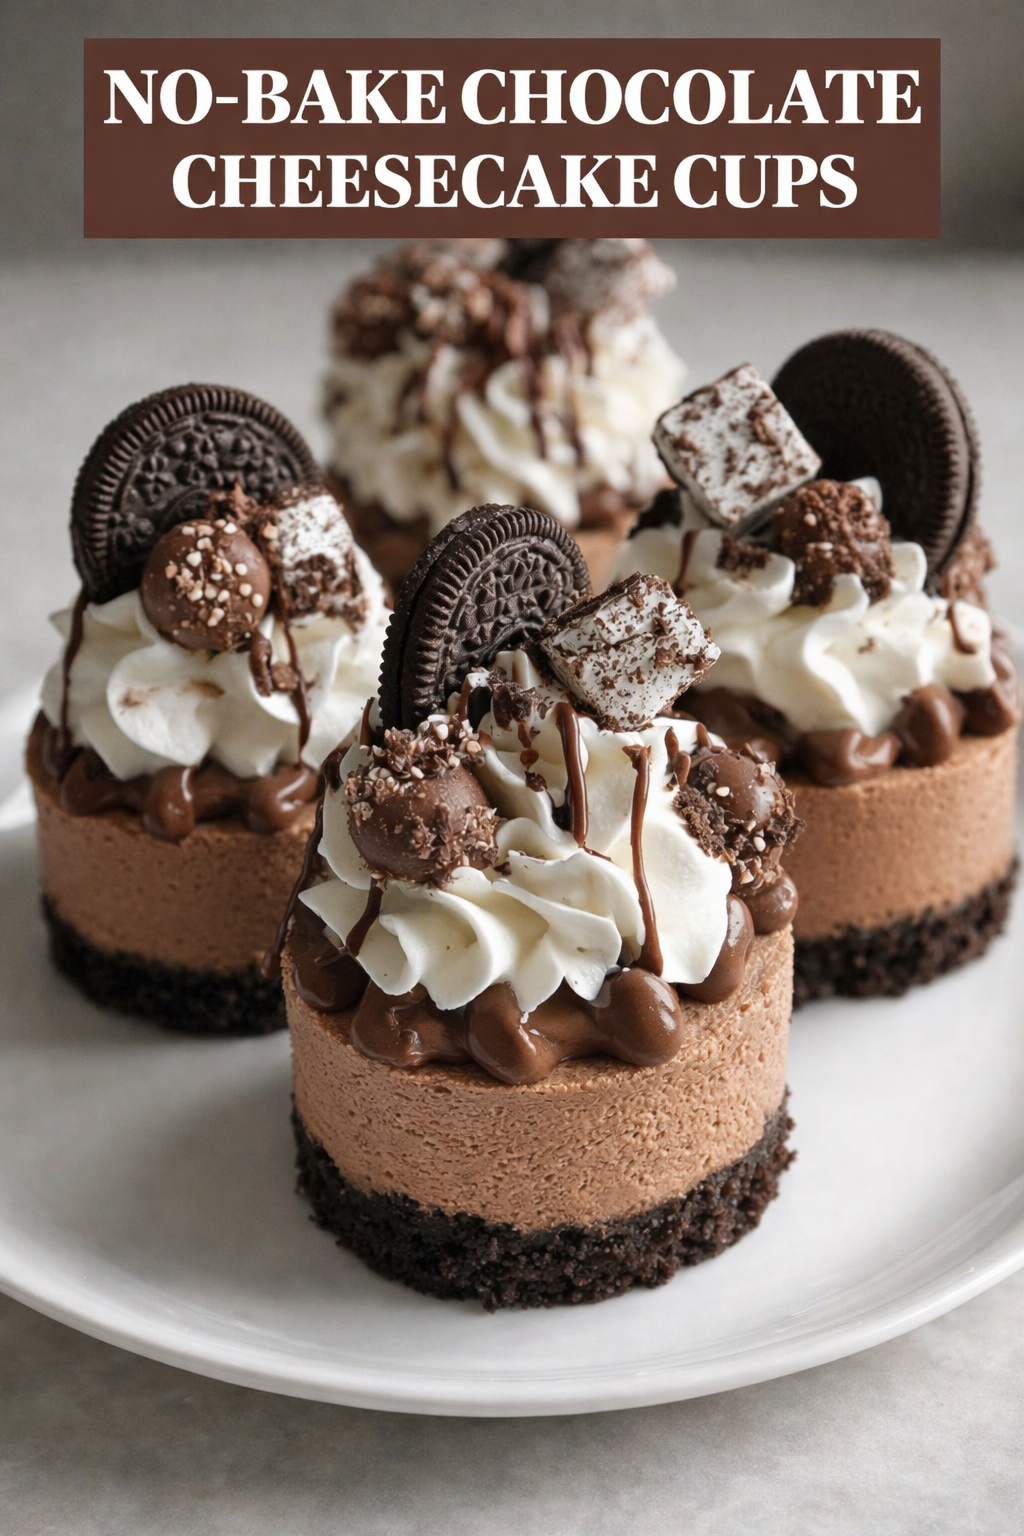
The Best No-Bake Chocolate Cheesecake Cups
Rich and creamy no-bake chocolate cheesecake cups with a crunchy cookie base and fluffy chocolate filling. An easy, no-oven dessert perfect for any occasion.
📋 Table of Contents
Why You’ll Love This Recipe
These no-bake chocolate cheesecake cups are the kind of dessert I reach for when I want something rich and polished without turning on the oven. The base is firm and chocolatey, with a buttery cookie crunch that gives way to a cool, creamy filling. The first spoonful should taste like dark chocolate mousse meeting classic cheesecake: smooth, lightly tangy, sweet but not sharp, and cold enough to feel refreshing rather than heavy.
In testing, the biggest difference came from the temperature of the ingredients. Softened cream cheese blends into a silkier filling because the fat is pliable and can trap air as it is beaten. Cold heavy cream, on the other hand, whips better because the butterfat holds structure. That contrast is what gives these cups their signature texture: dense enough to set cleanly, but still airy when you spoon through the top layer.
One mistake that can happen is adding melted chocolate while it is still hot. I have done it during a rushed prep, and the filling turned slightly grainy because the warm chocolate tightened against the cool dairy. The fix is simple: let the chocolate cool until it is still fluid but no longer warm to the touch. If the mixture does look a little streaky, stop folding for a minute, let everything sit at room temperature briefly, then continue with slow, gentle strokes.
The crust also deserves attention. Chocolate sandwich cookies give a deep cocoa aroma and a pleasantly crisp bite, but removing the filling keeps the base from becoming greasy or overly sweet. Press the crumbs firmly, not aggressively; you want a compact layer that supports the cheesecake without turning hard. A short chill before adding the filling helps the butter set, so the crust stays tidy when served.
What makes this recipe especially useful is its make-ahead nature. After a few hours in the refrigerator, the chocolate flavor rounds out, the cream cheese tang softens, and the cups slice through beautifully with a spoon. They are excellent for dinner parties, small celebrations, or any day when a chilled chocolate dessert feels more appealing than a baked cake.
No-Bake Chocolate Cheesecake Cups
Ingredients
Equipment
Method
- Make the crust
- Crush cookies into fine crumbs (food processor or zip bag + rolling pin).
- Mix with melted butter until combined.
- Press about 2–3 tbsp into the bottom of each cup.
- Chill in fridge for 10–15 minutes.
- Prepare the filling
- Beat cream cheese until smooth and creamy.
- Add powdered sugar + vanilla → mix well.
- In a separate bowl, whip heavy cream to stiff peaks.
- Gently fold whipped cream into cream cheese mixture.
- Fold in melted chocolate until smooth and fluffy.
- Assemble
- Spoon or pipe cheesecake filling over crust layer.
- Smooth tops or create swirls.
- Chill
- Refrigerate for at least 2–3 hours (or overnight for best texture).
- Decorate & serve
- Top with whipped cream, chocolate shavings, and mini cookies.
- Serve chilled.
Notes
- Make sure cream cheese is fully softened to avoid lumps.
- Do not add hot melted chocolate — let it cool slightly first.
- Chill long enough so the cheesecake sets properly.
- Can be made 1 day ahead and stored in the fridge.
- You can swap Oreos with graham crackers or digestive biscuits.
Expert Tips & Techniques
For the smoothest no-bake chocolate cheesecake filling, beat the cream cheese first by itself until it looks glossy and loose. Powdered sugar should go in after that because it dissolves quickly and helps soften the cheese further. If sugar is added before the cream cheese is smooth, tiny lumps can hide in the mixture and become harder to fix once the chocolate is added.
Whip the heavy cream to stiff peaks, but do not take it so far that it looks dry or clumpy. Properly whipped cream gives the cheesecake cups lift, while over-whipped cream can make the filling feel slightly buttery. Fold with a rubber spatula, turning the bowl as you work, so the air stays inside the mixture. This is why the filling tastes creamy rather than dense.
If the melted chocolate starts to seize when folded in, it is usually a temperature issue. Add one spoonful of the cream cheese mixture to the chocolate first, stir until loosened, then fold that chocolate mixture back into the bowl. This small step equalizes the temperature and helps prevent streaks.
Chill the cups for at least 2 to 3 hours, and cover them if storing overnight so the filling does not absorb refrigerator odors. They keep well for up to 3 days in the refrigerator. Add whipped cream, cookie pieces, and chocolate curls just before serving for the best contrast between creamy filling and crisp topping.
Variations & Alternatives
This recipe is flexible as long as the balance of fat, sweetness, and chill time stays steady. For a darker, more grown-up flavor, use 60–70% dark chocolate and finish each cup with a light dusting of cocoa powder. The aroma becomes deeper and slightly roasted, especially against the buttery chocolate crumb base.
For a sweeter cookies-and-cream version, fold a few tablespoons of finely crushed Oreos into the filling after the chocolate is incorporated. For a mocha variation, dissolve 1 teaspoon of instant espresso powder into the melted chocolate; it will not make the dessert taste strongly like coffee, but it sharpens the chocolate flavor.
To make a gluten-free version, use certified gluten-free chocolate cookies for the crust. For a lighter cup, substitute one third of the cream cheese with thick Greek yogurt, but expect a softer set and a slightly brighter tang. Graham crackers or digestive biscuits also work, though the flavor becomes more caramel-like and less intensely chocolatey.
These cups can also be assembled in mini jars for parties. Use smaller portions and pipe the filling for clean layers. If serving to guests, garnish right before presentation so the whipped cream stays fluffy and the cookie garnish keeps its snap.
Frequently Asked Questions
- Q: Why is my chocolate cheesecake filling lumpy? The cream cheese was likely too cold or not beaten long enough before adding the sugar and chocolate. Let the mixture stand at room temperature for 10 minutes, then beat briefly until smoother.
- Q: Can I make these no-bake chocolate cheesecake cups ahead? Yes. They taste even better after chilling overnight because the chocolate settles and the cheesecake flavor becomes rounder. Add toppings shortly before serving.
- Q: Can I freeze them? You can freeze the filled cups without whipped cream for up to 1 month. Thaw in the refrigerator, not at room temperature, so the texture stays creamy instead of watery.
- Q: Do I have to remove the Oreo filling? Removing it gives a cleaner, firmer crust. Leaving it in works, but the base will be sweeter and softer, especially after chilling overnight.
- Q: What chocolate works best? Semi-sweet chocolate gives a balanced cup, while dark chocolate makes the dessert richer and less sweet. Avoid very hot melted chocolate because it can tighten the dairy mixture.
- Q: How do I get neat layers? Chill the crust first, then pipe the filling instead of spooning it. A piping bag keeps the sides of the cups clean and gives the top a bakery-style swirl.
")


