The Best Old-Fashioned Apple Crisp, Warm & Comforting
📋 Table of Contents
Why You’ll Love This Recipe
There is something unmistakably comforting about pulling a bubbling apple crisp from the oven on a cool evening. The smell of cinnamon, butter, and baked apples slowly filling the kitchen feels nostalgic in the best possible way. This old-fashioned apple crisp recipe focuses on texture and balance rather than excessive sweetness, which is exactly why it has remained one of the most requested desserts in our test kitchen.
The combination of tart Granny Smith apples and naturally sweet Honeycrisp apples creates a filling that stays flavorful after baking instead of turning flat or sugary. As the apples soften in the oven, they release juices that blend with cinnamon, nutmeg, brown sugar, and lemon juice into a thick, caramel-like syrup underneath the crisp topping. The oats toast while baking, giving the surface a buttery crunch that contrasts beautifully with the tender fruit below.
One mistake we learned early on was slicing the apples too thin. They cooked too quickly and turned mushy before the topping finished browning. Keeping the slices slightly thicker helps the apples hold their shape and gives the finished dessert a more satisfying texture. Another common issue is overworking the butter into the topping. If the mixture becomes too smooth instead of crumbly, the crisp bakes up dense rather than crisp. Leaving visible pea-sized butter pieces creates steam pockets while baking, which produces that golden, crunchy topping everyone reaches for first.
The reason cold butter matters so much comes down to structure. When chilled butter melts gradually in the oven, it coats the oats and flour while still allowing crisp edges to form. Warm butter blends too completely into the dry ingredients and removes that crumbly texture. Using rolled oats instead of quick oats also improves the final result because they toast more evenly and hold their bite after baking.
Fresh from the oven, the apple filling is soft and fragrant with warm spice, while the topping stays crisp and buttery around the edges. A scoop of vanilla ice cream slowly melting into the hot crisp creates a creamy sauce that mixes with the cinnamon apples underneath. After several rounds of testing, we found that allowing the crisp to rest for about fifteen minutes before serving makes a noticeable difference. The juices thicken slightly, the flavors settle, and each spoonful holds together better instead of running across the plate.
This dessert works equally well for holiday gatherings, Sunday dinners, or casual weeknight baking because it feels homemade in the most genuine sense. It is simple enough to prepare without stress, yet the finished flavor tastes deeply layered and thoughtfully made.
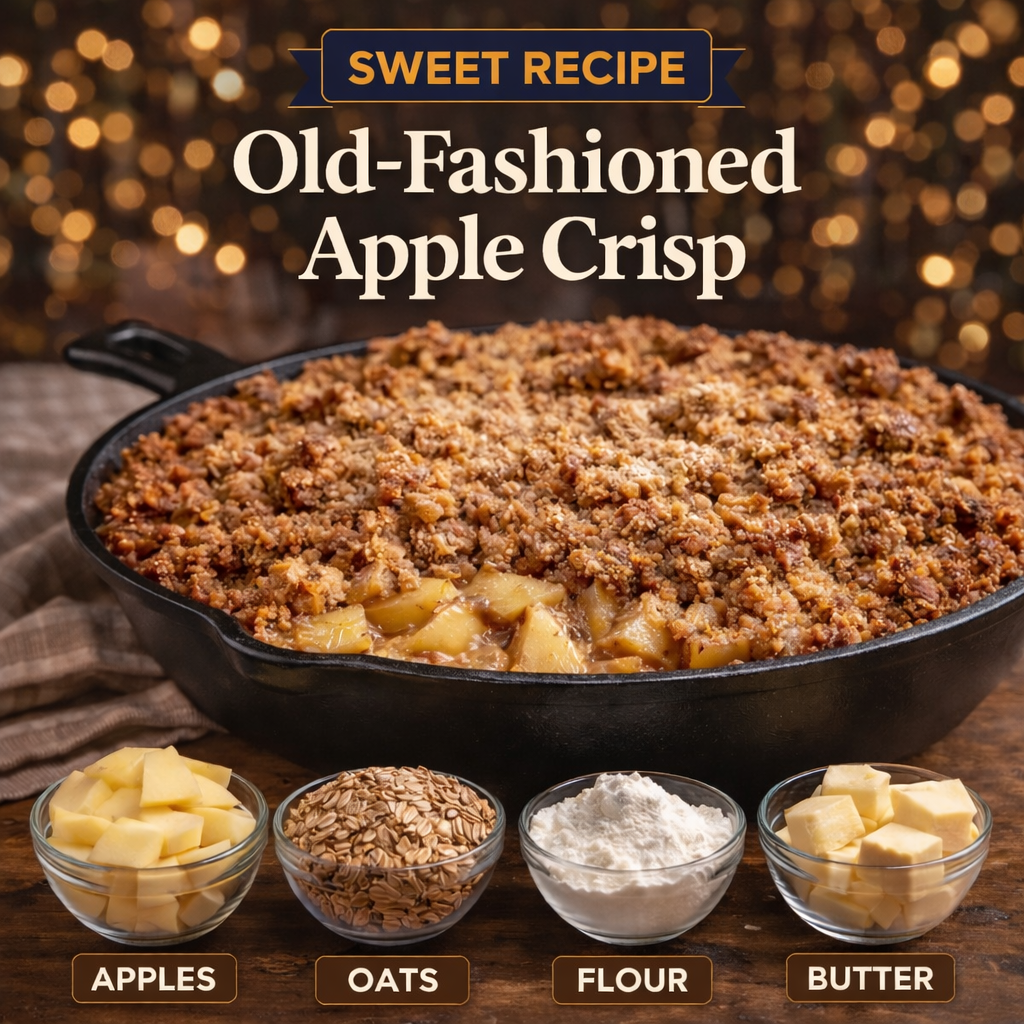
Old-Fashioned Apple Crisp Warm, Comforting & Delicious
Ingredients
Equipment
Method
- Preheat your oven to 350°F (175°C). Grease a 9-inch baking dish or oven-safe skillet.
- Make the Apple Filling:
- In a large bowl, toss the sliced apples with sugar, brown sugar, cinnamon, nutmeg, flour, and lemon juice. Mix until apples are evenly coated. Transfer the mixture into your prepared baking dish.
- Prepare the Crisp Topping:
- In a separate bowl, combine oats, flour, brown sugar, granulated sugar, cinnamon, and salt. Add in the cold butter cubes and use a pastry cutter or your fingers to blend until the mixture resembles coarse crumbs.
- Assemble:
- Evenly spread the crisp topping over the apples, covering them completely.
- Bake:
- Bake for 40–45 minutes, or until the topping is golden brown and the apples are bubbling underneath.
- Cool and Serve:
- Let cool slightly before serving. Delicious warm on its own or with a scoop of vanilla ice cream.
Notes
Soggy Bottoms and Runny Fillings
Every problem with a fruit bake traces back to water. Fruit is mostly water, heat drives it out, and it has to go somewhere. Left alone it soaks the pastry and thins the filling.
For the base, the goal is to set the crust before the juice reaches it. Blind-baking the shell gets you most of the way. Sealing the baked surface with a brush of egg white or a thin layer of melted chocolate adds a waterproof barrier. And baking on a preheated tray or baking steel on a low rack drives heat into the base from below, which does more than any other single change.
For the filling, the thickener matters more than the amount. Cornstarch is common but has to reach a genuine boil to thicken fully, and acidic fruit weakens it, so a sharp filling that only simmered will stay loose. Tapioca starch handles acid better and survives freezing without weeping. Flour works but stays cloudy and needs roughly twice the quantity.
There is a step worth adding that most recipes skip. Toss the cut fruit with its sugar and leave it for thirty minutes. It will release a surprising amount of juice. Drain that off, reduce it in a pan until syrupy, then stir it back into the fruit. You have removed the water without cooking the fruit to mush, and the flavour concentrates at the same time.
Getting the Bake Right
Choosing the right apples is one of the biggest factors in creating a balanced apple crisp. Apples that are too soft tend to collapse into applesauce during baking, while overly tart apples may need additional sugar. A mix of Granny Smith and Honeycrisp gives both structure and natural sweetness, which creates a fuller flavor after baking.
For a crisp topping with better texture, avoid melting the butter beforehand. Cold butter cubes worked into the flour and oats create uneven crumbs, and those uneven crumbs are what turn beautifully golden in the oven. If the topping feels too soft before baking, refrigerate it for ten minutes to firm the butter again.
Another small professional technique is baking the crisp on a sheet pan. Apple filling can bubble over slightly during baking, especially in ceramic dishes, and the pan prevents sticky spills on the oven floor. If the topping begins browning too quickly before the apples soften, loosely tent the dish with foil for the final fifteen minutes.
Storage is simple but important. Leftover apple crisp should cool completely before refrigeration to prevent steam from softening the topping. Reheat portions in the oven instead of the microwave whenever possible. The microwave warms the apples quickly but softens the oat topping, while oven reheating restores much of the crisp texture.
A final chef’s tip: adding the lemon juice is not only about flavor. The acidity brightens the baked apples and slows oxidation, helping the filling taste fresher instead of overly heavy after baking.
Other Fruit That Works
This old-fashioned apple crisp recipe can easily be adapted to different flavor profiles and dietary preferences. For a deeper autumn flavor, try adding chopped pecans or walnuts to the topping. The nuts toast during baking and add extra crunch against the soft apples.
Pears work beautifully alongside apples and create a softer, more delicate filling. A handful of dried cranberries or raisins can also add small bursts of sweetness throughout the dessert. For a warmer spice blend, a pinch of ground ginger or cardamom gives the crisp a slightly more complex aroma without overpowering the apples.
To make the recipe gluten-free, substitute a gluten-free all-purpose flour blend and certified gluten-free oats. For a dairy-free version, replace the butter with cold vegan baking sticks rather than spreadable margarine, which can make the topping greasy.
Some bakers prefer serving apple crisp chilled the next day, when the filling becomes thicker and almost jam-like. Others enjoy it straight from the oven while the fruit is bubbling underneath the crisp topping. Both versions have their own charm depending on the occasion.
Frequently Asked Questions
- Q: Can I prepare apple crisp ahead of time? Yes. Assemble the filling and topping separately up to one day ahead, then refrigerate. Add the topping just before baking so it stays crisp instead of absorbing moisture from the apples.
- Q: Why is my topping not crunchy? This usually happens if the butter was too warm or if the topping was overmixed. Keeping the butter cold and leaving crumbly pieces creates a better crisp texture during baking.
- Q: Which apples work best for apple crisp? Granny Smith apples hold their shape well and provide tartness, while Honeycrisp apples add sweetness and juiciness. Combining different apple varieties creates a more balanced filling.
- Q: Can I freeze baked apple crisp? Absolutely. Allow it to cool completely, wrap tightly, and freeze for up to two months. Reheat in the oven so the topping regains some crispness.
- Q: How do I know when the apple crisp is done baking? The topping should be golden brown and the apple filling should bubble around the edges. If the apples still feel firm when tested with a spoon, bake for an additional five to ten minutes.