Strawberry Lemon Mini Cakes
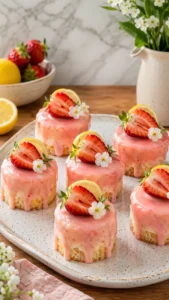
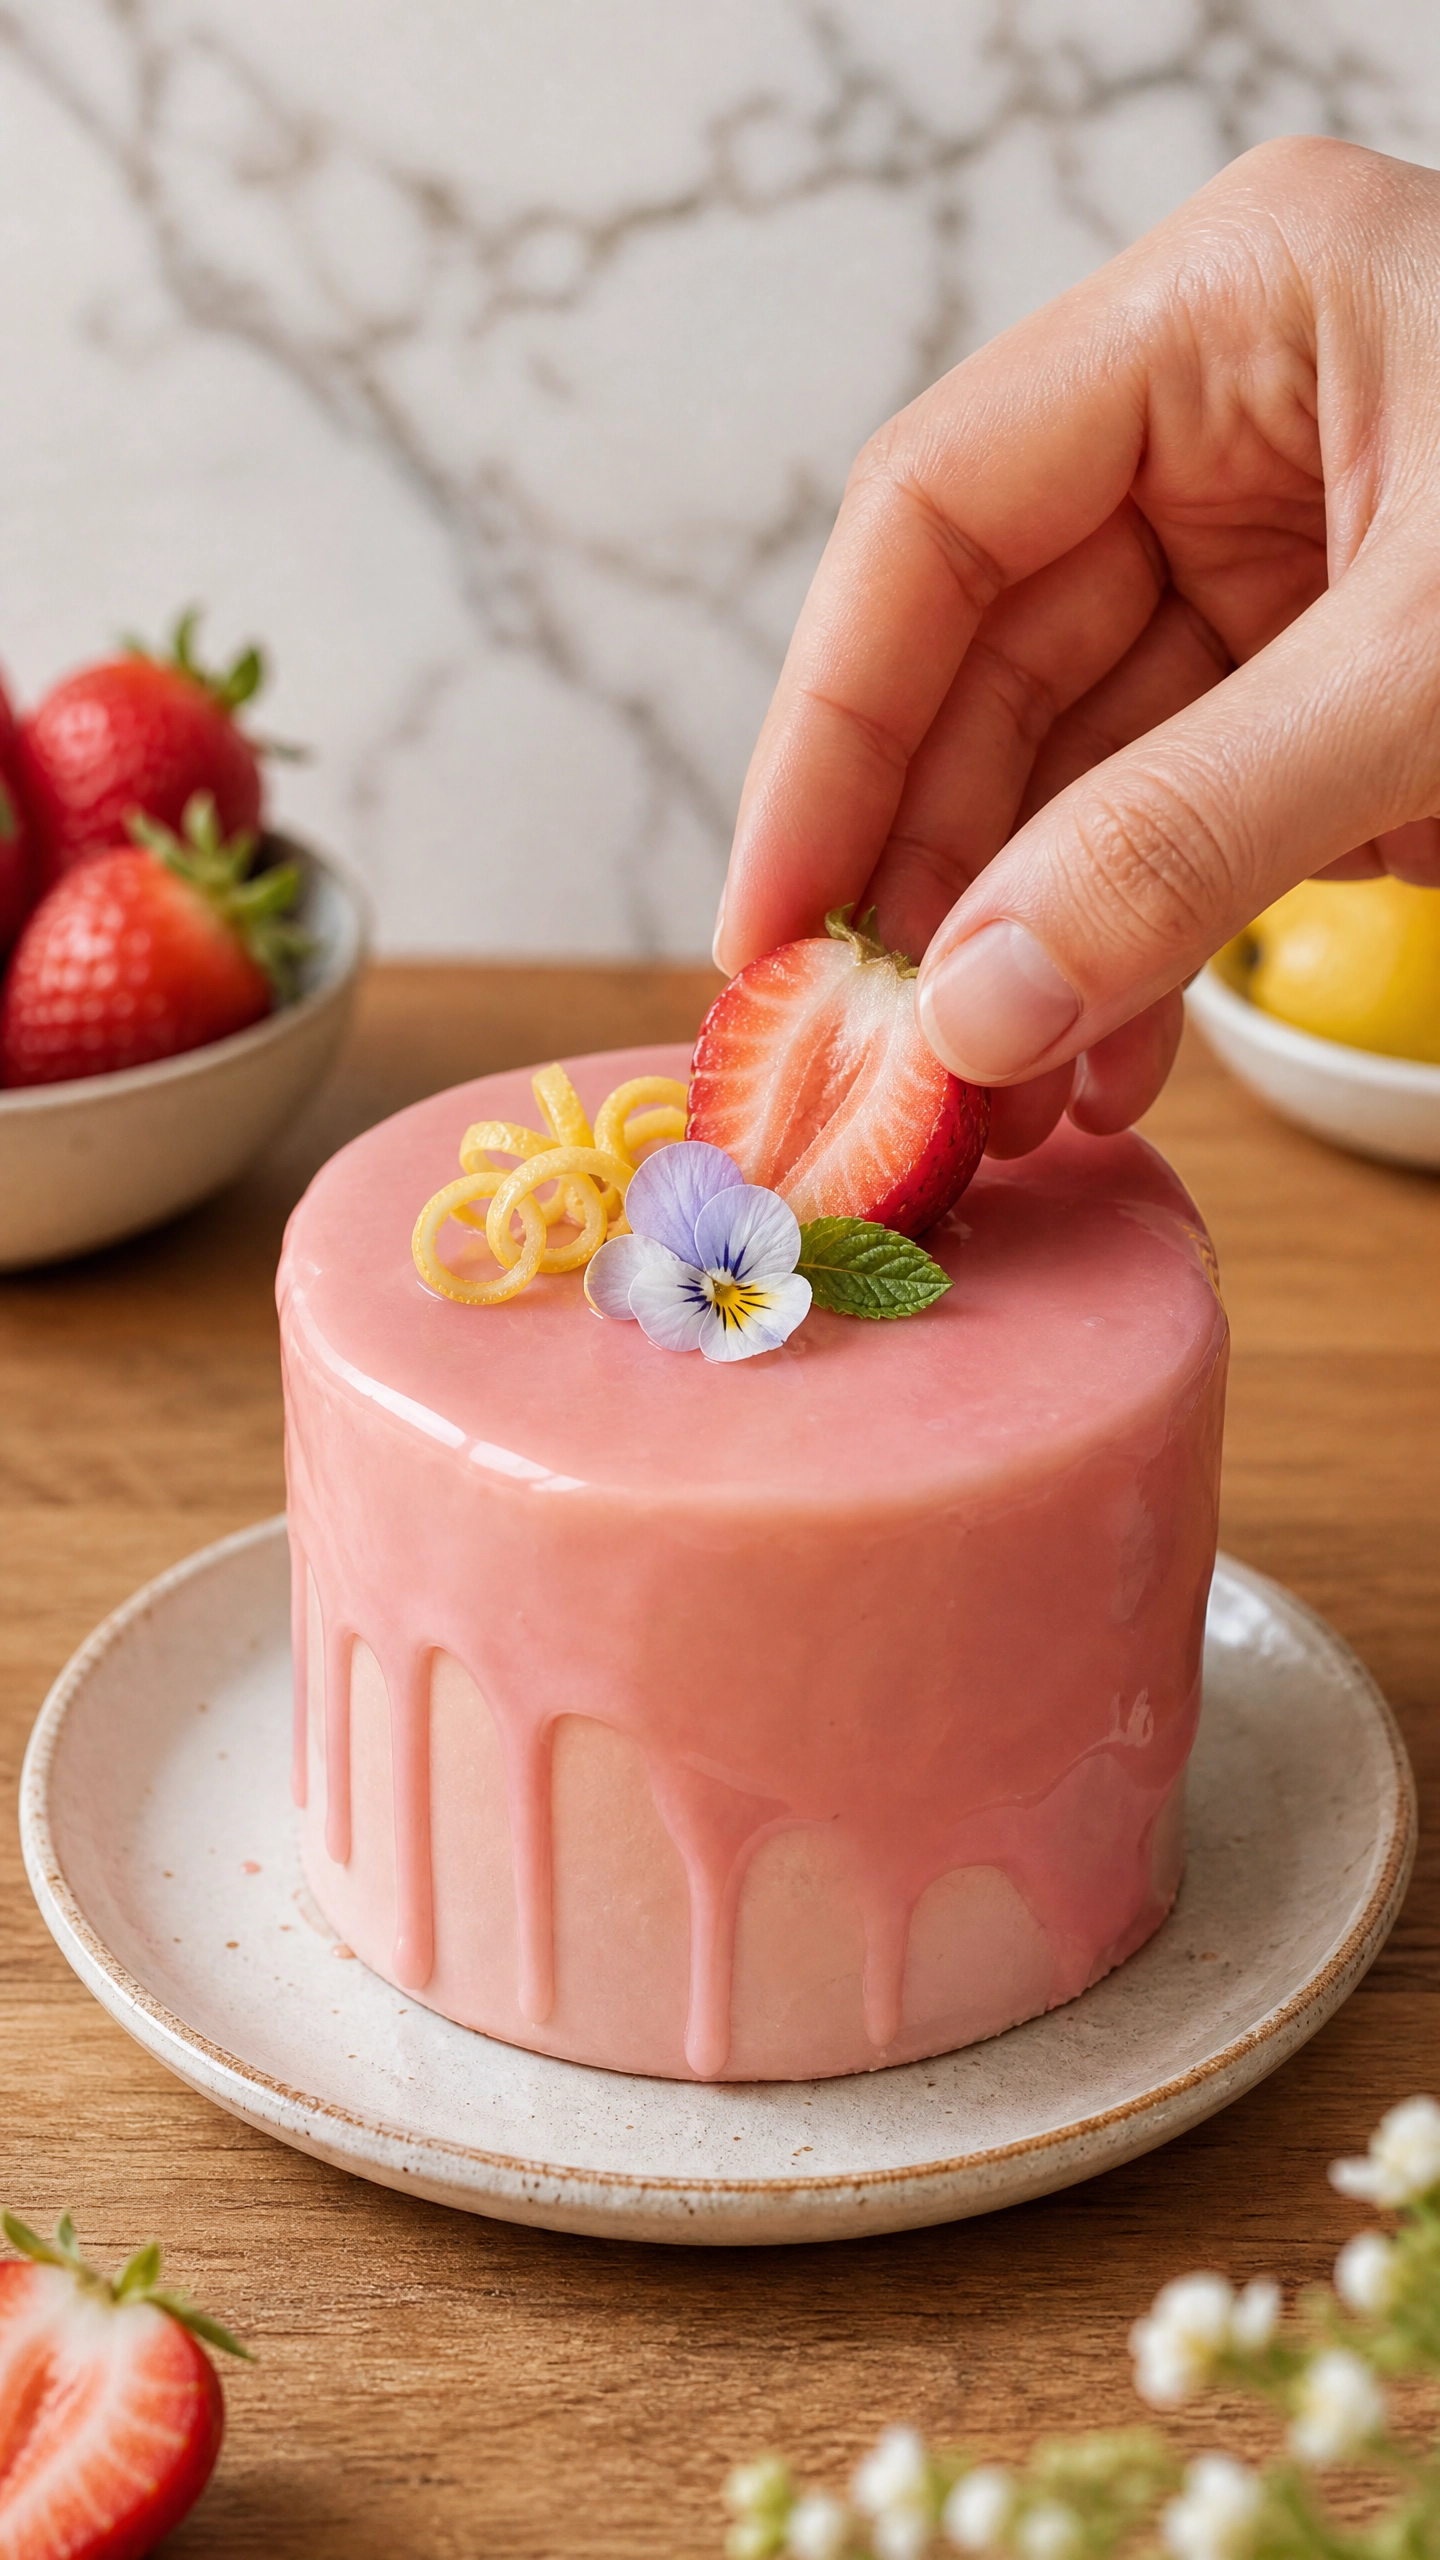
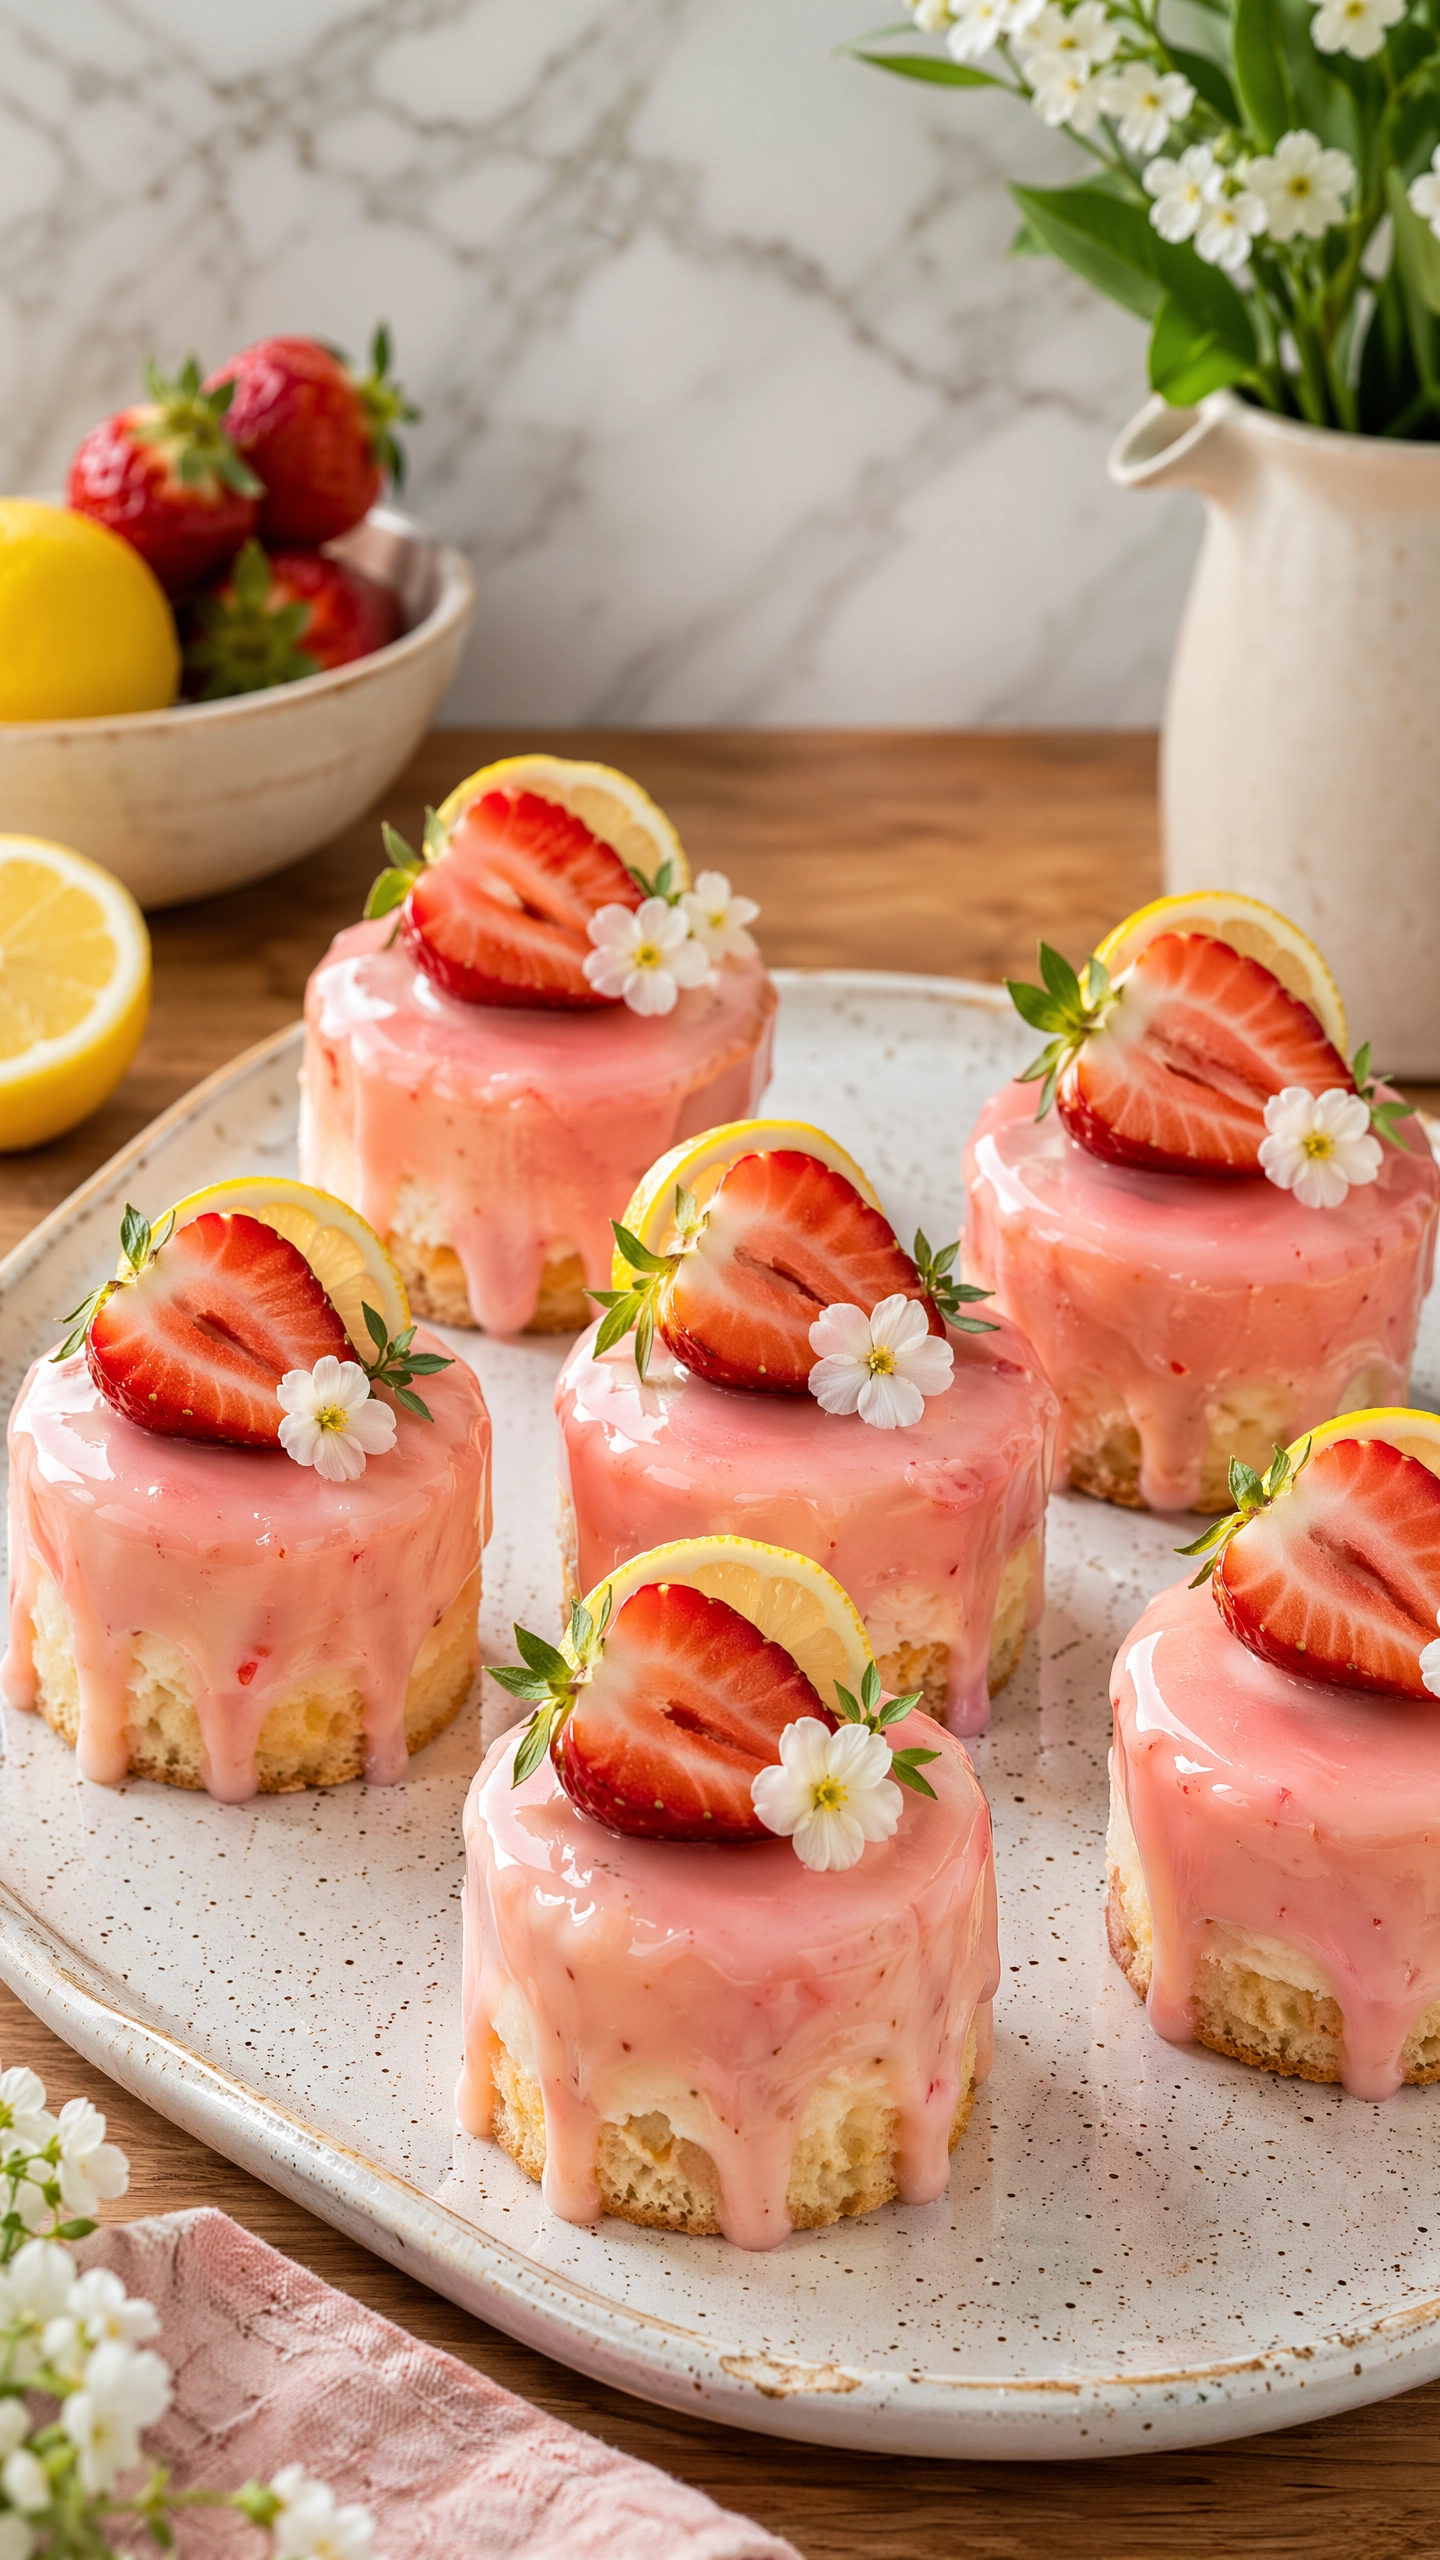
Bright, refreshing, and beautifully elegant, these Strawberry Lemon Mini Cakes feature a light lemon sponge layered with creamy strawberry mousse, finished with a glossy strawberry glaze and topped with fresh berries. They’re the perfect individual dessert for spring celebrations, summer gatherings, afternoon tea, or any special occasion.
📋 Table of Contents
Why You’ll Love This Recipe
A mini entremet lives or dies on two ratios. The mousse has to set firmly enough to unmold with a clean vertical edge, and the glaze has to set softly enough to slice without cracking. Those two requirements pull in opposite directions, and reconciling them is what makes this dessert feel harder than it actually is.
Every layer here does specific work. The lemon sponge is baked thin and pulled from the oven slightly early so it stays soft under the mousse without turning soggy. The strawberry mousse is set with gelatin at roughly 1.8 per cent of its liquid weight, firm enough to hold its shape once unmolded but still light on the spoon. The glaze sits deliberately lower, around 1.2 per cent, because a glaze set as firmly as the mousse cracks the moment a fork touches it.
The lemon is not decoration. Strawberry alone reads flat and uniformly sweet across a whole dessert. The acid in the zest and juice cuts that, and it is the reason the last bite tastes as interesting as the first.
One step cannot be rushed. The mousse needs a full night in the fridge, not the three or four hours that feel sufficient. Gelatin keeps building structure for hours after the surface already feels set, and a mousse unmolded too early slumps and takes the glaze down the sides with it.
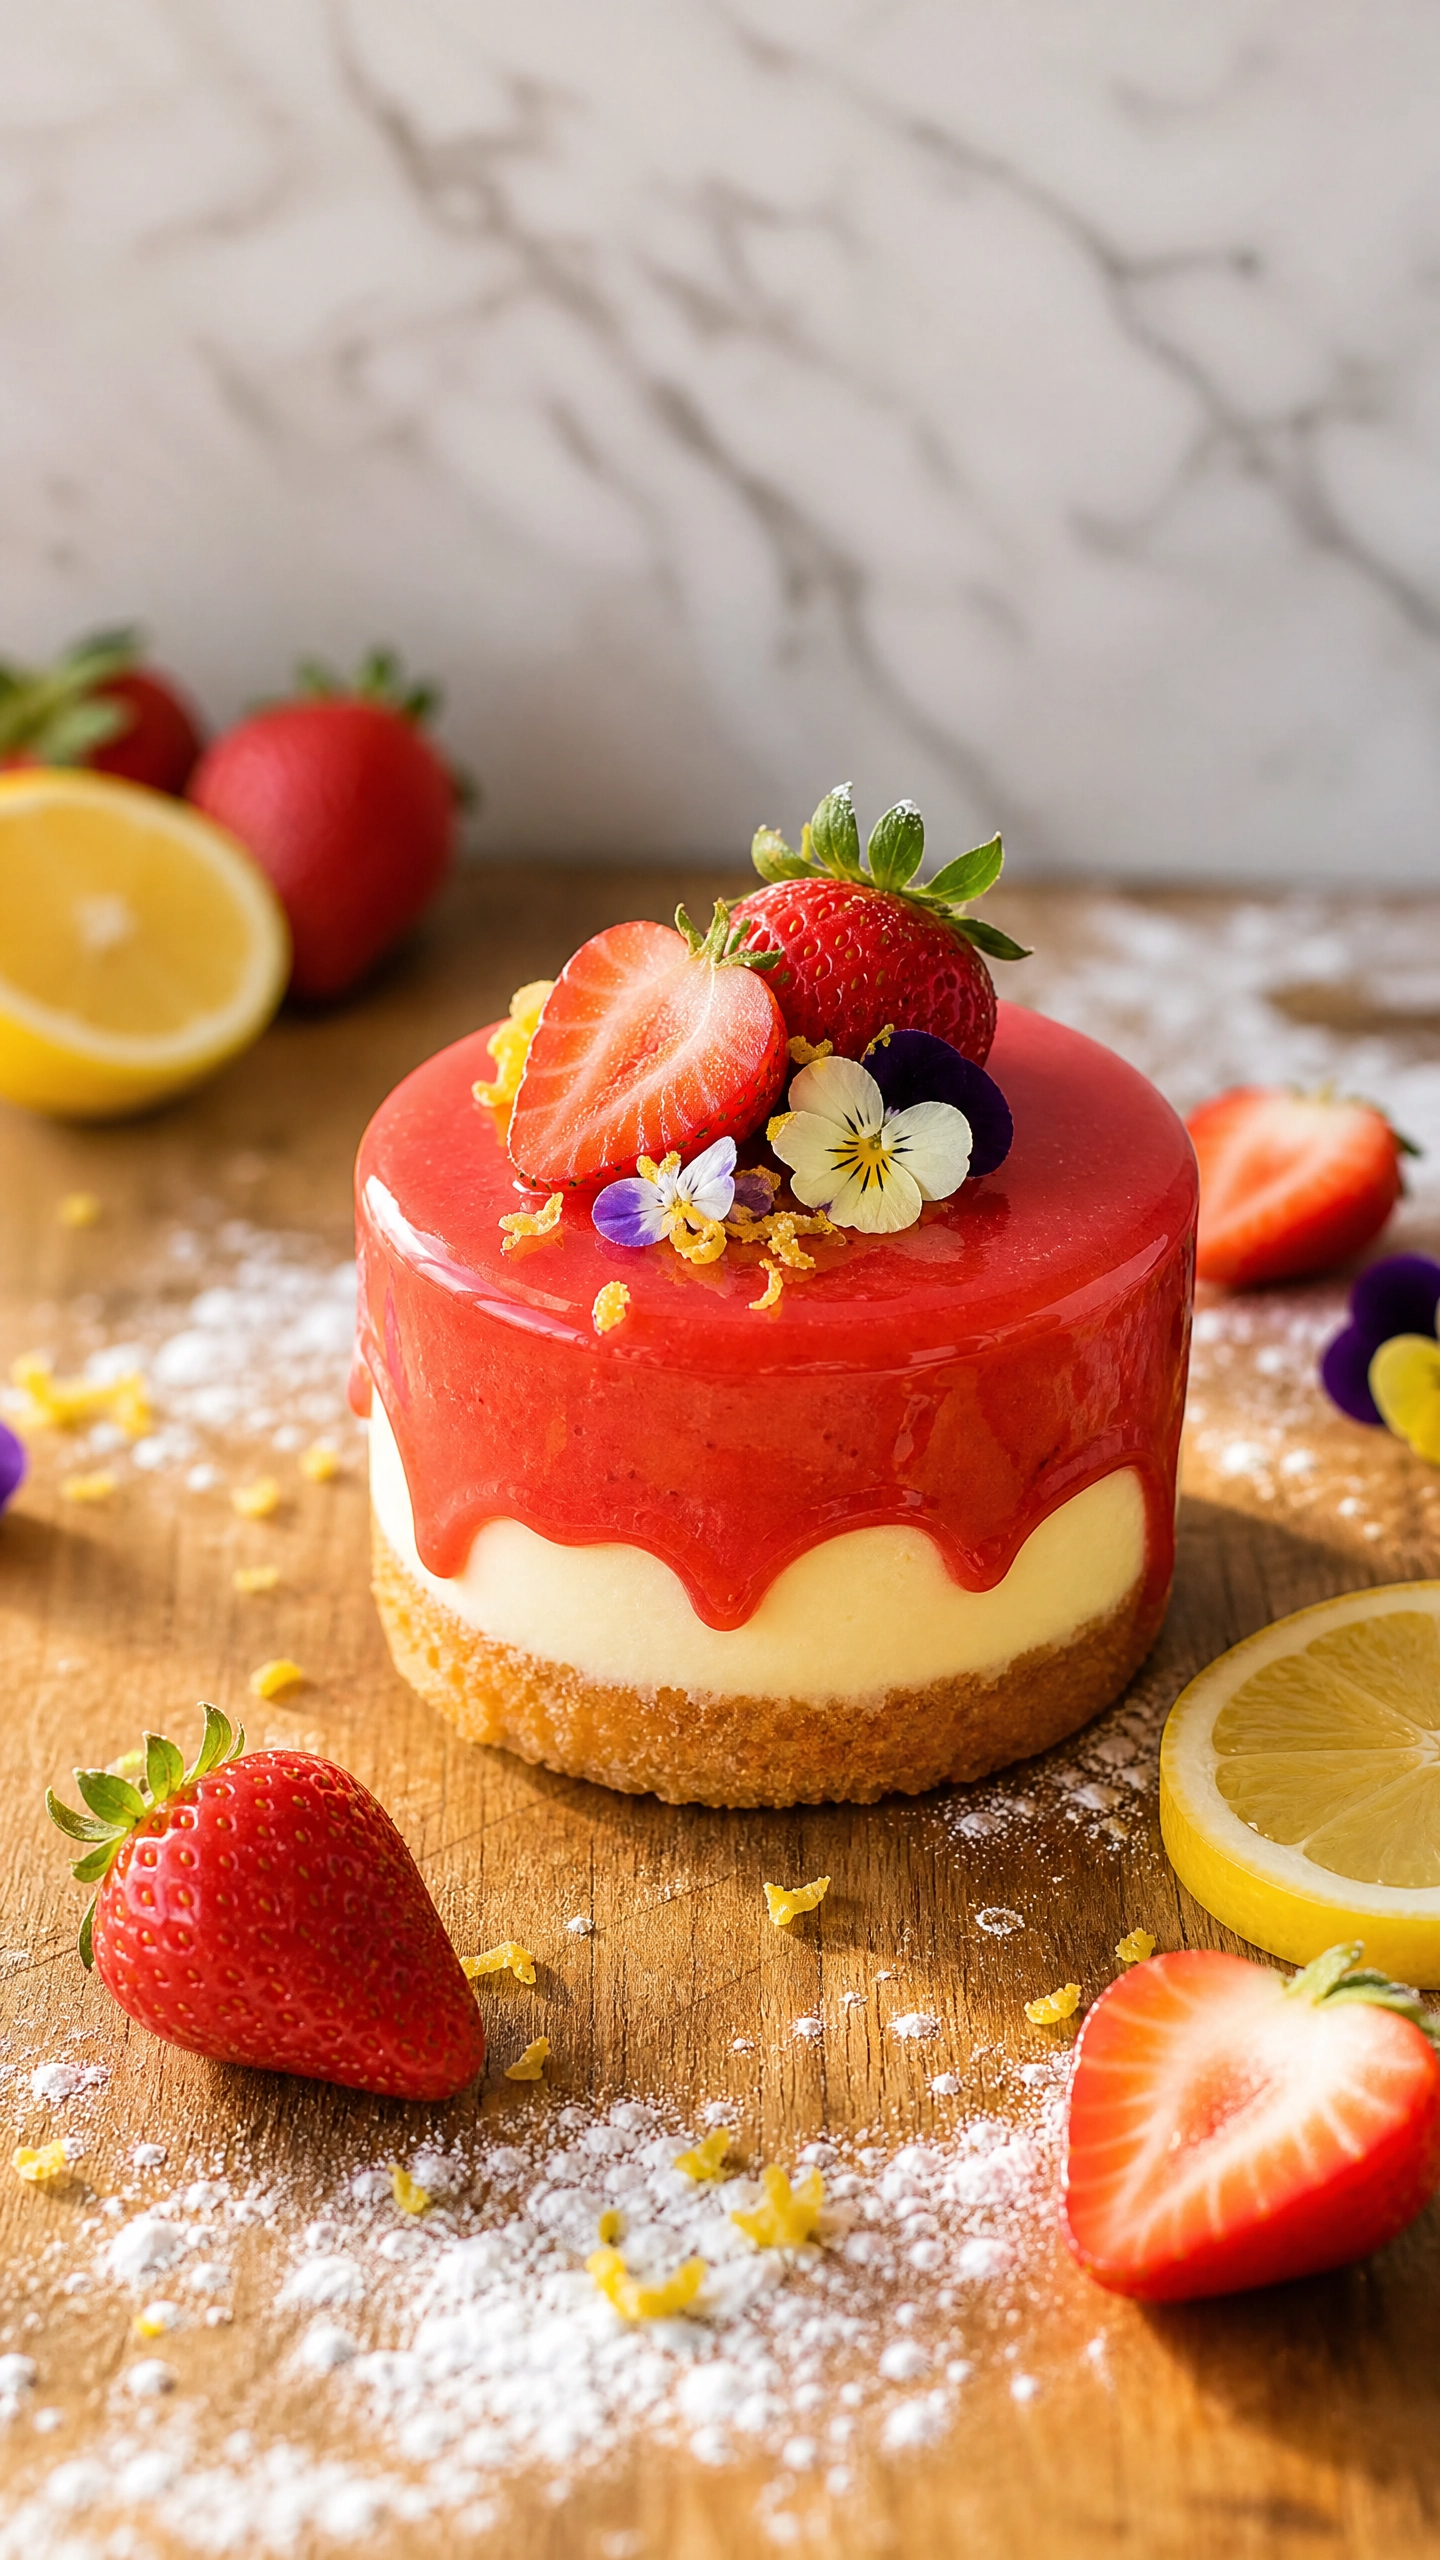
Strawberry Lemon Mini Cakes
Ingredients
Equipment
Method
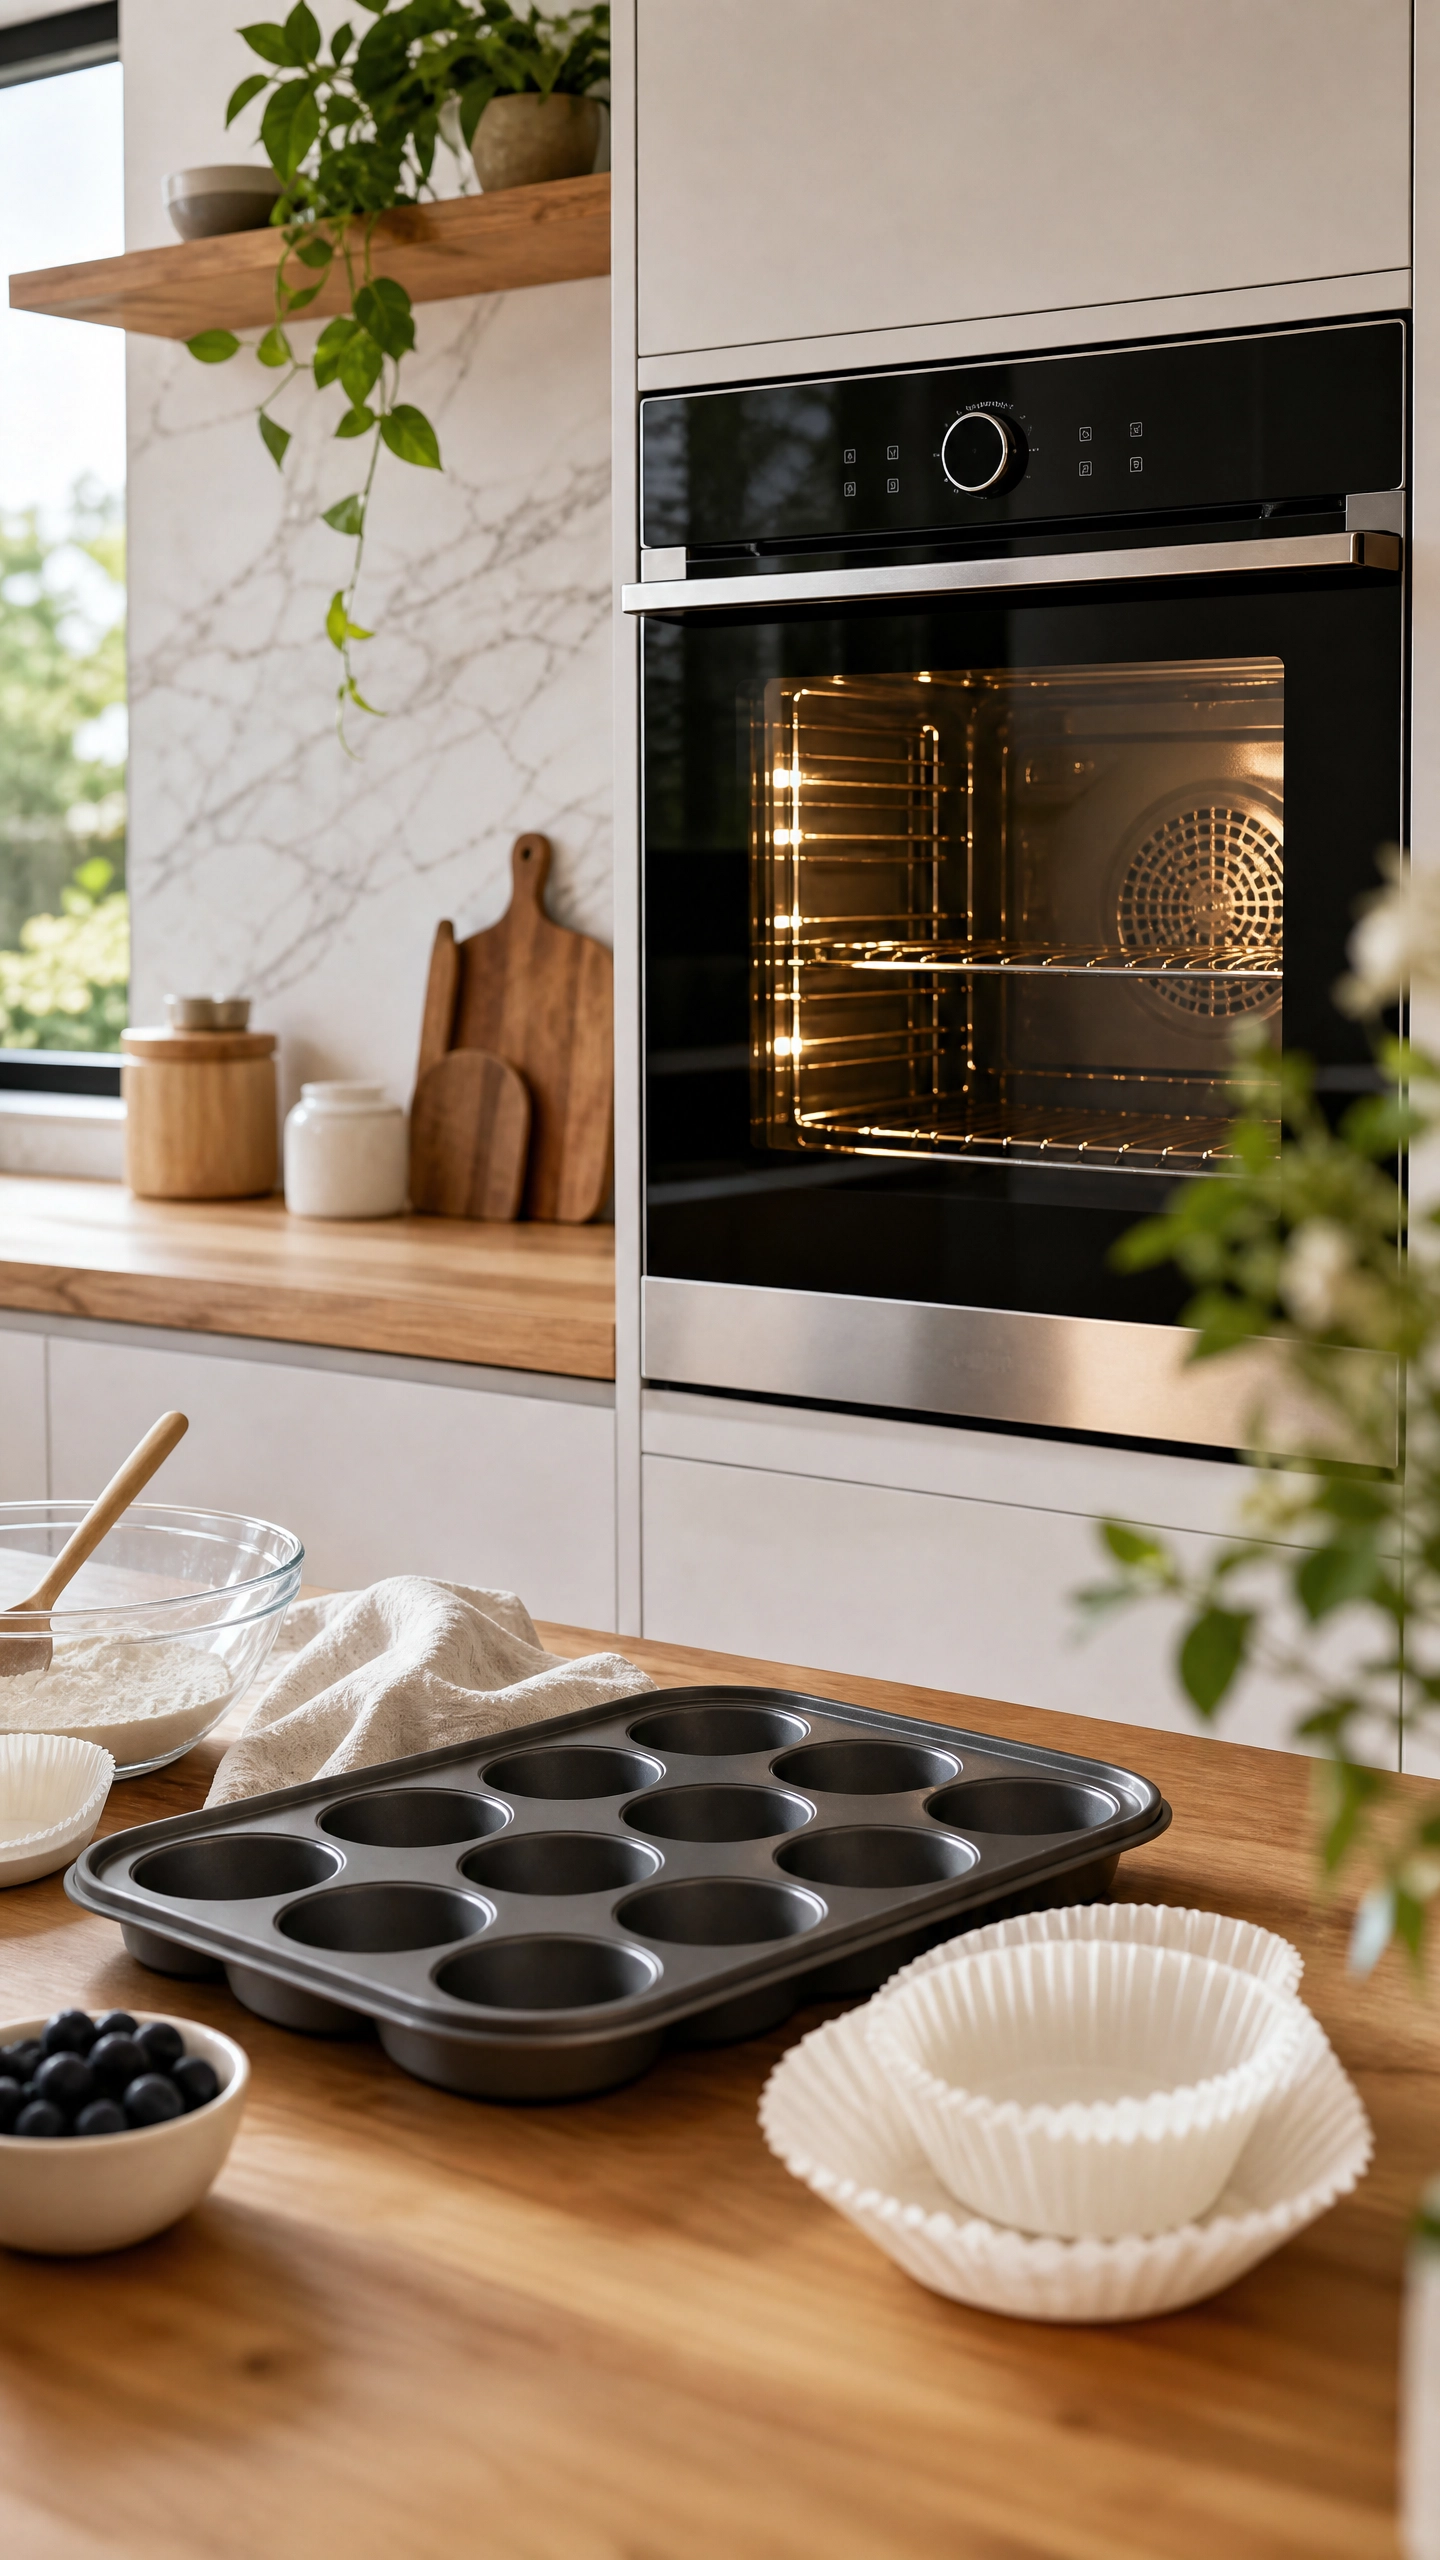
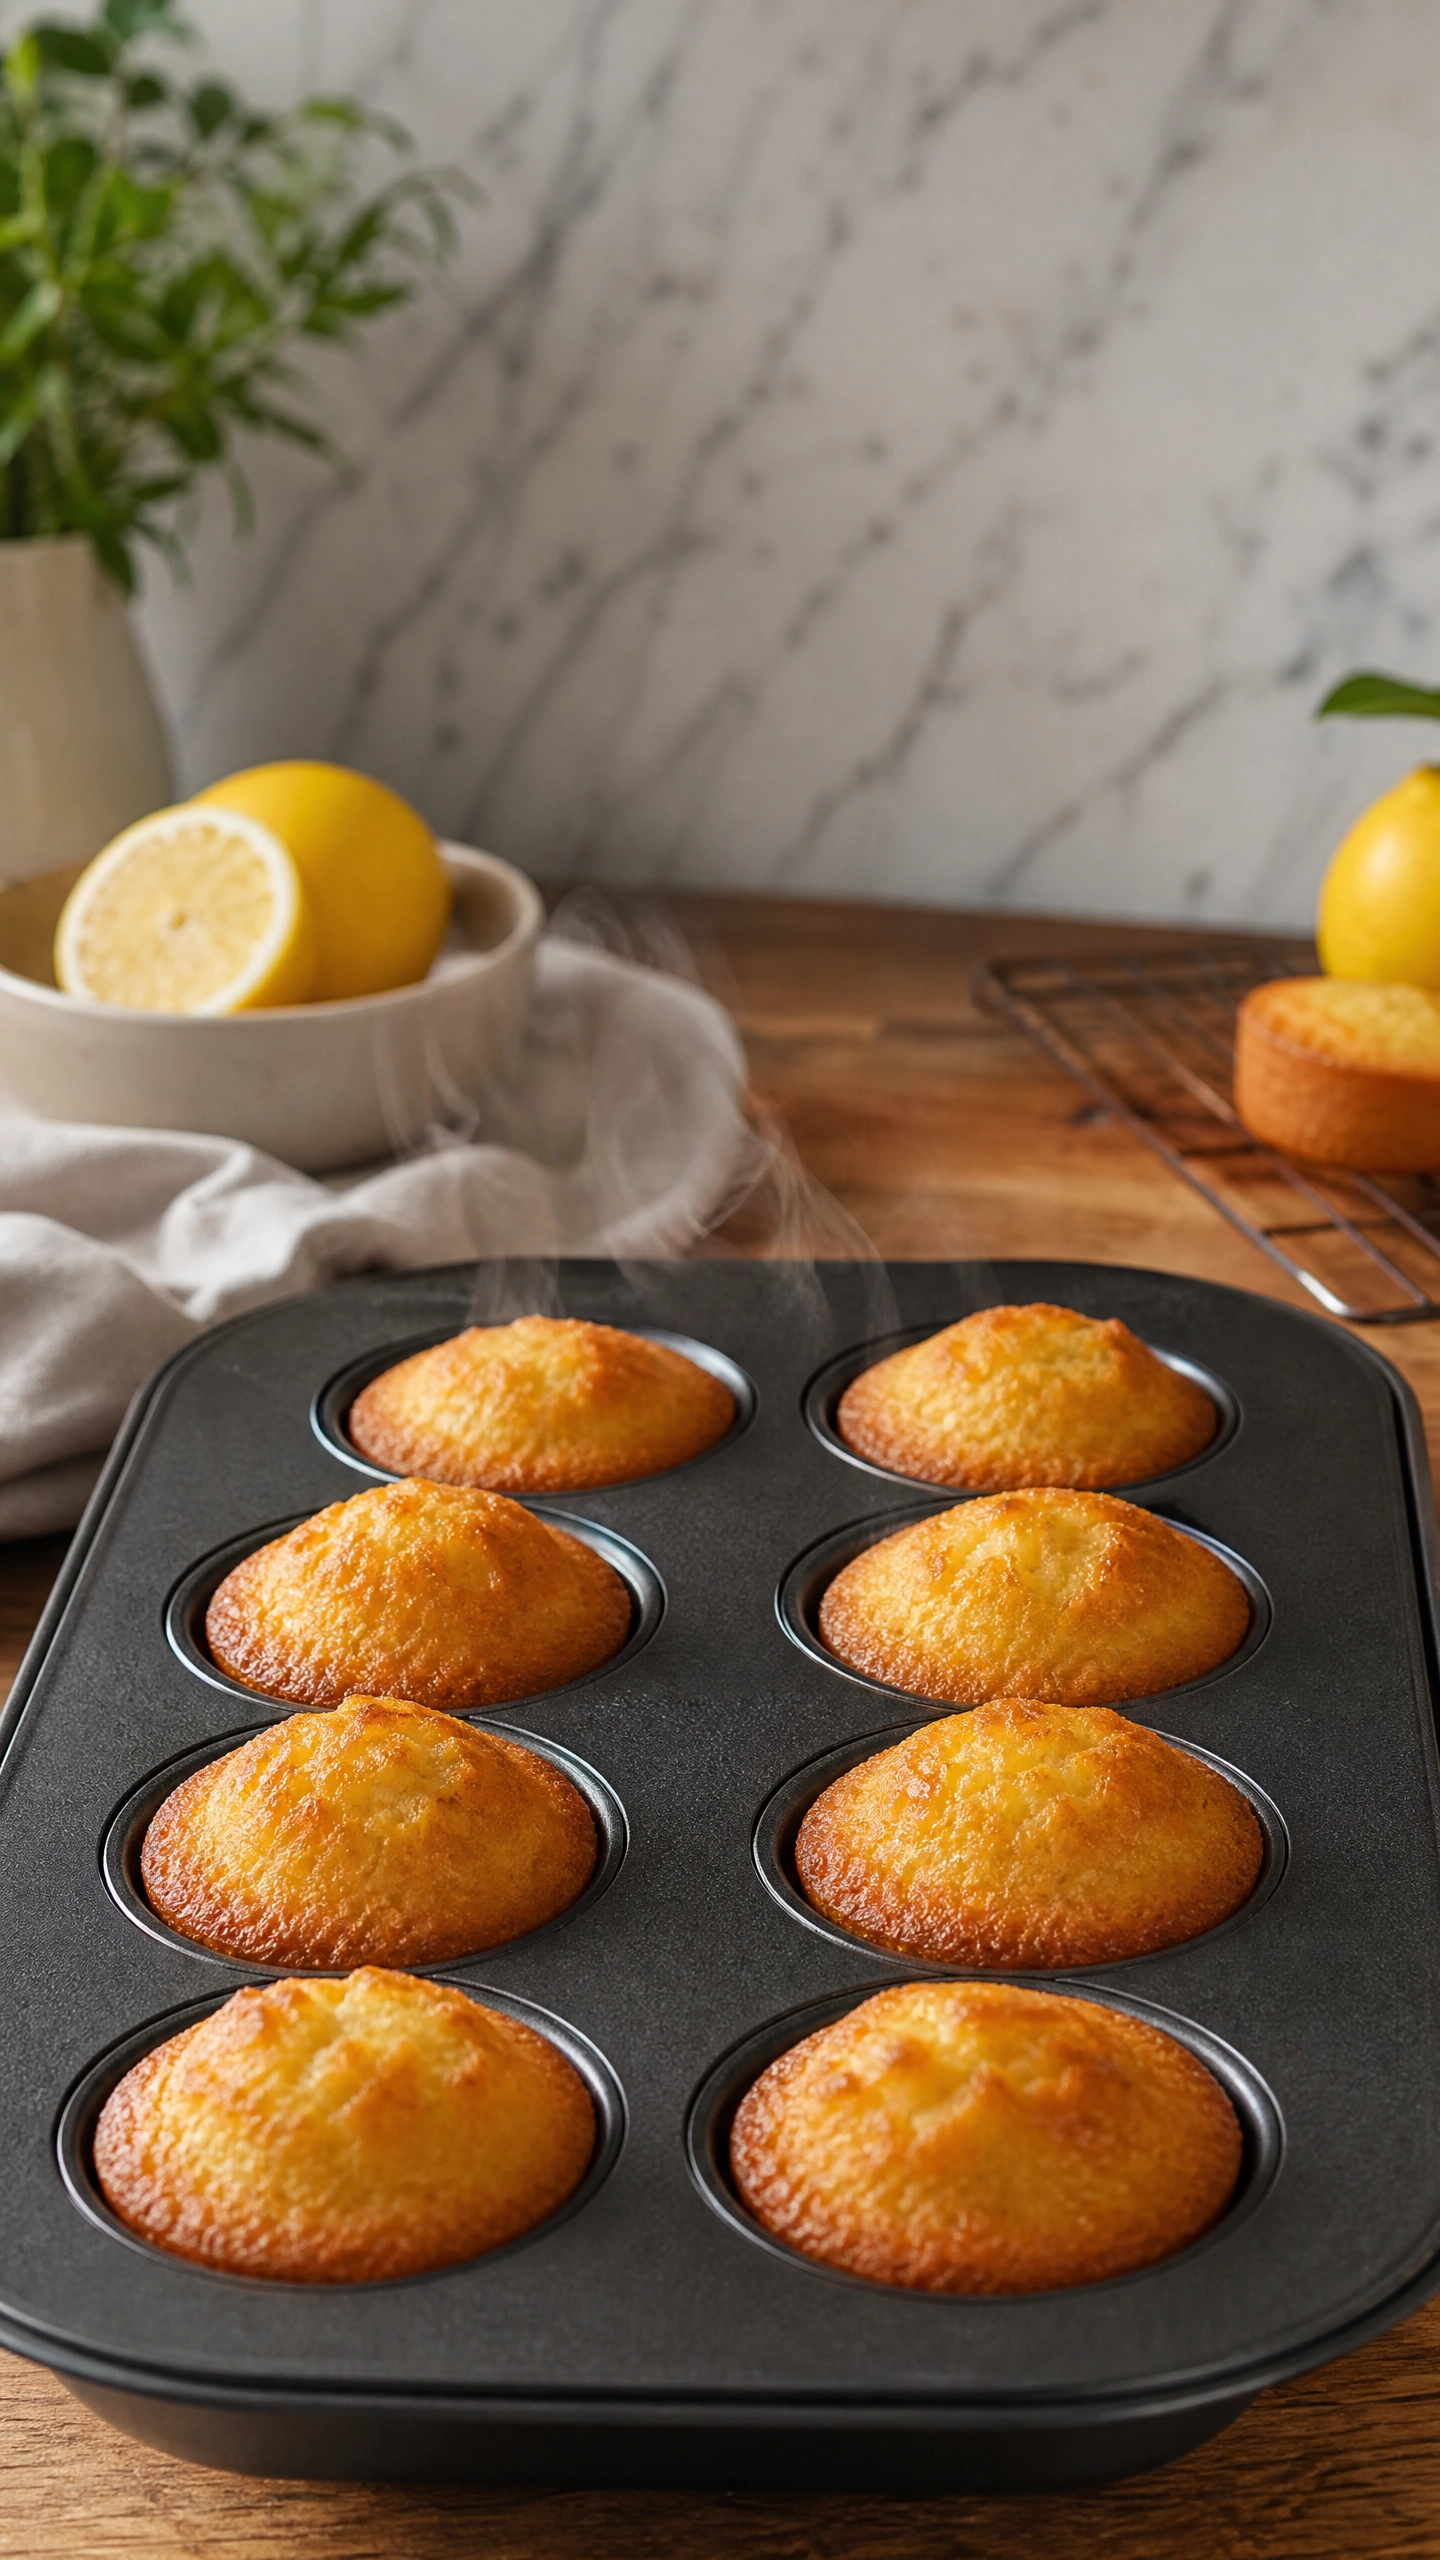
- Preheat oven to 350°F (175°C).
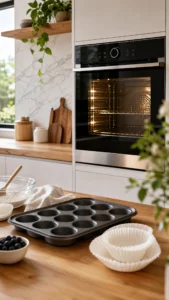
- Line a baking pan with parchment paper.
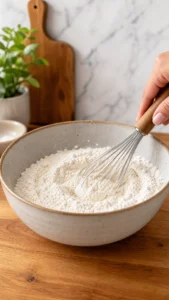
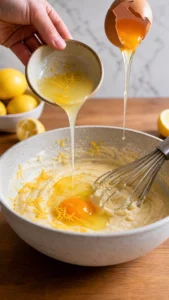
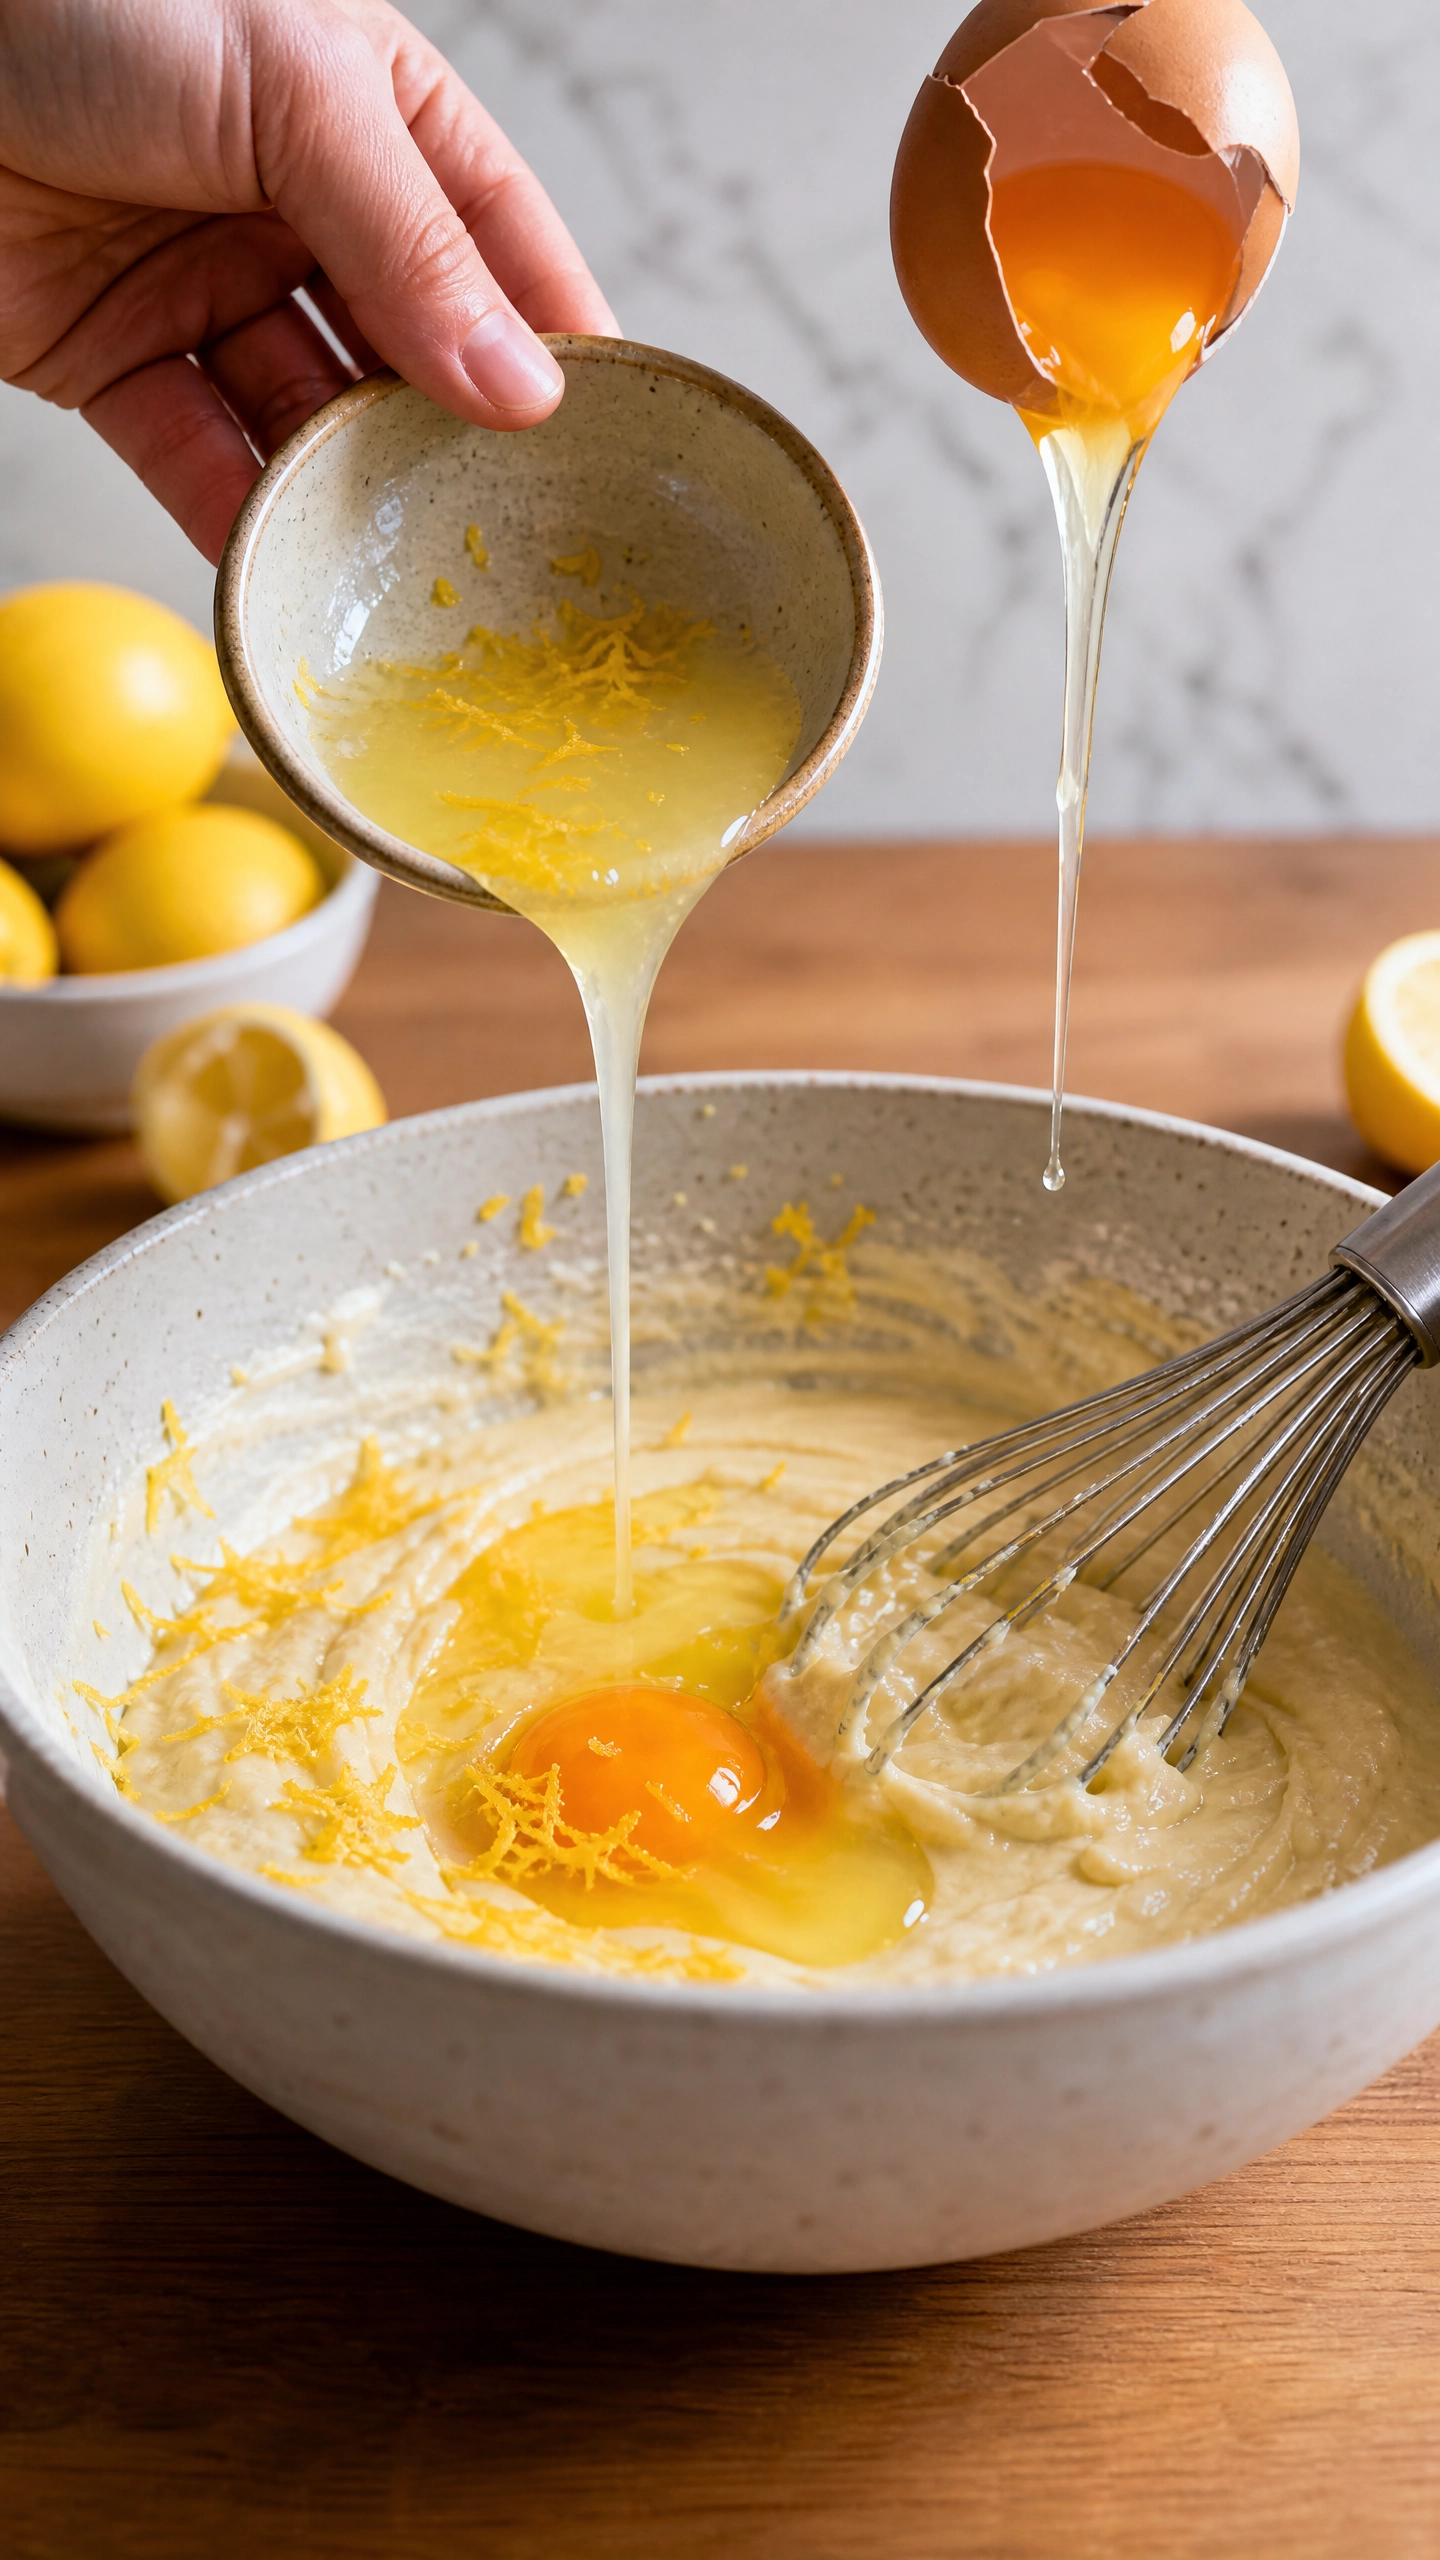
- Beat eggs and sugar until thick and pale.
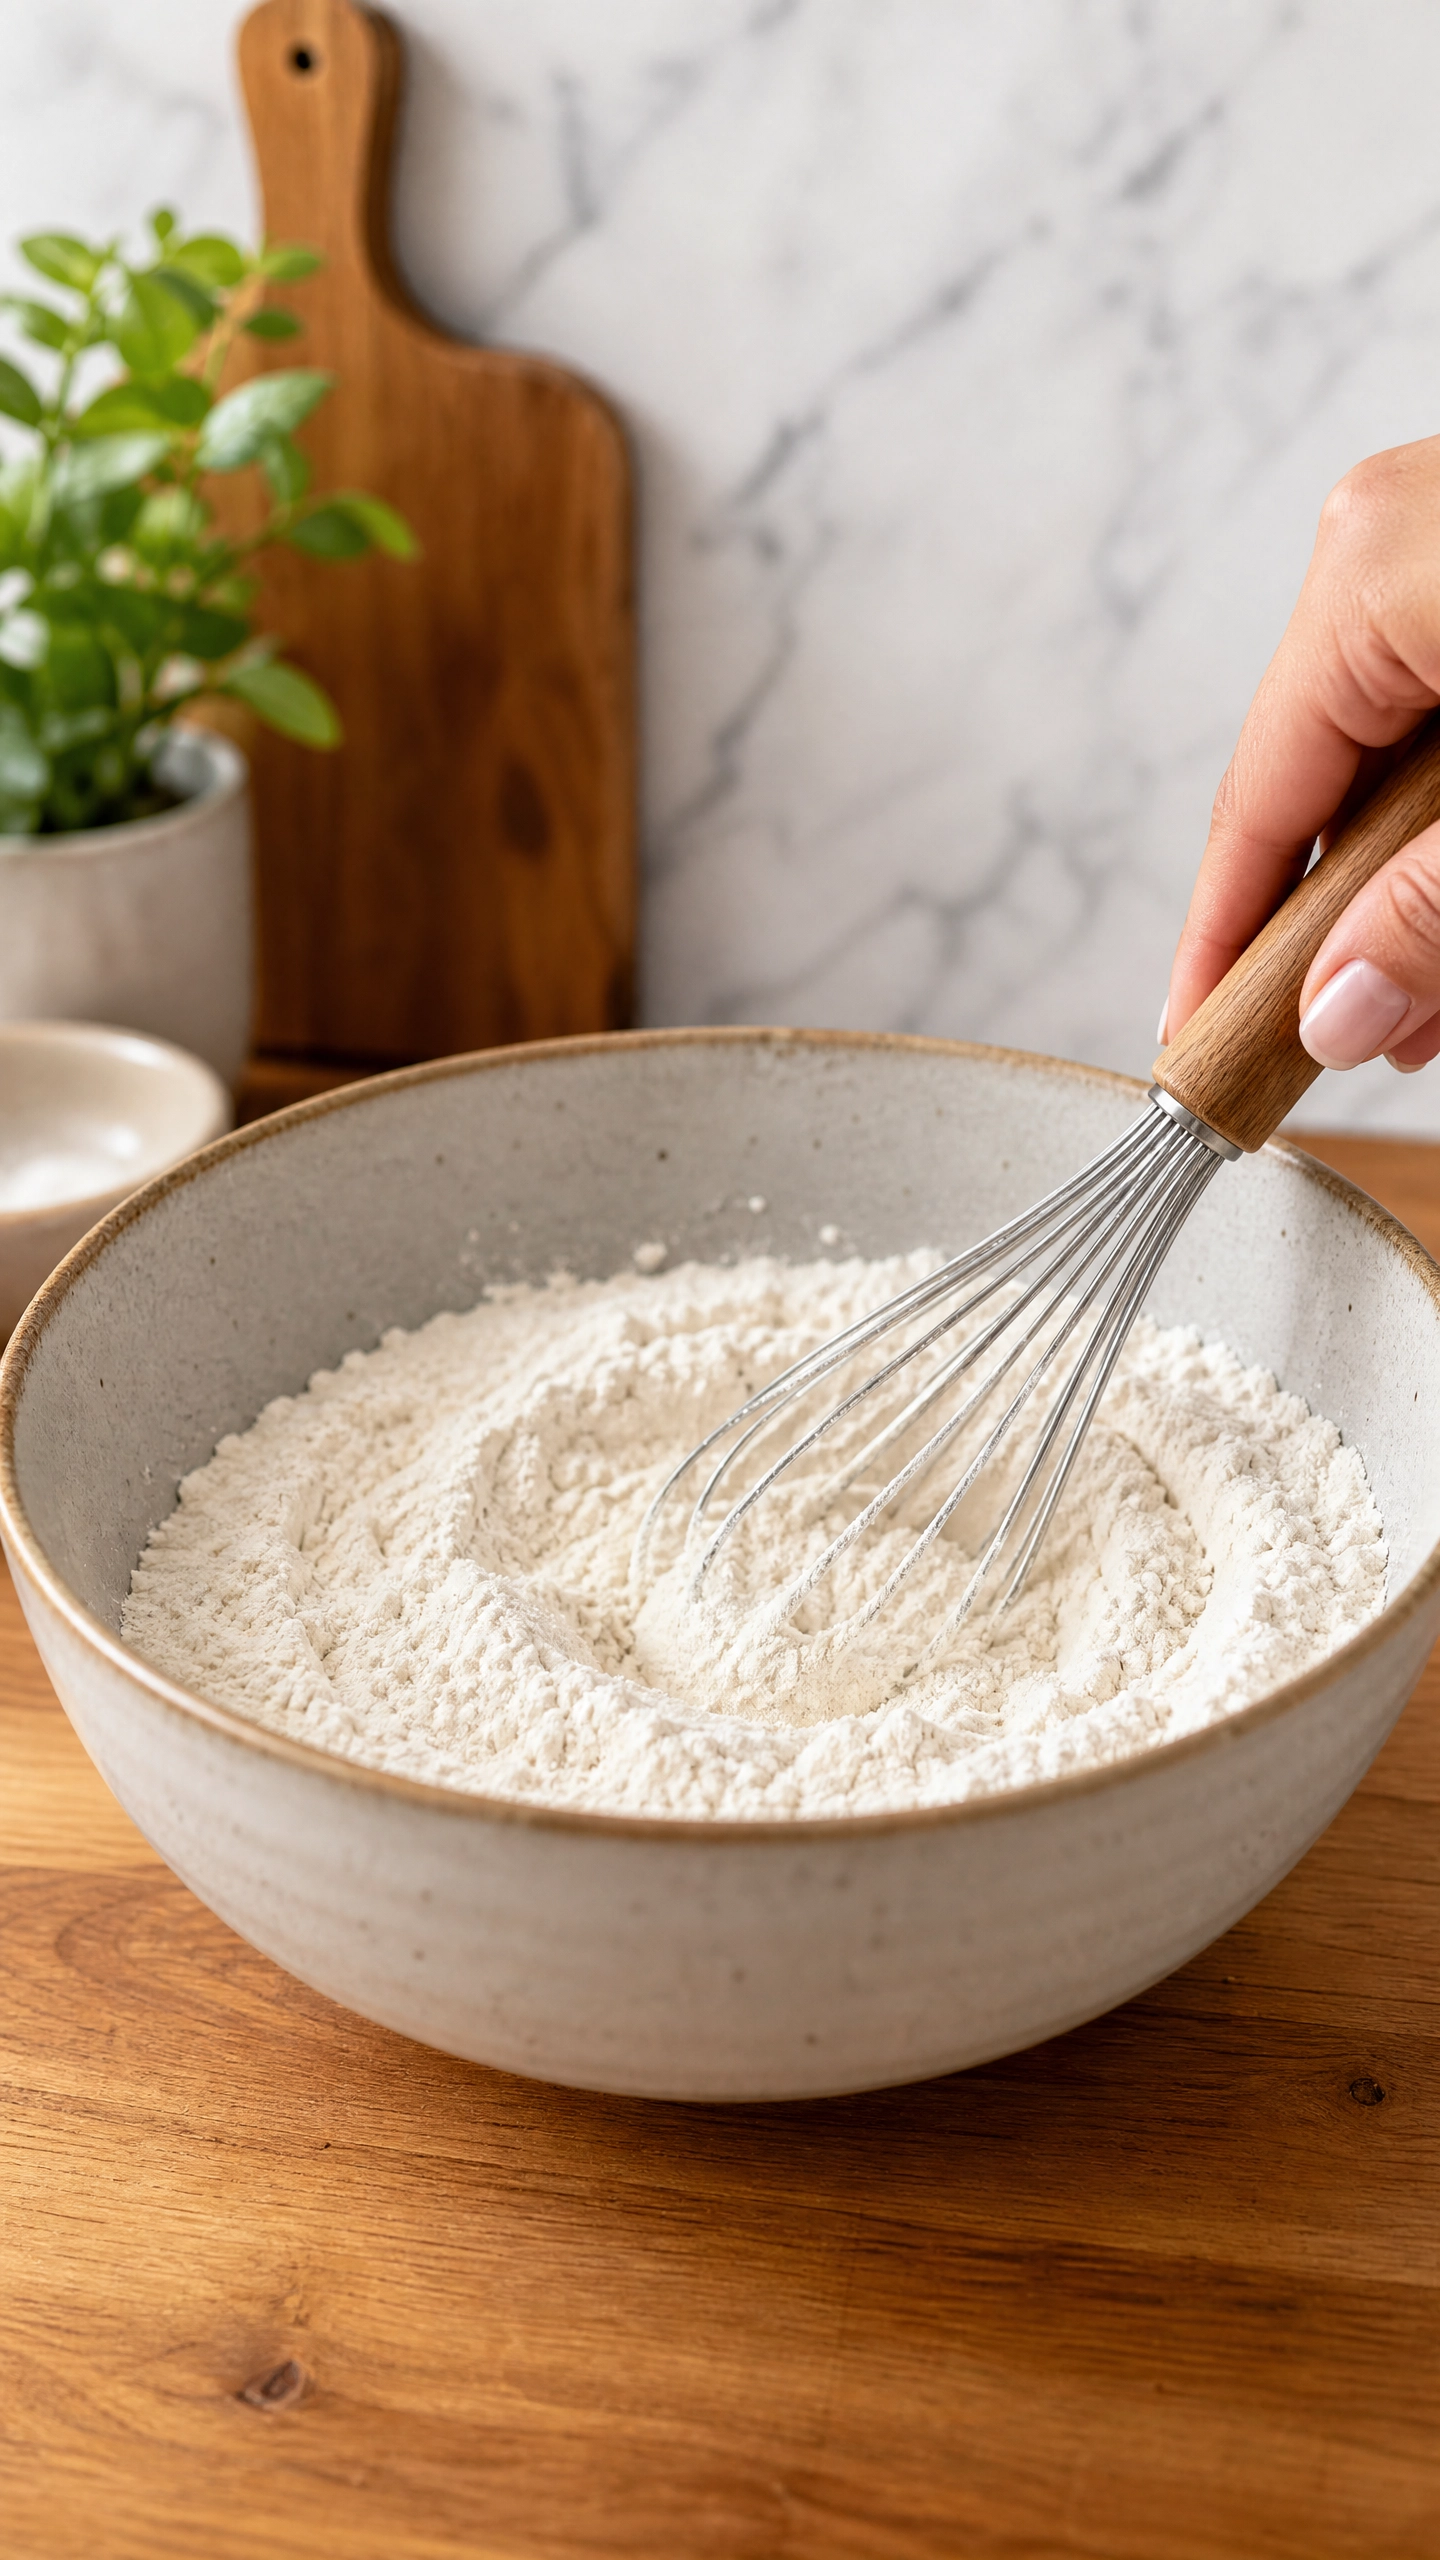
- Fold in sifted flour and salt.
- Add vanilla, lemon zest, and melted butter.
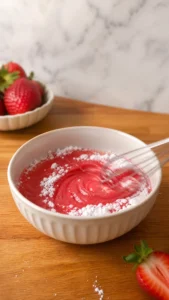
- Mix gently until smooth.
- Spread batter evenly.
- Bake for 15–18 minutes.
- Allow to cool completely.
- Cut rounds to fit your mini cake molds.
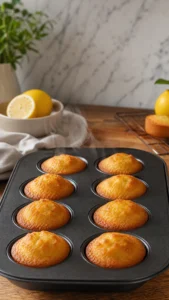
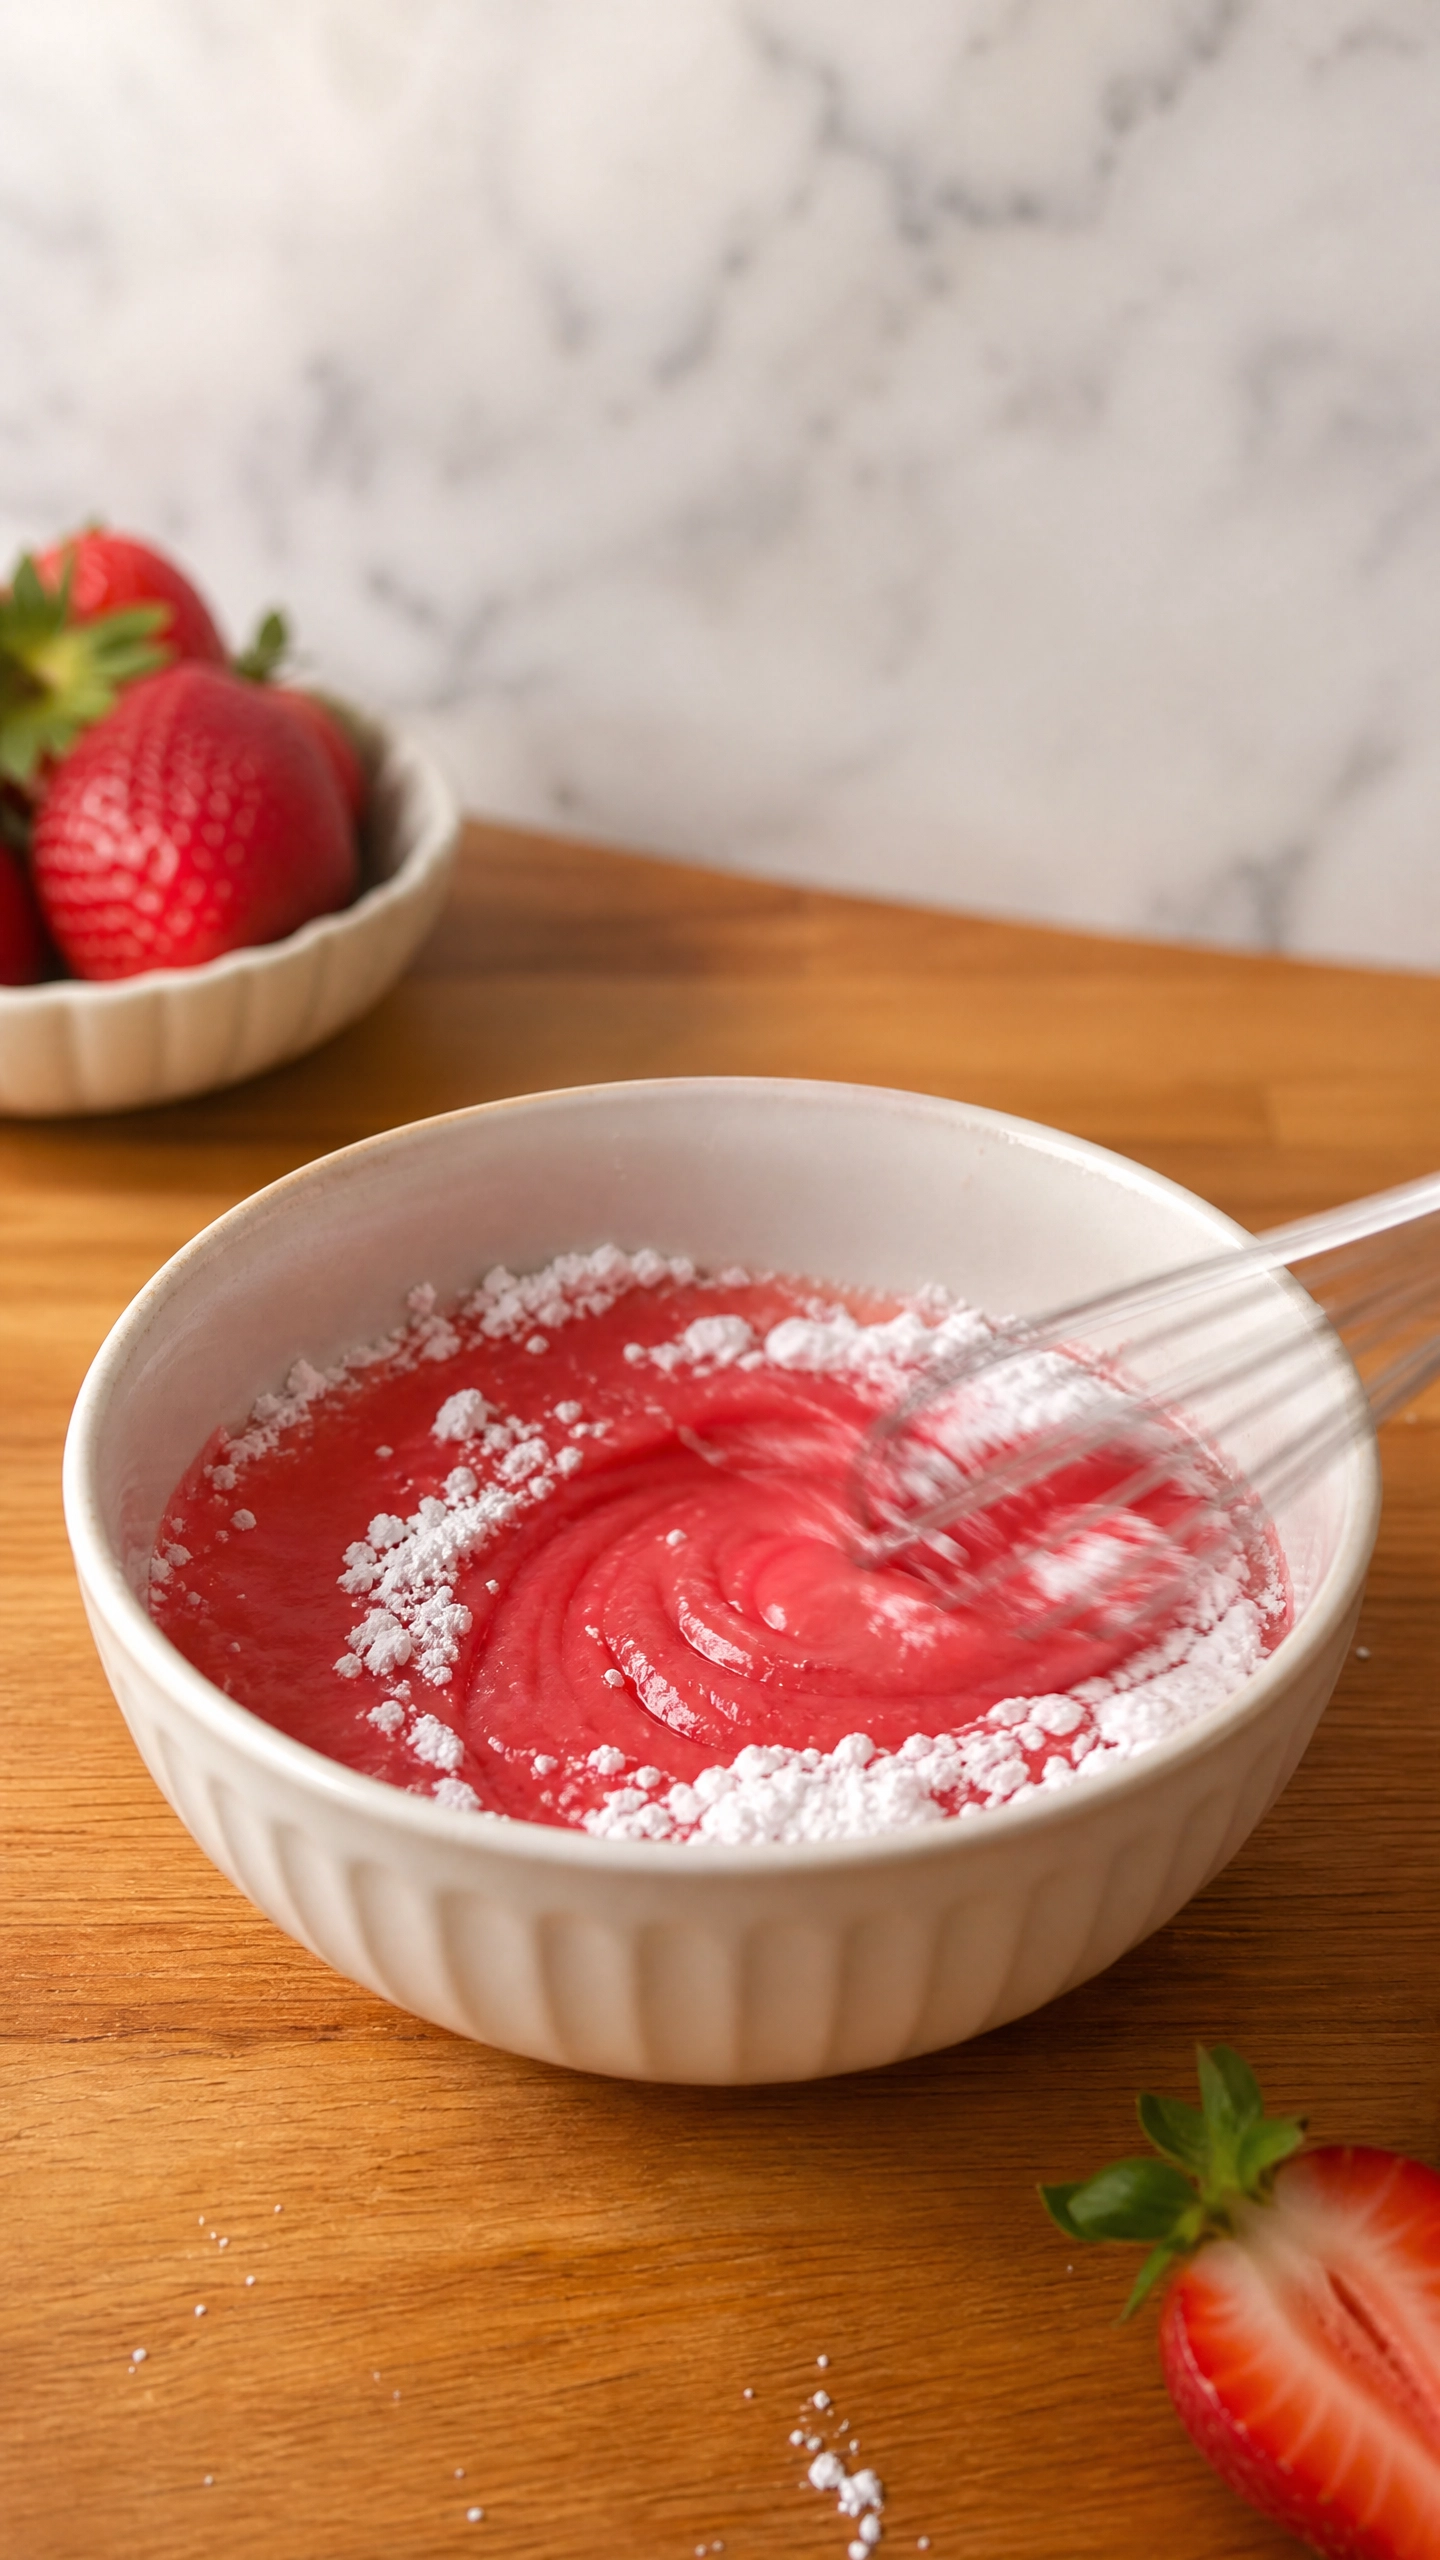
- Blend strawberries until smooth.
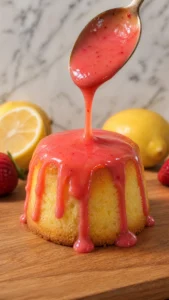
- Strain through a fine sieve.
- Stir in sugar and lemon juice.

- Heat gently until sugar dissolves.
- Sprinkle gelatin over cold water.
- Let stand for 5 minutes.
- Heat gently until dissolved.
- Mix into the strawberry puree.
- Cool to room temperature.
- Whip the heavy cream to soft peaks.
- Fold the cooled strawberry mixture into the whipped cream.
- Mix until smooth and fluffy.
- Place sponge rounds into the bottoms of the molds.
- Fill molds with strawberry mousse.
- Smooth the tops.
- Refrigerate for 3–4 hours until firm.
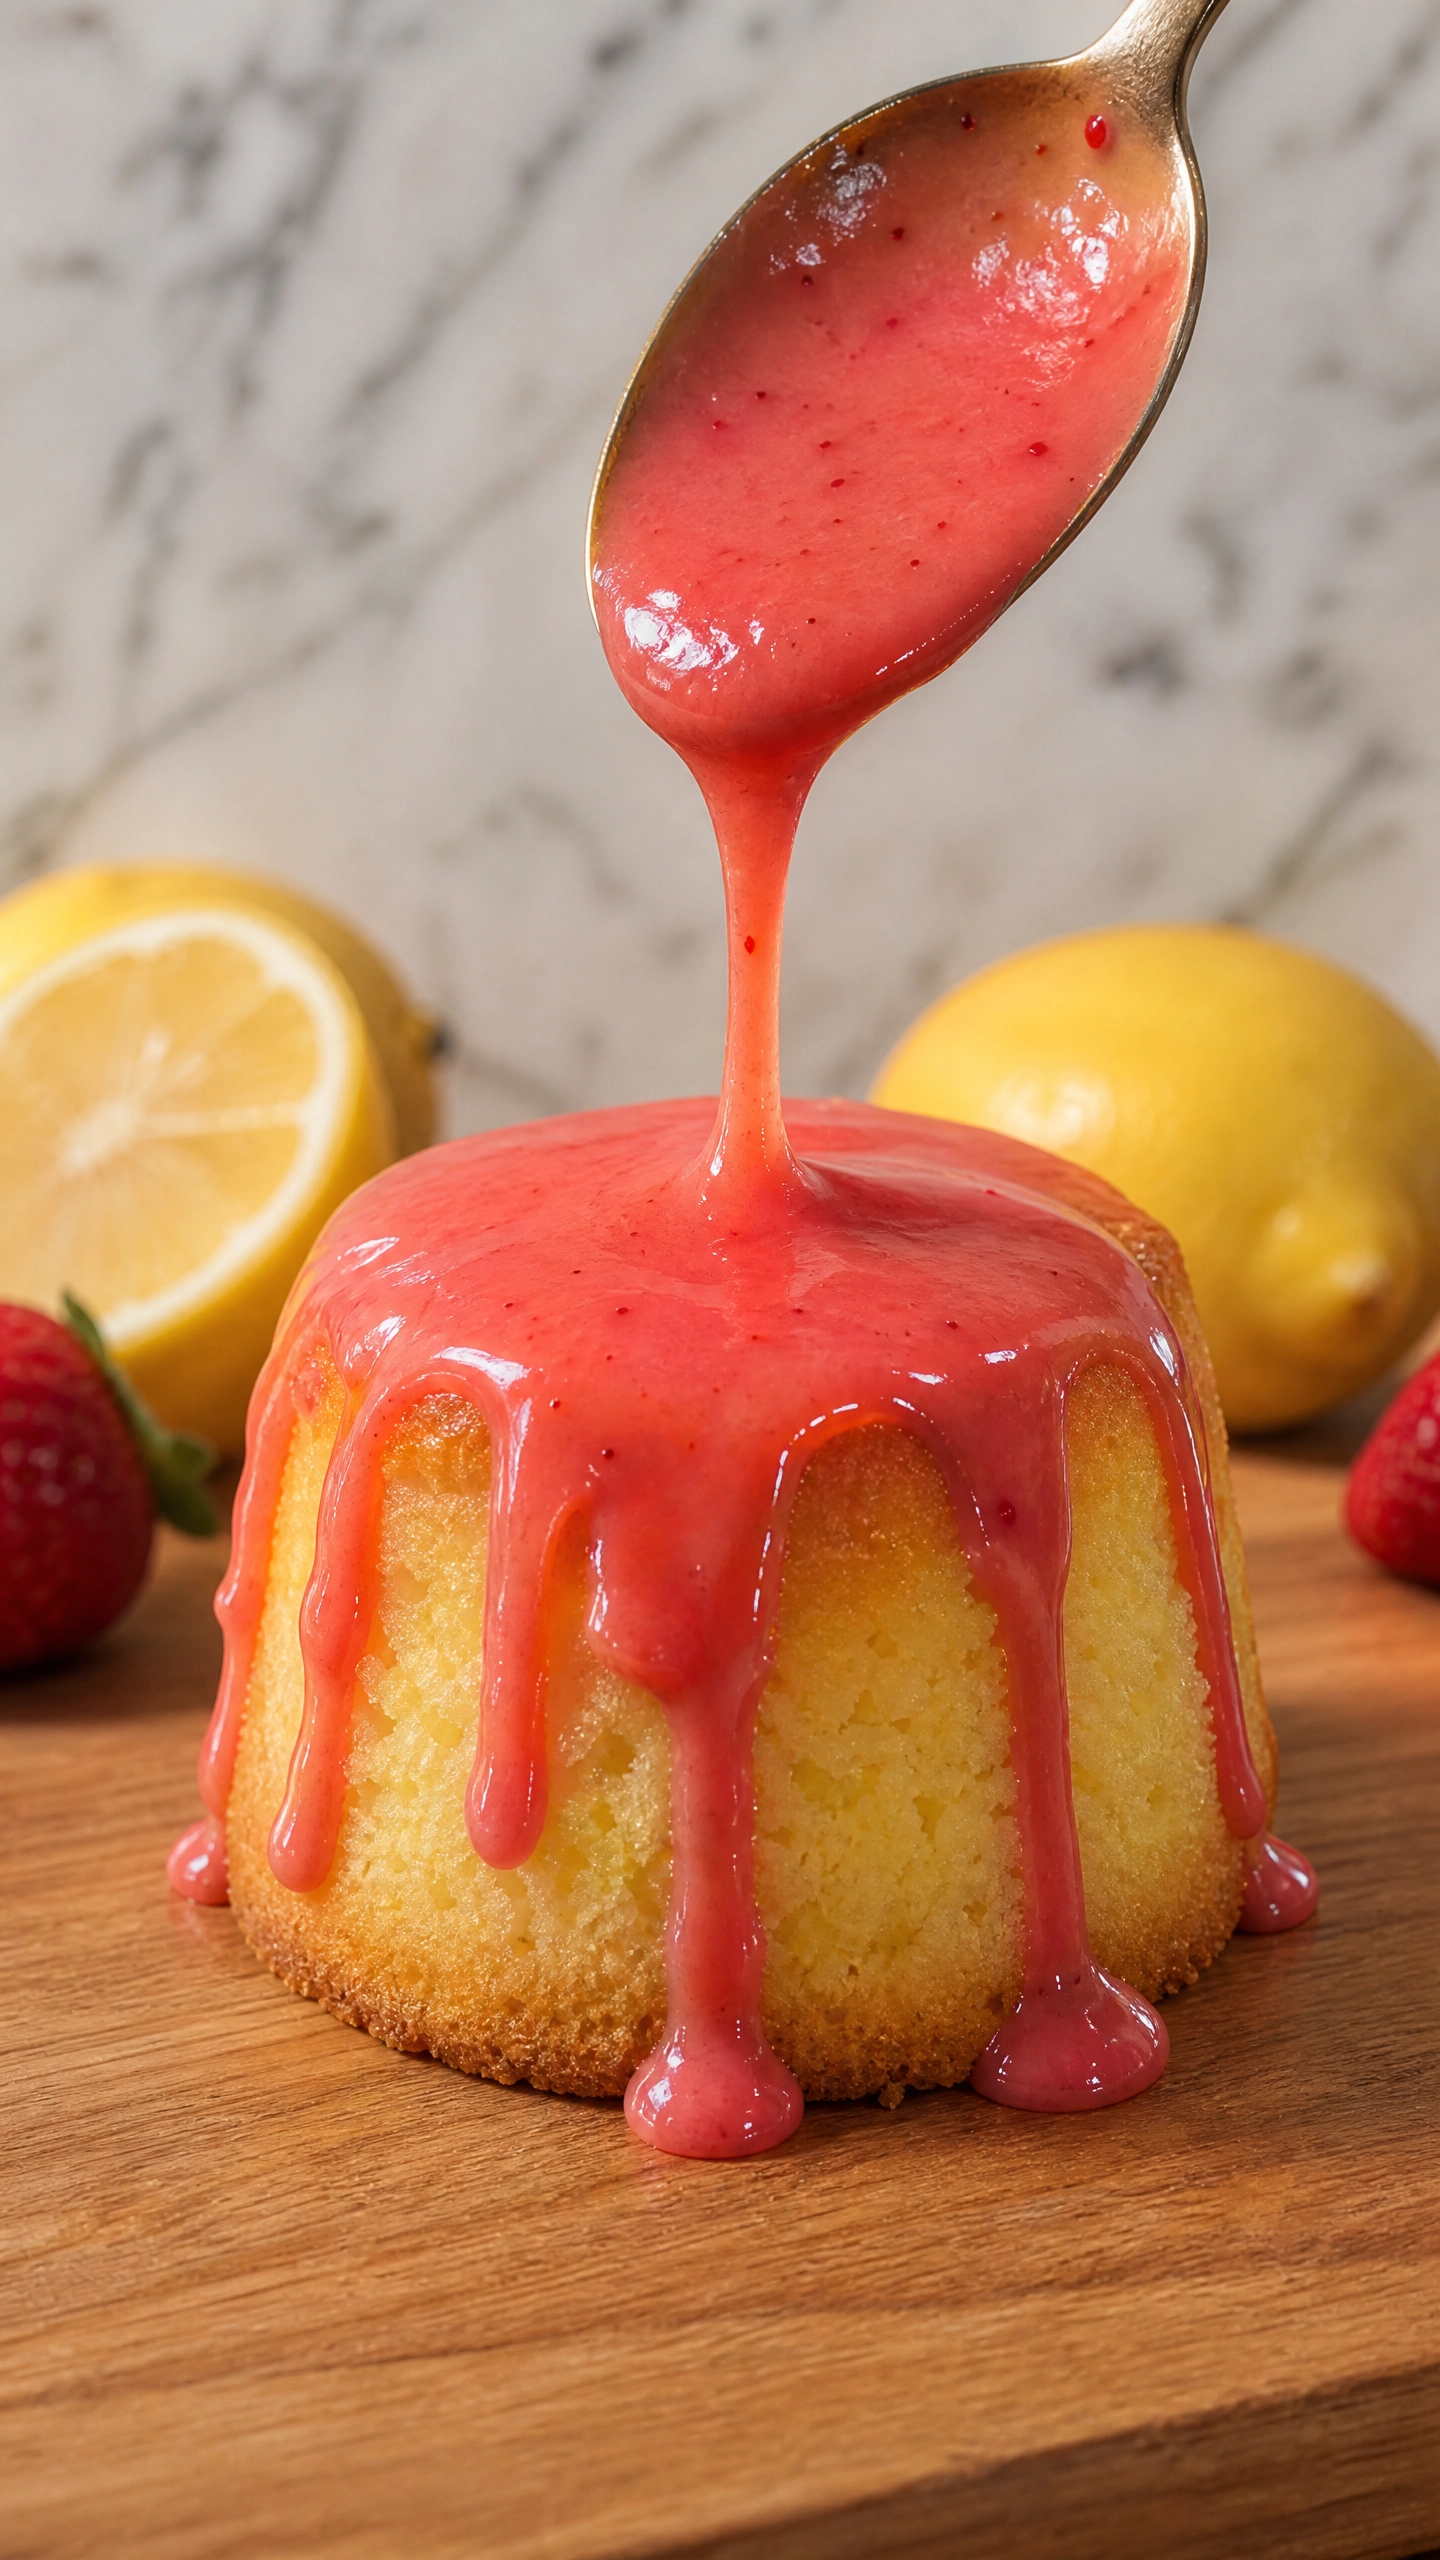
- Blend strawberries with sugar.
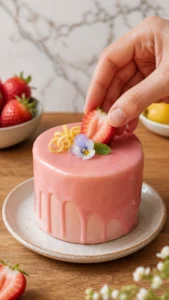
- Heat until sugar dissolves.
- Stir in dissolved gelatin.
- Cool slightly.
- Pour a thin layer over each chilled cake.
- Refrigerate for another 30–60 minutes.
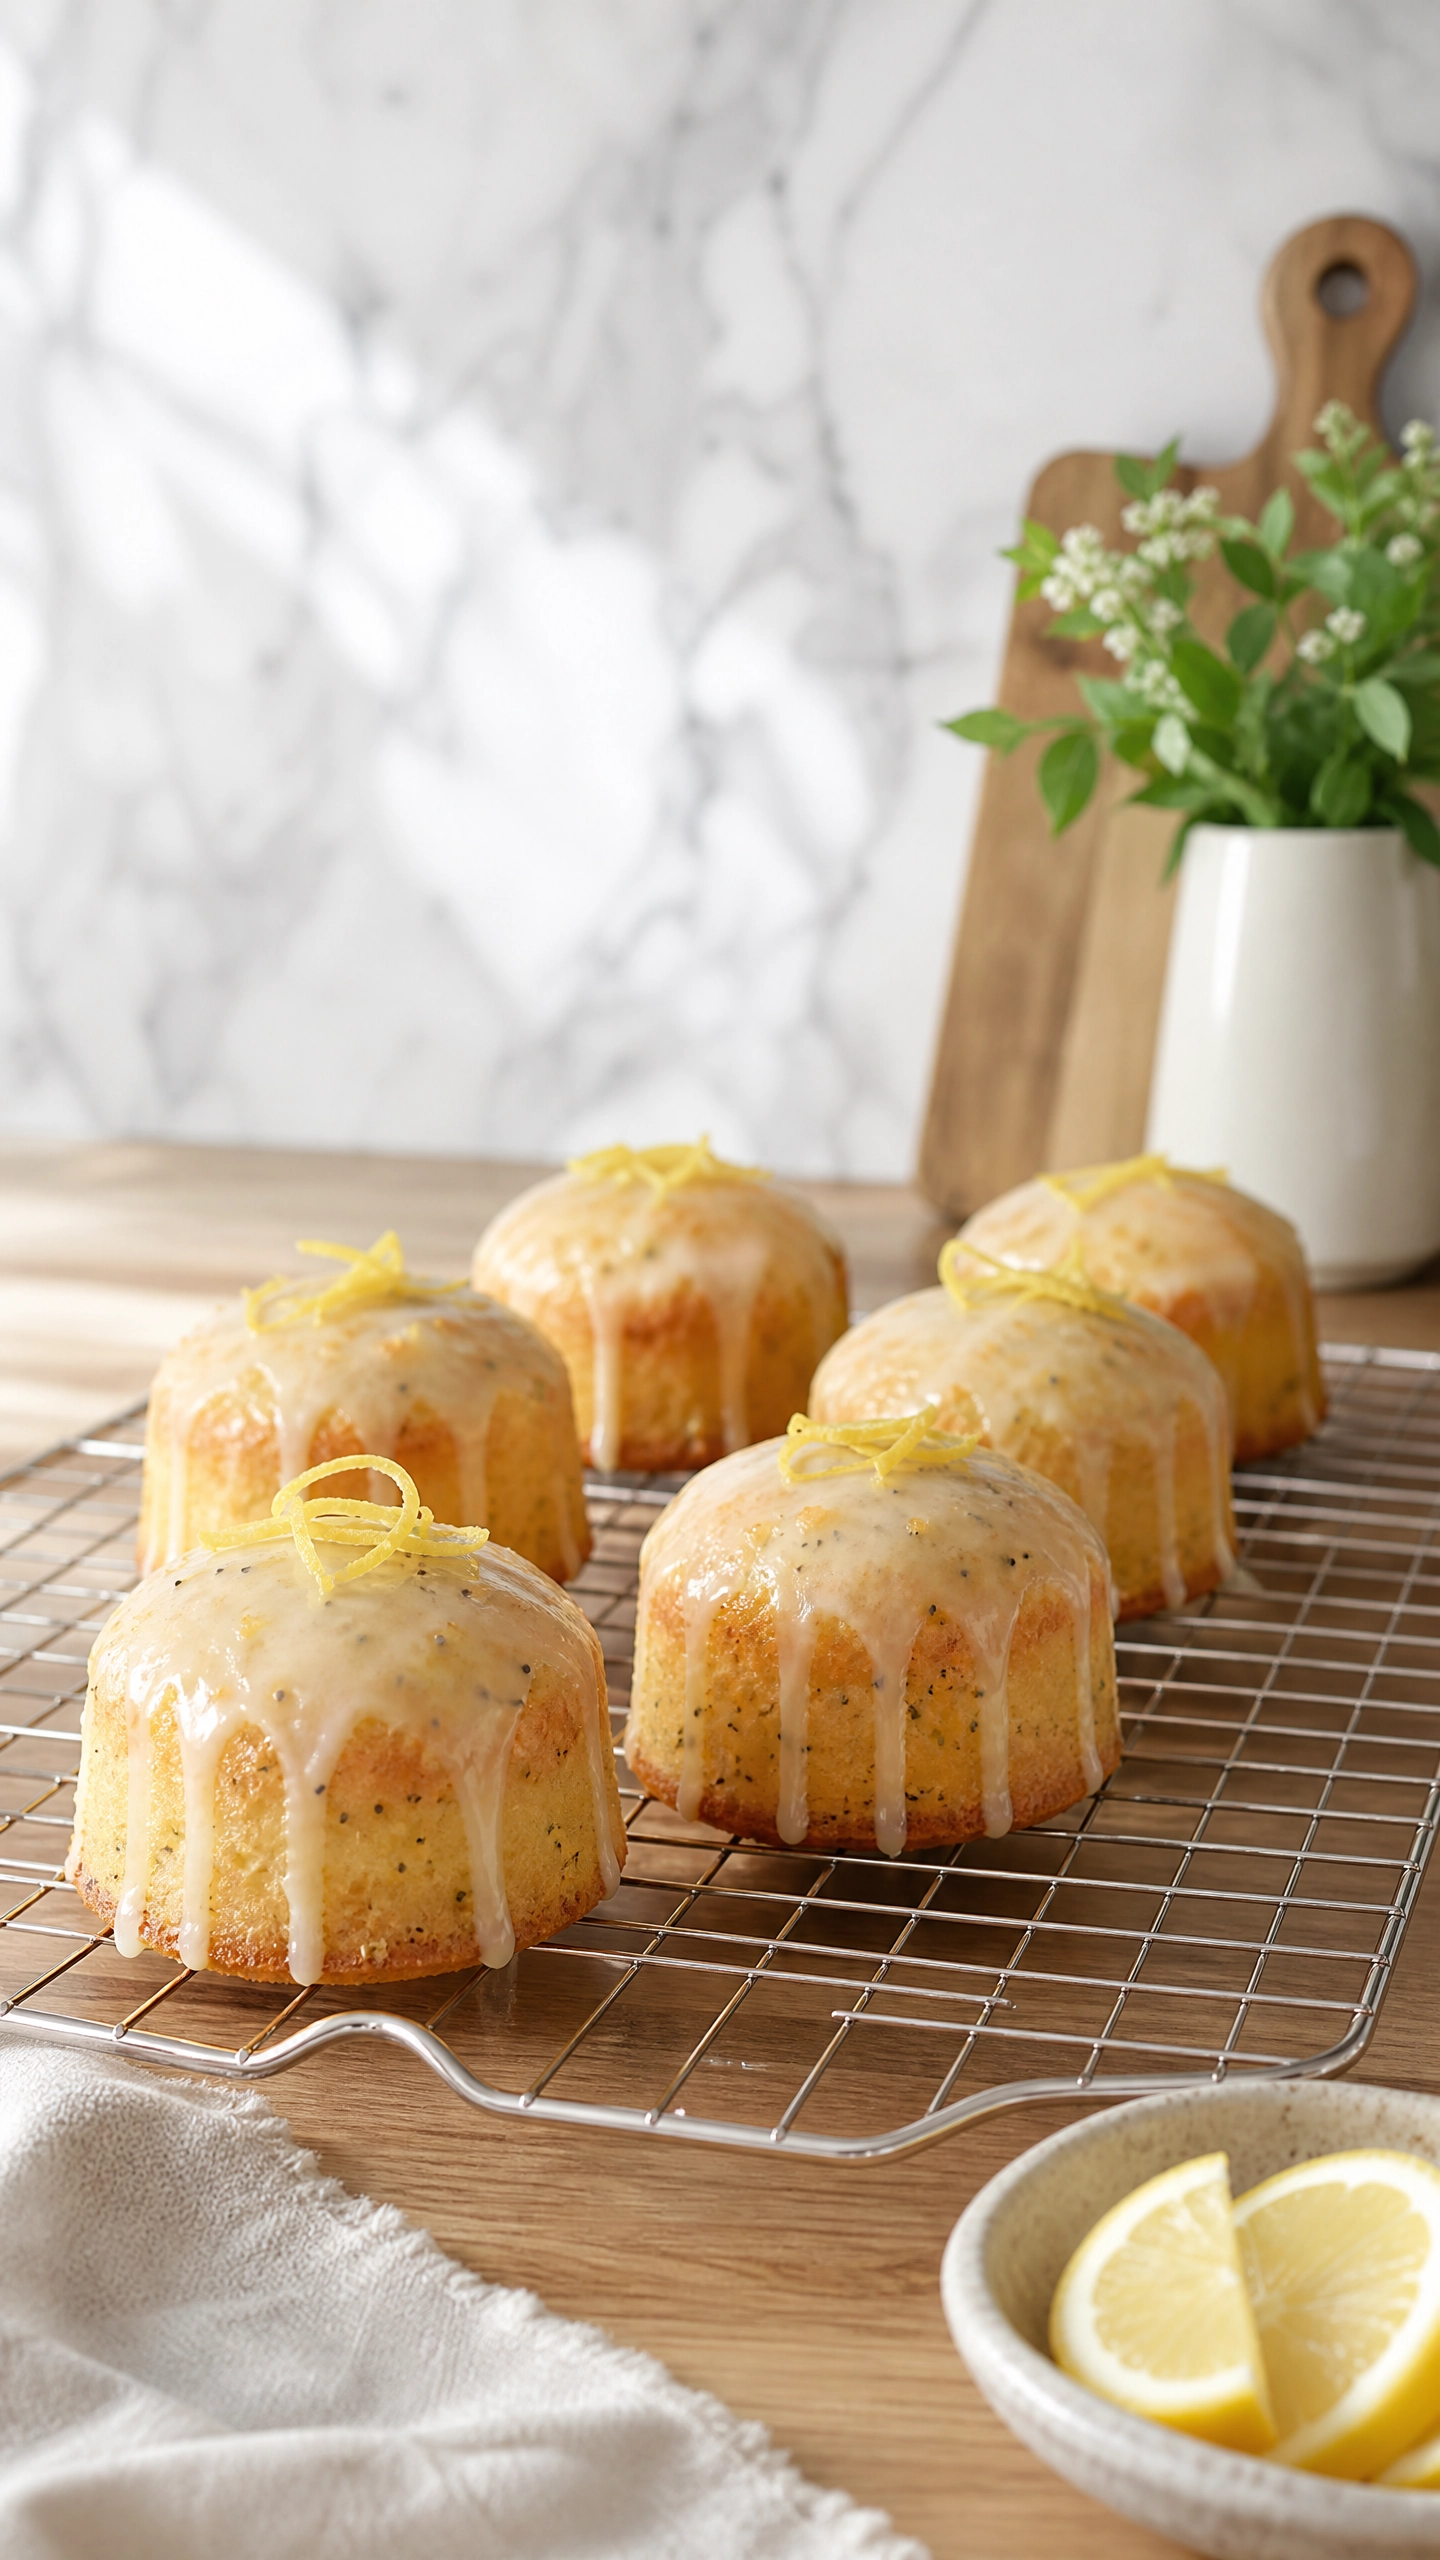
- Carefully remove cakes from the molds.
- Top with fresh strawberries.
- Add blueberries.and Garnish with mint leaves.
- Finish with a small lemon slice or lemon zest and Dust lightly with powdered sugar if desired.
Notes
- Fresh strawberries produce the brightest flavor.
- Chill overnight for the cleanest slices.
- Do not pour warm glaze over the mousse.
- Store refrigerated for up to 3 days.
- Not recommended for freezing after glazing.
Reading the Bake Instead of the Timer
The toothpick test is the standard advice and it is unreliable for anything rich. In a batter containing melted chocolate or a lot of fat, the streaks left on the skewer are simply the fat, not raw batter, so a fully baked cake reads as underdone and gets returned to the oven. That is a common route to a dry result.
Internal temperature is the honest measure. Most butter cakes are done between 93 and 96 °C. Leaner sponges run a little higher, around 96 to 99 °C. An instant-read thermometer in the centre removes the guesswork entirely, and once you have checked a few bakes against it you start recognising the visual cues properly.
Those cues are worth learning. The edges pull very slightly away from the sides of the tin. The top springs back rather than holding a fingerprint. And the sound changes: a baking cake hisses quietly as steam escapes, and that noise fades as it finishes.
One more thing decides the crumb, and it happens early. Do not open the oven during the first two thirds of the bake. Until the structure sets, the batter is essentially a liquid held up by expanding gas, and the temperature drop from an open door is enough to collapse it. Once the top has domed and coloured, a quick look does no harm.
What to Watch For
Fold, don’t stir, and I mean it. When you add the sifted flour to your beaten eggs and sugar, switch to a wide spatula and use slow, sweeping movements from the bottom of the bowl upward. I made the mistake of using a whisk the first few times I baked this sponge, thinking it would be faster. The result was flat, rubbery little discs that had zero lift. Those air bubbles you spent all that time beating into the eggs? A whisk knocks them all out in about ten seconds. On humid days I also add an extra tablespoon of flour. I live somewhere that gets very sticky summers, and I noticed the sponge would sink in the middle without it.
Don’t rush the gelatin. This is the step I see skipped most often, and it’s the one that causes the most disasters. Let it bloom in cold water for a full five minutes. You’ll see it puff up and go almost opaque. That’s what you want. If you skip straight to heating it, you’ll get lumps that never fully dissolve, and your mousse will have little rubbery pockets in it. Also keep the heat very low when you melt it. I once let it boil for a moment while I was distracted, and the mousse barely set at all the next morning. The glaze pooled off the sides and I had to start over.
Chilling time is not optional. I know it’s tempting to check after two or three hours, but the mousse really needs a full night in the fridge, at least eight hours, before you pour the glaze. My daughter actually figured this out before I did. The first time I made these, I was in a rush and unmolded them after about two hours. The mousse had barely firmed and the glaze just slid straight off. Overnight changes everything. The texture becomes clean and sliceable, and the glaze settles into that smooth, mirror-like finish that makes them look so beautiful on the table.
Unmolding without panic. Run a thin knife around the inside edge of each mold very slowly, one clean pass is enough. Then dip the outside of the mold in hot water for about five seconds, place your plate on top, and invert with confidence. A gentle shake usually does it. If one sticks, another five-second dip always works. I’ve never had to force one out, and forcing is what causes the glaze to crack.
Flavour Variations
Raspberry Rose, my personal favorite. Replace the strawberries with the same weight of raspberries and add a teaspoon of rose water to the mousse. This is honestly my favorite version of this recipe, especially in spring. The tartness of the raspberries against the lemon sponge is sharper and more interesting than the strawberry version, and the rose water gives it something a little unexpected. Make sure to strain the puree very well. Raspberry seeds are more stubborn than strawberry ones and they ruin the texture if even a few sneak through.
Gluten-Free Adaptation. I’ve tested this with two different gluten-free flour blends and both worked well, as long as they contain xanthan gum. The one thing I’d change: let the sponge cool completely inside the pan before you try to cut out your rounds. Gluten-free sponge is more delicate when warm and tends to crumble at the edges. Give it a full hour and it firms up nicely.
Elderflower & Lemon. For when you want to impress. Skip the strawberry entirely and make an elderflower mousse sweetened with a little honey. Use lemon curd in place of the strawberry glaze. I made this version for a friend’s engagement dinner and it got more compliments than the main course. It looks stunning, all pale gold and cream, and the flavor is delicate enough to go with champagne. Candied lemon peel on top is worth the extra effort.
One variation I wouldn’t repeat. I tried a mango and lime version once, thinking the tropical flavors would work beautifully with the lemon sponge. They didn’t. The mango mousse was too dense and sweet, and it completely overpowered the sponge underneath. Sometimes a pairing that sounds good in theory just doesn’t land in practice, that was one of them. Stick to berries or citrus-based mousses and you’ll be safe.
Frequently Asked Questions
- Q: My mousse didn’t set properly. What went wrong? Nine times out of ten this comes down to the gelatin. Either it wasn’t bloomed long enough, or the strawberry mixture was still too warm when you mixed them together. The puree needs to be at room temperature before the gelatin goes in. I touch the bottom of the bowl with my palm; if it still feels warm, I wait another ten minutes.
- Q: Can I use frozen strawberries? Yes, but thaw them completely first and drain off every bit of liquid you can. Frozen berries release a surprising amount of water as they defrost. I usually add an extra half-gram of gelatin when I use frozen fruit, just to be safe. The flavor is slightly less bright than fresh, but honestly still very good.
- Q: How do I get the cakes out without ruining the glaze? One clean pass with a thin knife around the inside edge, then a five-second dip in hot water on the outside of the mold. Plate on top, invert, gentle shake. Don’t force it. If it doesn’t come out, another few seconds in hot water always solves it. The glaze is more forgiving than it looks once the mousse has set properly overnight.
- Q: My sponge came out dry. How do I fix it next time? Almost always overbaking or too much flour. I pull mine out when the top springs back lightly. Usually right around the 14-minute mark. Use the spoon-and-level method for the flour rather than scooping straight from the bag. Scooping packs in extra flour without you realizing it, and even an extra 10 grams makes a noticeable difference in how dry the sponge feels.
- Q: Can I make these the day before a dinner party? Absolutely, and I’d actually recommend it. The flavor improves after a night in the fridge as the lemon and strawberry settle together. Just store them in an airtight container and add any fresh garnish right before serving. The glaze holds its shine well for up to 24 hours, sometimes longer.
- Q: Can I freeze them? Not once they’re glazed. The mirror finish clouds and cracks when it thaws, and the mousse texture changes. What I do instead is freeze the baked sponge rounds (wrapped tightly) for up to a month, then make the mousse and glaze fresh when I need them. It cuts the day-of work almost in half.
Now I’d love to hear from you. Did you go with fresh strawberries or frozen? And if you tried the raspberry rose version or added your own twist, please tell me in the comments. Seeing what you make from these recipes is genuinely my favorite part of running this blog. 🍓



I think fresh strawberries is better
thank you
I haven’t tried this recipe yet, but after reading this I’m definitely going to! 😍 The idea of fresh strawberries on top sounds perfect.
And honestly, if the neighbors come knocking because of the smell, that’s the best review ever 😂🍓
thank you