The Best Chocolate Glazed Donuts
Soft and moist chocolate glazed donuts made from scratch in just 30 minutes. This easy baked donut recipe is rich, fluffy, and perfect for breakfast or dessert.
📋 Table of Contents
Why You’ll Love This Recipe
These chocolate glazed donuts come from years of testing baked versions that actually deliver on texture—not just convenience. The first thing you notice when they come out of the oven is the aroma: deep cocoa, slightly toasted, with a hint of vanilla that fills the kitchen within minutes. Unlike fried donuts, these have a soft, cake-like crumb that stays moist even after cooling, thanks to the balance of oil and milk in the batter.
One mistake I made early on was overmixing the batter, thinking it would make the donuts smoother. Instead, it made them dense and slightly rubbery. Once I switched to gently folding the wet and dry ingredients just until combined, the texture transformed into something light, tender, and almost airy in the center. That small detail makes a noticeable difference in how the donuts rise and how they feel when you bite into them.
The chocolate glaze is another highlight. When done right, it forms a thin, glossy coating that sets just enough to hold toppings but still melts slightly on your tongue. If the glaze feels too thick, it can overwhelm the donut instead of complementing it. Gradually adding milk while whisking keeps it smooth and pourable, creating that classic finish you expect from a bakery.
What makes this recipe especially reliable is the baking method. Baking allows for consistent results without the variability of oil temperature, which can easily lead to greasy or undercooked donuts. Here, the controlled heat ensures even cooking, giving you a soft interior with lightly firm edges.
These donuts work well for anyone who wants a quick homemade treat without sacrificing quality. They’re rich without being heavy, sweet but balanced by cocoa’s slight bitterness, and adaptable with toppings or flavors depending on your mood. Once you try them warm with freshly set glaze, it’s hard to go back to store-bought versions.
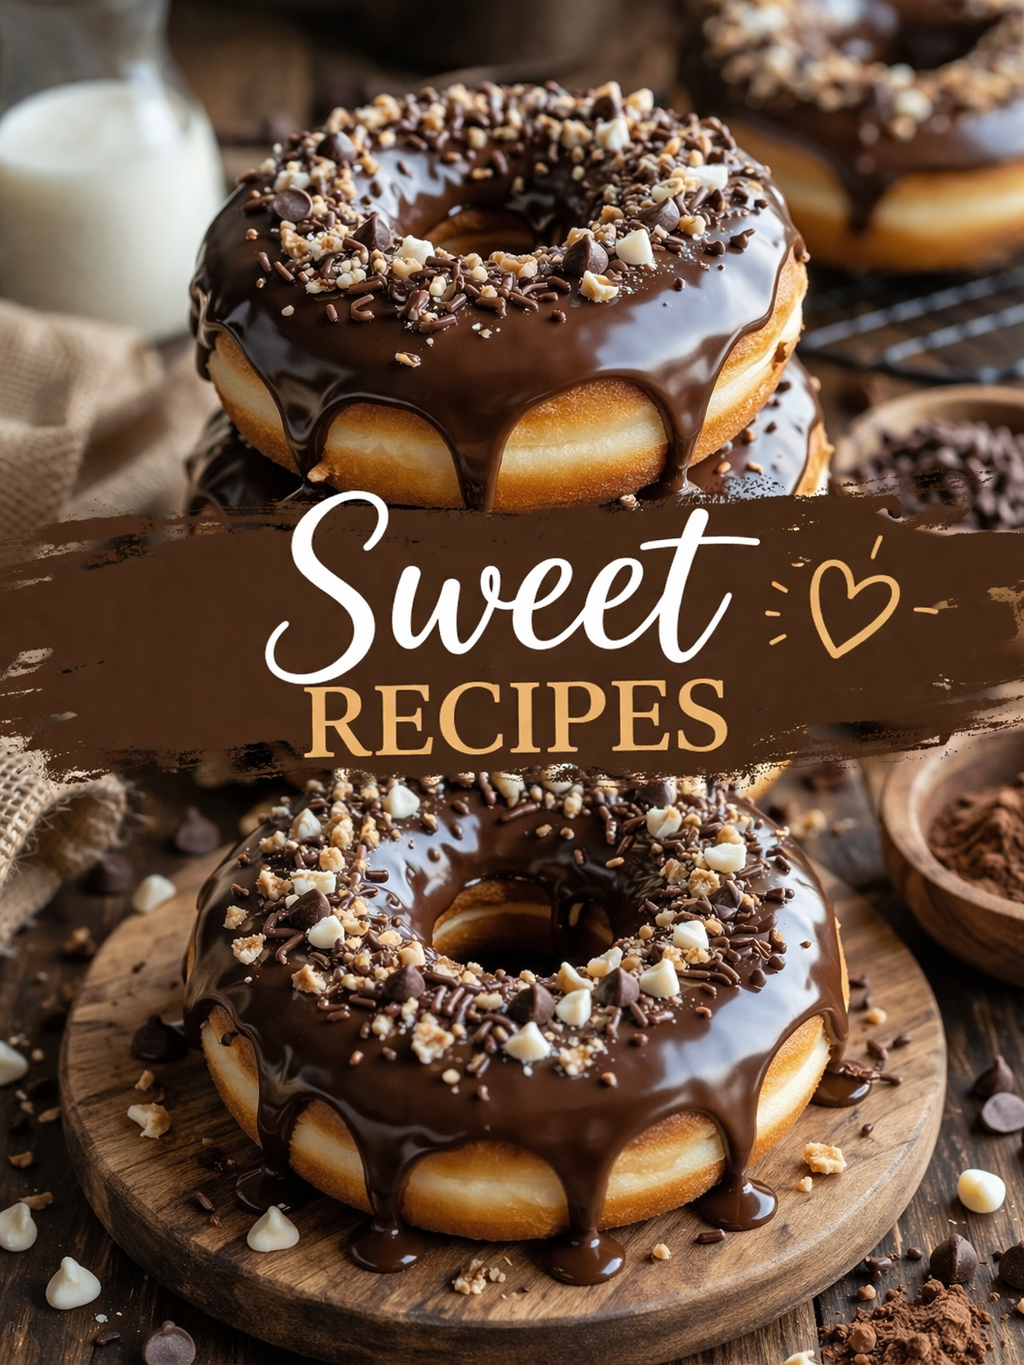
Chocolate Glazed Donuts
Ingredients
Equipment
Method
- Preheat & prep
- Preheat oven to 350°F (175°C)
- Lightly grease a donut pan
- Mix dry ingredients
- In a bowl, whisk together: flour, cocoa powder, sugar, baking powder, baking soda, and salt
- Mix wet ingredients
- In another bowl, whisk: milk, egg, oil, and vanilla
- Combine
- Add wet mixture to dry ingredients
- Mix until just combined (don’t overmix)
- Fill the pan
- Spoon or pipe batter into donut molds (about ¾ full)
- Bake
- Bake for 10–12 minutes
- Let cool in pan for a few minutes, then transfer to rack
- 🍫 Make the glaze
- Mix powdered sugar + cocoa powder
- Add milk gradually until smooth and pourable
- Stir in vanilla
- ✨ Finish
- Dip cooled donuts into glaze
- Add toppings while glaze is still wet
- Let set for ~10–15 minutes
Notes
- For extra richness, use buttermilk instead of regular milk
- Want them fluffier? Don’t overmix the batter
- You can also fry instead of bake for a more classic donut texture
Expert Tips & Techniques
The key to getting these baked chocolate donuts just right lies in controlling both texture and moisture. Start by sifting the cocoa powder and flour together—this prevents small lumps that can create dry pockets in the final crumb. When mixing, use a gentle hand. Overworking the batter develops gluten, which results in a tougher donut instead of the soft, tender bite you want.
A common issue is donuts sticking to the pan. Even non-stick pans can cause trouble if not properly greased. I recommend lightly brushing oil into every curve of the mold rather than spraying—it gives more consistent coverage. Another detail many overlook is filling the molds correctly. Too much batter leads to uneven shapes, while too little makes them dry. About three-quarters full is the sweet spot.
For storage, keep donuts in an airtight container at room temperature for up to two days. If refrigerated, they tend to firm up, but a quick 10-second microwave warm-up restores their softness. If you want to elevate flavor, replace regular milk with buttermilk—the slight acidity enhances the cocoa and gives a more complex taste.
Variations & Alternatives
This recipe adapts easily depending on dietary needs or flavor preferences. For a richer profile, add a handful of dark chocolate chips into the batter—they melt slightly during baking and create pockets of intense chocolate flavor. If you prefer a lighter taste, swap half the cocoa for finely grated orange zest to introduce a subtle citrus note.
For gluten-free donuts, use a 1:1 gluten-free flour blend and slightly increase the liquid to maintain moisture. Vegan variations work well by replacing the egg with applesauce and using plant-based milk—the texture becomes slightly softer but still satisfying. You can also experiment with glazes: a coffee glaze adds depth, while a simple vanilla glaze creates a sweeter contrast.
Frequently Asked Questions
- Q: Can I fry this batter instead of baking? The batter is designed for baking and is softer than traditional dough; frying may cause it to spread too much in oil.
- Q: Why are my donuts dry? Overbaking or adding too much flour can dry them out—measure carefully and check doneness early.
- Q: How do I get a smooth glaze? Add milk slowly while whisking to control consistency and avoid lumps.