Easy Cherries in the Snow
Learn how to make an easy Cherries in the Snow recipe with cream cheese, whipped topping, and cherry pie filling. A quick no-bake dessert perfect for any occasion.
📋 Table of Contents
Why You’ll Love This Recipe
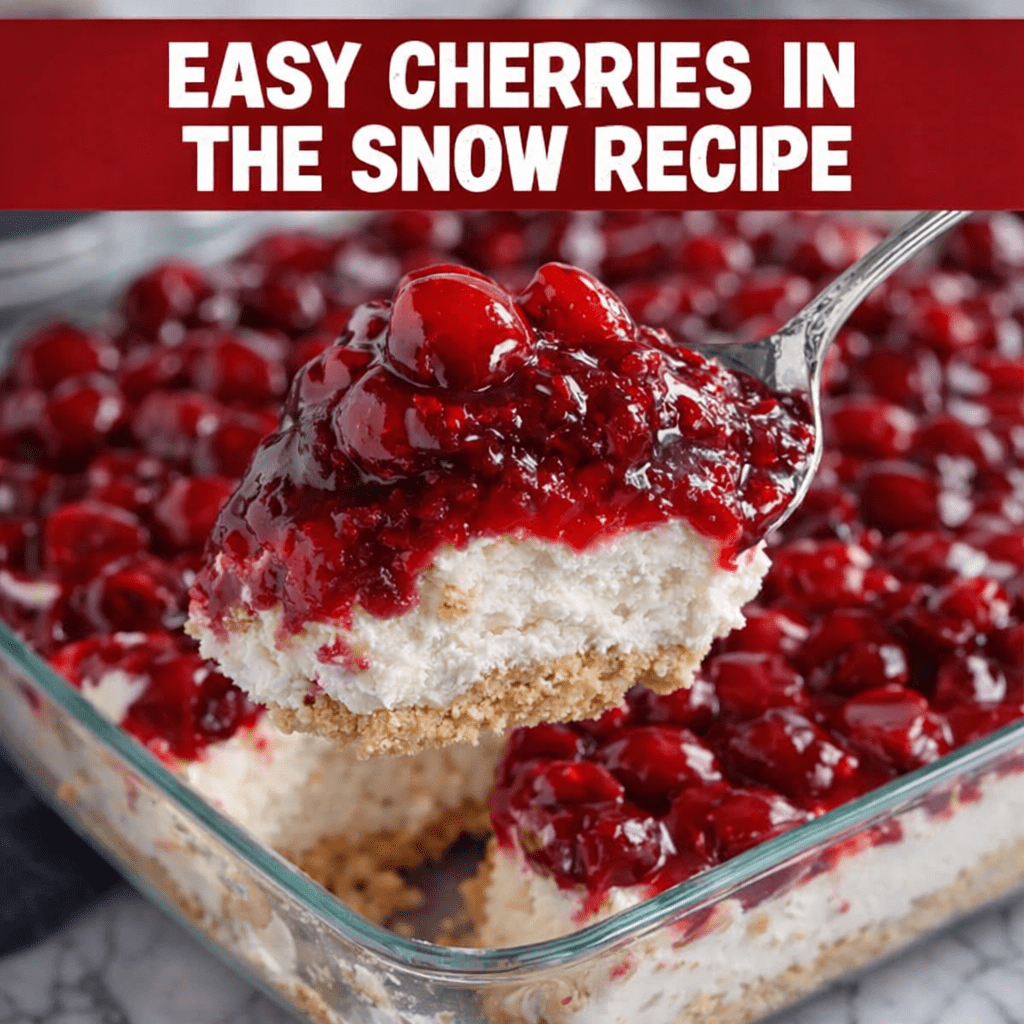
This Easy Cherries in the Snow dessert is one of those recipes I return to when I need something reliable yet visually striking. The contrast between the buttery graham crust, the silky cream cheese layer, and that glossy, ruby-red cherry topping creates a dessert that feels more refined than the effort it requires. When you cut into it, the layers hold cleanly, and the aroma is subtly sweet with a hint of vanilla—simple, but inviting.
From a chef’s perspective, what makes this recipe stand out is the balance of textures. The crust should be slightly firm with a gentle crumble—not overly hard. The cream layer must be airy and smooth, almost mousse-like, which happens when the whipped topping is folded gently rather than aggressively mixed. I learned this the hard way early on—overmixing deflates the air, leaving a dense, heavy layer instead of that light, cloud-like consistency.
One common mistake I’ve seen (and made myself) is using cream cheese that’s too cold. It doesn’t blend properly, resulting in small lumps throughout the filling. The fix is simple: let it sit at room temperature for at least 30 minutes. When softened correctly, it whips into a velvety base that melts smoothly on the tongue.
The cherry topping brings more than just sweetness—it adds a gentle tartness that cuts through the richness of the cream layer. When chilled, the flavors settle and deepen, and the dessert becomes noticeably more cohesive. After about two hours in the refrigerator, the filling firms just enough to slice cleanly while still remaining creamy and cool.
This recipe is particularly useful when you need a make-ahead dessert. There’s no oven required, minimal equipment, and the results are consistent if you respect the technique. It’s the kind of dessert that tastes even better the next day, when the layers have had time to set and harmonize.
Easy Cherries in the Snow
Ingredients
Equipment
Method
- Step 1: Make the Crust
- In a bowl, mix graham cracker crumbs, melted butter, and sugar.
- Press the mixture firmly into the bottom of a 9×9 inch pan.
- Place in the refrigerator for about 10 minutes to firm up.
- Step 2: Prepare the Cream Layer
- In a mixing bowl, beat cream cheese until smooth.
- Add powdered sugar and vanilla extract.
- Mix until creamy and well combined.
- Fold in the whipped topping until light and fluffy.
- Step 3: Assemble the Dessert
- Spread the cream cheese mixture evenly over the chilled crust.
- Smooth the top with a spatula.
- Step 4: Add Cherry Topping
- Spoon the cherry pie filling evenly over the cream layer.
- Spread gently to cover the entire dessert.
- Step 5: Chill
- Refrigerate for at least 2 hours before serving.
- Cut into squares and serve chilled.
Notes
- You can substitute strawberry or blueberry pie filling for a different flavor.
- For a firmer crust, bake it at 350°F (175°C) for 8 minutes before cooling.
- Add chopped nuts or chocolate shavings for extra texture.
Expert Tips & Techniques
Achieving the right texture in this dessert comes down to a few small but important techniques. First, when preparing the crust, press it firmly but not excessively. If you compact it too much, it becomes dense and difficult to cut. I usually use the bottom of a glass to apply even pressure, which creates a uniform base without over-compressing.
The cream layer is where precision matters most. Beat the cream cheese until completely smooth before adding sugar—this prevents graininess. Once you incorporate the whipped topping, switch to folding rather than mixing. Folding traps air, which gives the filling that light, almost airy texture that contrasts beautifully with the rich crust.
A mistake I’ve encountered is rushing the chilling process. If you try to serve it too early, the layers slide and lose definition. Letting it rest for at least two hours allows the fats in the cream to firm up, stabilizing the structure. Overnight chilling improves it even more—the flavors become more pronounced and balanced.
For storage, keep it tightly covered in the refrigerator for up to three days. The crust will soften slightly over time, which some actually prefer. If you want to maintain a firmer base, you can briefly bake the crust as noted in the recipe—this evaporates excess moisture and adds a subtle toasted aroma.
Variations & Alternatives
While cherry topping is the classic choice, this dessert adapts well to different flavors. Blueberry filling creates a deeper, slightly more jam-like sweetness, while strawberry brings a brighter, fresher profile. I’ve also tested a raspberry version, which adds a sharper tart note that pairs beautifully with the creamy layer.
For a lighter version, you can use reduced-fat cream cheese and whipped topping, though the texture becomes slightly less rich. If you need a gluten-free option, substitute the graham crackers with gluten-free biscuits—the result is nearly identical in structure and flavor.
For added texture, sprinkle toasted nuts or shaved dark chocolate on top just before serving. This adds a slight crunch and a more complex finish. If you want a more refined presentation, serve it in individual glasses layered parfait-style, which works particularly well for gatherings.
Frequently Asked Questions
- Q: Can I make this dessert ahead of time? Yes, and it actually improves after several hours in the fridge as the layers set and flavors blend.
- Q: Why is my cream layer runny? This usually happens if the whipped topping was overmixed or the dessert wasn’t chilled long enough to set properly.
- Q: Can I freeze this dessert? You can freeze it, but the texture of the cream layer may change slightly upon thawing, becoming less smooth.
- Q: What’s the best way to cut clean slices? Use a sharp knife and wipe it clean between cuts for neat, defined layers.
")


