The best Easy Salted Caramel Apple Bars
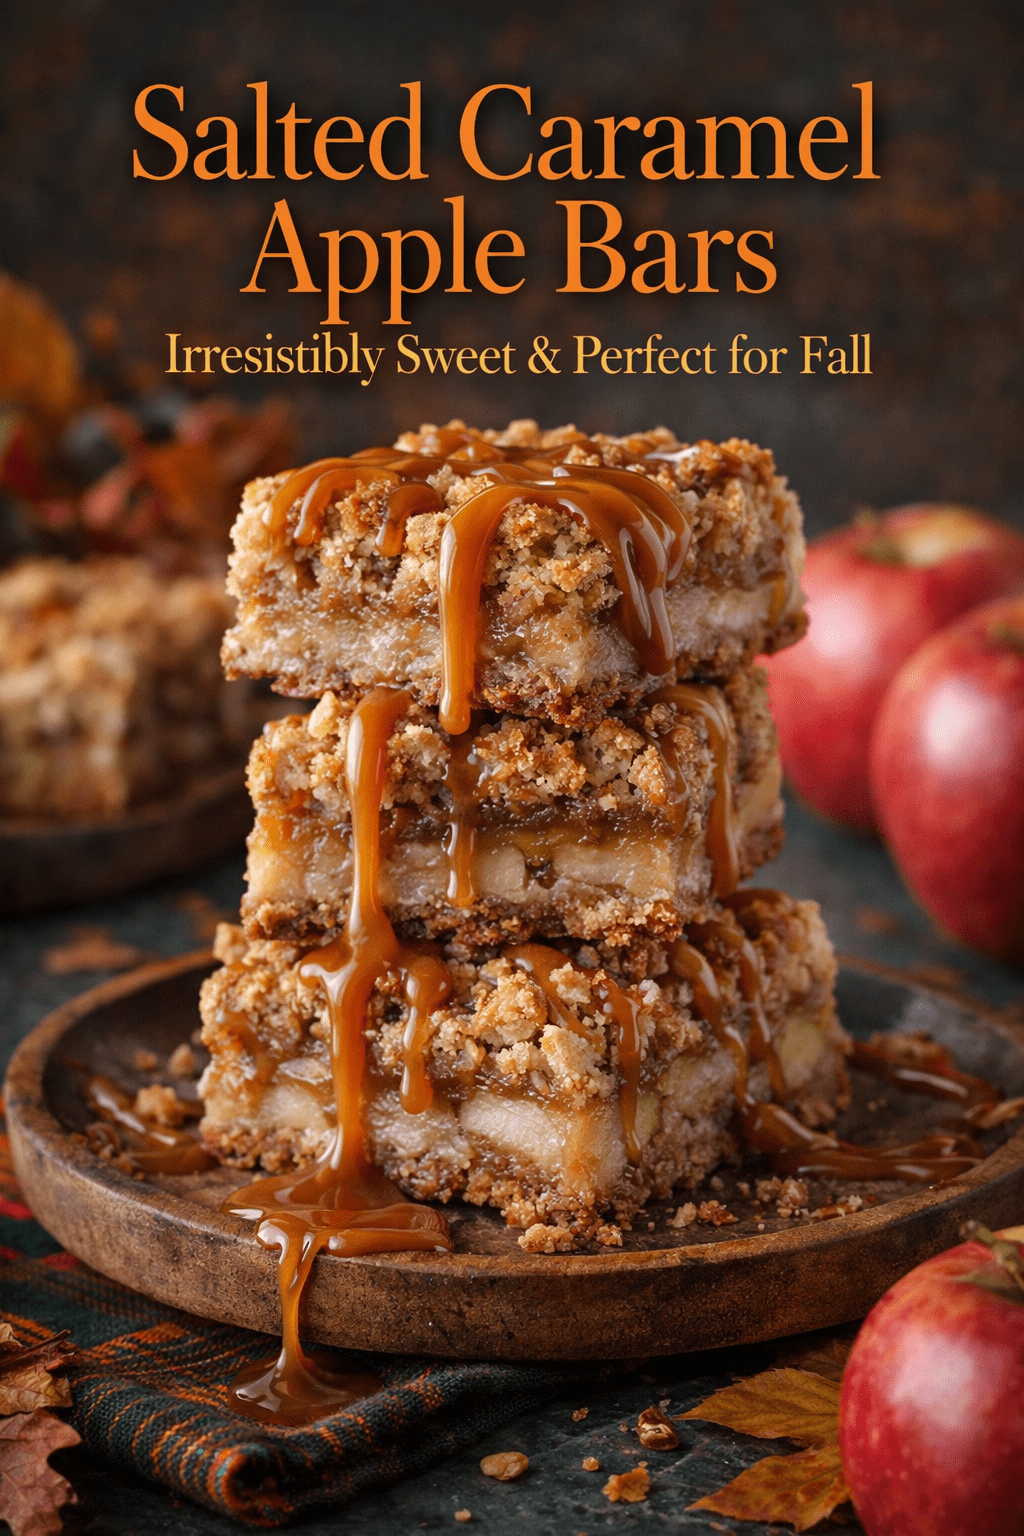
Sweet and buttery salted caramel apple bars made with cinnamon apples, oat crumble, and rich caramel drizzle. An easy fall dessert perfect for holidays, parties, and cozy baking.
📋 Table of Contents
Why You’ll Love This Recipe
There’s something deeply satisfying about baking with apples and caramel—the aroma alone feels like stepping into a warm kitchen on a cool afternoon. These salted caramel apple bars were developed after testing several versions of classic apple crumble and pie bars, and what stood out was how layering textures properly transforms a simple dessert into something memorable.
The base starts with a buttery oat crumble that bakes into a lightly crisp, golden foundation. When done right, it should feel slightly firm on the bottom with a tender, almost shortbread-like bite. The apples soften as they bake, releasing a sweet, cinnamon-spiced aroma with just a hint of tang from the lemon juice. That balance is important—without it, the filling can taste flat instead of vibrant.
One mistake I made early on was cutting the apples too large. They didn’t cook evenly, leaving some pieces slightly firm while others turned mushy. Dicing them into small, even cubes solved that immediately and gave a consistent, soft but structured texture throughout the bars. It also allows the cornstarch to coat everything evenly, helping the filling thicken rather than turning watery.
The crumble topping is where technique matters most. If the butter is too hot when mixed, the mixture becomes greasy and dense instead of crumbly. Letting the melted butter cool slightly creates that ideal sandy texture, which bakes into crisp, golden clusters. This contrast—soft apples, crunchy topping—is what gives each bite depth.
And then comes the salted caramel. Warming it slightly before drizzling allows it to flow smoothly into the crevices of the crumble. The addition of sea salt sharpens the sweetness and highlights the apple and cinnamon flavors rather than overpowering them. The final result is rich, slightly chewy, lightly crisp, and layered with warm spice and caramel notes that linger after each bite.
The best Salted Caramel Apple Bars
Ingredients
Equipment
Method
- 1️⃣ Preheat
- Preheat oven to 350°F (175°C).
- Line an 8×8 or 9×9 baking pan with parchment paper.
- 2️⃣ Make the Crust & Crumble
- In a bowl mix:
- flour
- oats
- brown sugar
- baking soda
- salt
- cinnamon
- Add melted butter + vanilla and mix until crumbly.
- Press half of the mixture firmly into the bottom of the pan to form the crust.
- 3️⃣ Prepare Apple Filling
- In another bowl combine:
- diced apples
- sugar
- lemon juice
- cinnamon
- nutmeg
- cornstarch
- Mix well.
- Spread apples evenly over the crust.
- 4️⃣ Add Crumble
- Sprinkle the remaining oat mixture over the apples.
- 5️⃣ Bake
- Bake for 35–40 minutes until the top is golden brown and apples are soft.
- Let cool for 15 minutes.
- 6️⃣ Add Salted Caramel
- Warm the caramel slightly and stir in ½ tsp sea salt.
- Drizzle generously over the bars.
Notes
- For best flavor, use firm apples like Granny Smith, Honeycrisp, or Braeburn. They hold their shape well when baked.
- If using store-bought caramel sauce, warm it slightly before drizzling so it spreads evenly.
- Allow the bars to cool completely before slicing for clean squares.
- Add ½ cup chopped pecans or walnuts to the crumble for extra crunch.
- For a richer flavor, sprinkle flaky sea salt on top after adding the caramel.
- These bars taste even better the next day after the flavors settle.
- Store leftovers in an airtight container in the refrigerator for up to 4 days.
Expert Tips & Techniques
Getting the texture right in these salted caramel apple bars comes down to small details. First, when pressing the base layer, apply firm and even pressure. If it’s too loose, the crust will crumble apart after baking. If it’s too compacted, it can turn dense instead of lightly crisp. I usually use the bottom of a measuring cup to get an even surface.
Another common issue is excess moisture from the apples. If your apples are particularly juicy, the filling can become too soft. Tossing them thoroughly with cornstarch helps, but letting the mixture sit for 5 minutes before layering allows the starch to begin absorbing liquid. This step noticeably improves the final consistency.
For baking, look beyond just time. The top should be golden with slightly darker edges, and you should smell a toasted oat aroma. Underbaking leaves the center too soft, while overbaking dries the apples. If the top browns too quickly, loosely tent with foil.
Storage also matters. Once cooled completely, these bars slice much cleaner if chilled for an hour. The caramel sets slightly, giving a neater finish. Stored in an airtight container, they hold their texture for several days, though the crumble softens slightly over time.
Variations & Alternatives
You can adjust these bars depending on flavor preference or dietary needs. For a nuttier profile, add chopped pecans or walnuts into the crumble—this enhances both crunch and depth. If you prefer a stronger spice note, increase the cinnamon slightly and add a pinch of ground cloves.
For a gluten-free version, substitute the all-purpose flour with a 1:1 gluten-free baking blend. The texture remains surprisingly close, though slightly more delicate. Vegan adaptations also work well—replace butter with plant-based alternatives and use dairy-free caramel.
Switching fruits is another option. Pears work beautifully with the same spice blend, creating a softer, more delicate filling. You can also combine apples and cranberries for a tart contrast that pairs well with the caramel.
Frequently Asked Questions
- Q: Can I use store-bought caramel sauce? Yes, just warm it slightly before drizzling so it spreads evenly across the bars.
- Q: Why are my bars falling apart when slicing? They likely need more cooling time. Chill them briefly to help the layers set properly.
- Q: Which apples work best? Firm varieties like Granny Smith or Honeycrisp hold their shape and balance sweetness with slight acidity.
- Q: Can I freeze these bars? Yes, wrap them tightly and freeze for up to 2 months. Thaw in the refrigerator before serving.


")

