The best Easy Salted Caramel Apple Bars
Sweet and buttery salted caramel apple bars made with cinnamon apples, oat crumble, and rich caramel drizzle. An easy fall dessert perfect for holidays, parties, and cozy baking.
📋 Table of Contents
Why You’ll Love This Recipe
Apple variety matters here more than in most recipes, because these bars need fruit that holds its shape. Apples high in pectin and lower in water keep their structure through baking; softer eating varieties break down into sauce and make the base wet.
Whichever you use, the fruit releases liquid. Tossing the slices with sugar and letting them stand for twenty minutes, then draining, removes much of it before assembly rather than during baking.
The caramel needs to cool for a few minutes before it goes on. Poured hot, it sinks straight into the base and the layer definition disappears. Left until it thickens visibly, it sits where you put it.
The salt is doing real work, not just adding contrast. It suppresses bitterness from the darker caramelised sugars, which is why a salted caramel tastes rounder than an unsalted one at the same colour.
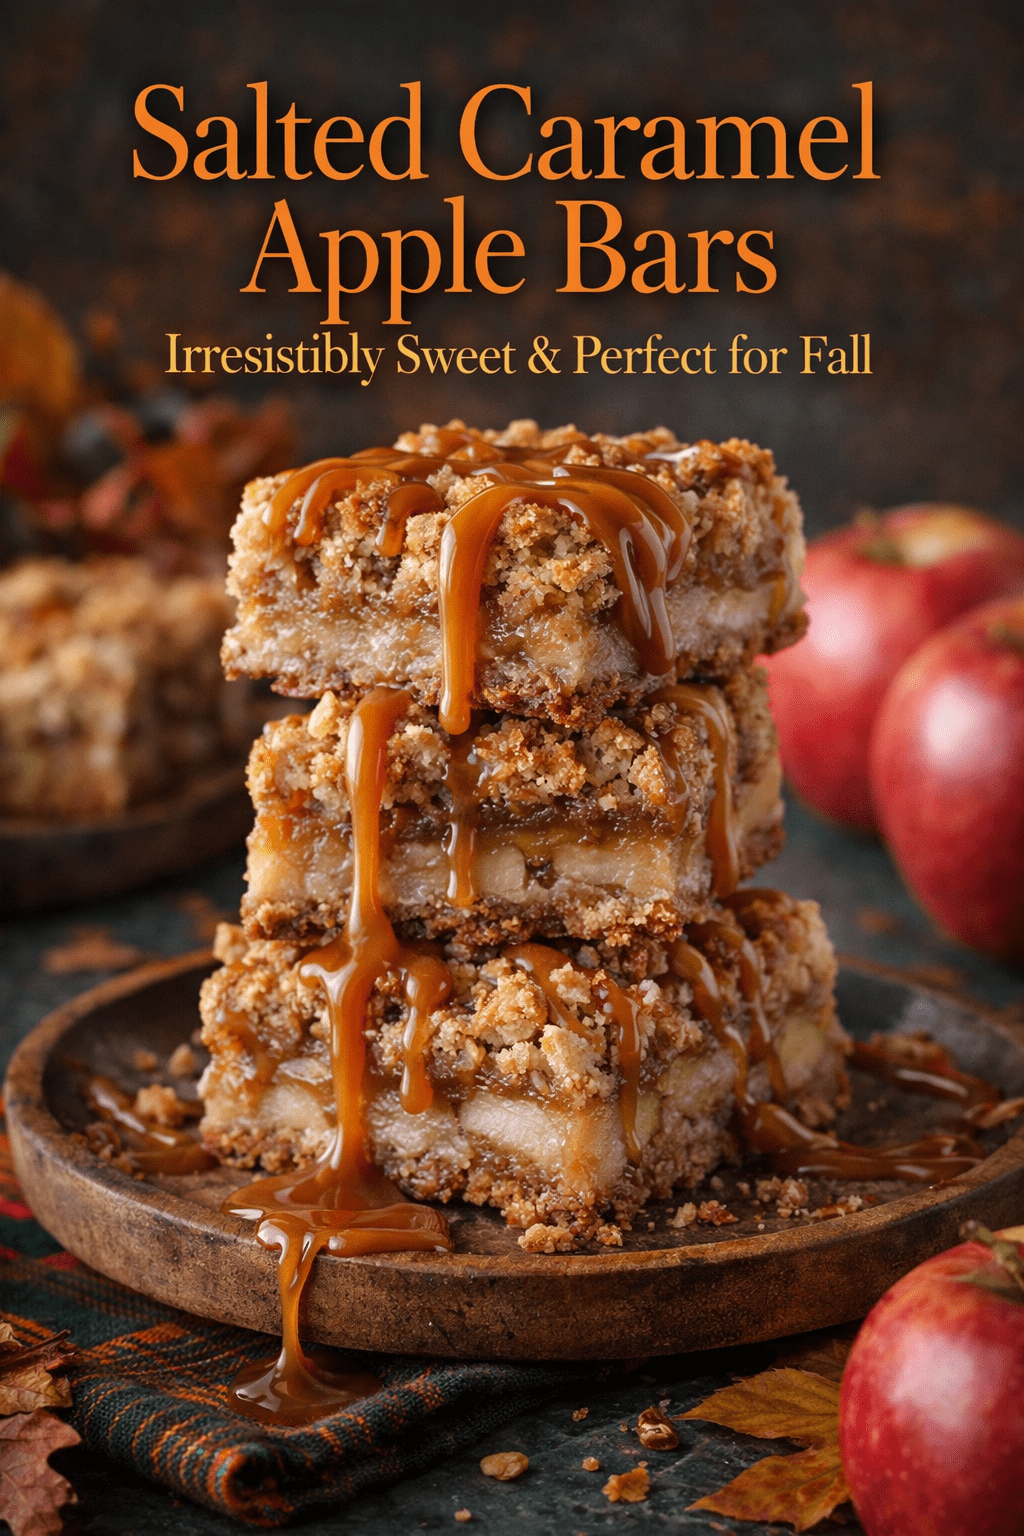
The best Salted Caramel Apple Bars
Ingredients
Equipment
Method
- 1️⃣ Preheat
- Preheat oven to 350°F (175°C).
- Line an 8×8 or 9×9 baking pan with parchment paper.
- 2️⃣ Make the Crust & Crumble
- In a bowl mix:
- flour
- oats
- brown sugar
- baking soda
- salt
- cinnamon
- Add melted butter + vanilla and mix until crumbly.
- Press half of the mixture firmly into the bottom of the pan to form the crust.
- 3️⃣ Prepare Apple Filling
- In another bowl combine:
- diced apples
- sugar
- lemon juice
- cinnamon
- nutmeg
- cornstarch
- Mix well.
- Spread apples evenly over the crust.
- 4️⃣ Add Crumble
- Sprinkle the remaining oat mixture over the apples.
- 5️⃣ Bake
- Bake for 35–40 minutes until the top is golden brown and apples are soft.
- Let cool for 15 minutes.
- 6️⃣ Add Salted Caramel
- Warm the caramel slightly and stir in ½ tsp sea salt.
- Drizzle generously over the bars.
Notes
- For best flavor, use firm apples like Granny Smith, Honeycrisp, or Braeburn. They hold their shape well when baked.
- If using store-bought caramel sauce, warm it slightly before drizzling so it spreads evenly.
- Allow the bars to cool completely before slicing for clean squares.
- Add ½ cup chopped pecans or walnuts to the crumble for extra crunch.
- For a richer flavor, sprinkle flaky sea salt on top after adding the caramel.
- These bars taste even better the next day after the flavors settle.
- Store leftovers in an airtight container in the refrigerator for up to 4 days.
What to Watch For
Getting the texture right in these salted caramel apple bars comes down to small details. First, when pressing the base layer, apply firm and even pressure. If it’s too loose, the crust will crumble apart after baking. If it’s too compacted, it can turn dense instead of lightly crisp. I usually use the bottom of a measuring cup to get an even surface.
Another common issue is excess moisture from the apples. If your apples are particularly juicy, the filling can become too soft. Tossing them thoroughly with cornstarch helps, but letting the mixture sit for 5 minutes before layering allows the starch to begin absorbing liquid. This step noticeably improves the final consistency.
For baking, look beyond just time. The top should be golden with slightly darker edges, and you should smell a toasted oat aroma. Underbaking leaves the center too soft, while overbaking dries the apples. If the top browns too quickly, loosely tent with foil.
Storage also matters. Once cooled completely, these bars slice much cleaner if chilled for an hour. The caramel sets slightly, giving a neater finish. Stored in an airtight container, they hold their texture for several days, though the crumble softens slightly over time.
Mix-Ins and Swaps
You can adjust these bars depending on flavor preference or dietary needs. For a nuttier profile, add chopped pecans or walnuts into the crumble. This enhances both crunch and depth. If you prefer a stronger spice note, increase the cinnamon slightly and add a pinch of ground cloves.
For a gluten-free version, substitute the all-purpose flour with a 1:1 gluten-free baking blend. The texture remains surprisingly close, though slightly more delicate. Vegan adaptations also work well. Replace butter with plant-based alternatives and use dairy-free caramel.
Switching fruits is another option. Pears work beautifully with the same spice blend, creating a softer, more delicate filling. You can also combine apples and cranberries for a tart contrast that pairs well with the caramel.
Why They Spread, and How to Stop It
Whether these come out thin and crisp or thick and chewy is decided mostly before baking, by butter temperature and by which sugar you use.
Butter is the main lever. Melted butter coats the flour and spreads freely, giving a flatter, denser result. Softened butter creamed with sugar traps air and holds more height. Cold butter cut in barely spreads at all. If a batch came out flatter than you wanted, the butter was warmer than the recipe assumed, and a warm kitchen is enough to cause it.
Chilling the dough does two separate things. Firm fat takes longer to melt in the oven, so there is less time to spread. And resting the dough lets the flour hydrate fully, which deepens the flavour noticeably. Thirty minutes helps; overnight is better, and the difference is real rather than superstition.
Sugar changes the outcome too. Brown sugar holds moisture and is slightly acidic, giving a softer, chewier, more spread-out result. White sugar gives crisper edges and a more even shape. Shifting the ratio between them adjusts the texture without touching anything else.
Finally, pull them early. Take them out when the edges are set and the centres still look slightly underdone. The tray holds a lot of heat and keeps cooking them for several minutes after it leaves the oven. Anything that looks properly done in the oven will be dry once it cools.
Frequently Asked Questions
- Q: Can I use store-bought caramel sauce? Yes, just warm it slightly before drizzling so it spreads evenly across the bars.
- Q: Why are my bars falling apart when slicing? They likely need more cooling time. Chill them briefly to help the layers set properly.
- Q: Which apples work best? Firm varieties like Granny Smith or Honeycrisp hold their shape and balance sweetness with slight acidity.
- Q: Can I freeze these bars? Yes, wrap them tightly and freeze for up to 2 months. Thaw in the refrigerator before serving.