Easy No-Bake Caramel Fudge Recipe That You’ll Love
Rich and creamy sweet caramel fudge made with simple ingredients. This easy no-bake dessert is perfect for holidays, gifting, and quick sweet cravings.
📋 Table of Contents
Why You’ll Love This Recipe
This no-bake caramel fudge is the kind of stovetop candy that rewards patience more than complicated equipment. It uses a short list of ingredients, but the flavor is surprisingly deep: buttery caramel, warm vanilla, a light creaminess from the heavy cream, and just enough salt to keep the sweetness from feeling flat. When it sets properly, the texture should be firm enough to slice into neat squares, yet soft and creamy when it melts on the tongue.
When I tested this recipe, the biggest mistake came from stirring the sugar too early while it was melting. Sugar can clump and crystallize if it is agitated before it liquefies, leaving the finished fudge slightly gritty instead of smooth. The fix is to let the sugar melt slowly over medium heat, gently tilting the pan if needed, then stir once the edges are amber and mostly liquid. That controlled caramelization gives the fudge its toasted, buttery aroma instead of a sharp burnt-sugar taste.
The cream and butter need to be added carefully because hot caramel bubbles up quickly when dairy hits the pan. This reaction is normal, but it can surprise you if the saucepan is too small. Use a medium saucepan with enough room for bubbling, and keep your face and hands away from the steam. Whisking or stirring steadily brings the mixture back together into a glossy caramel base.
What makes this caramel fudge especially useful is that it does not require an oven, cookie sheets, or long decorating time. It fits neatly into holiday dessert boxes, afternoon coffee trays, or small after-dinner servings. The finished pieces smell like toasted sugar and vanilla, with a creamy bite that softens as it warms in your hand. For the cleanest slices, let the fudge cool completely before cutting and wipe the knife between cuts.
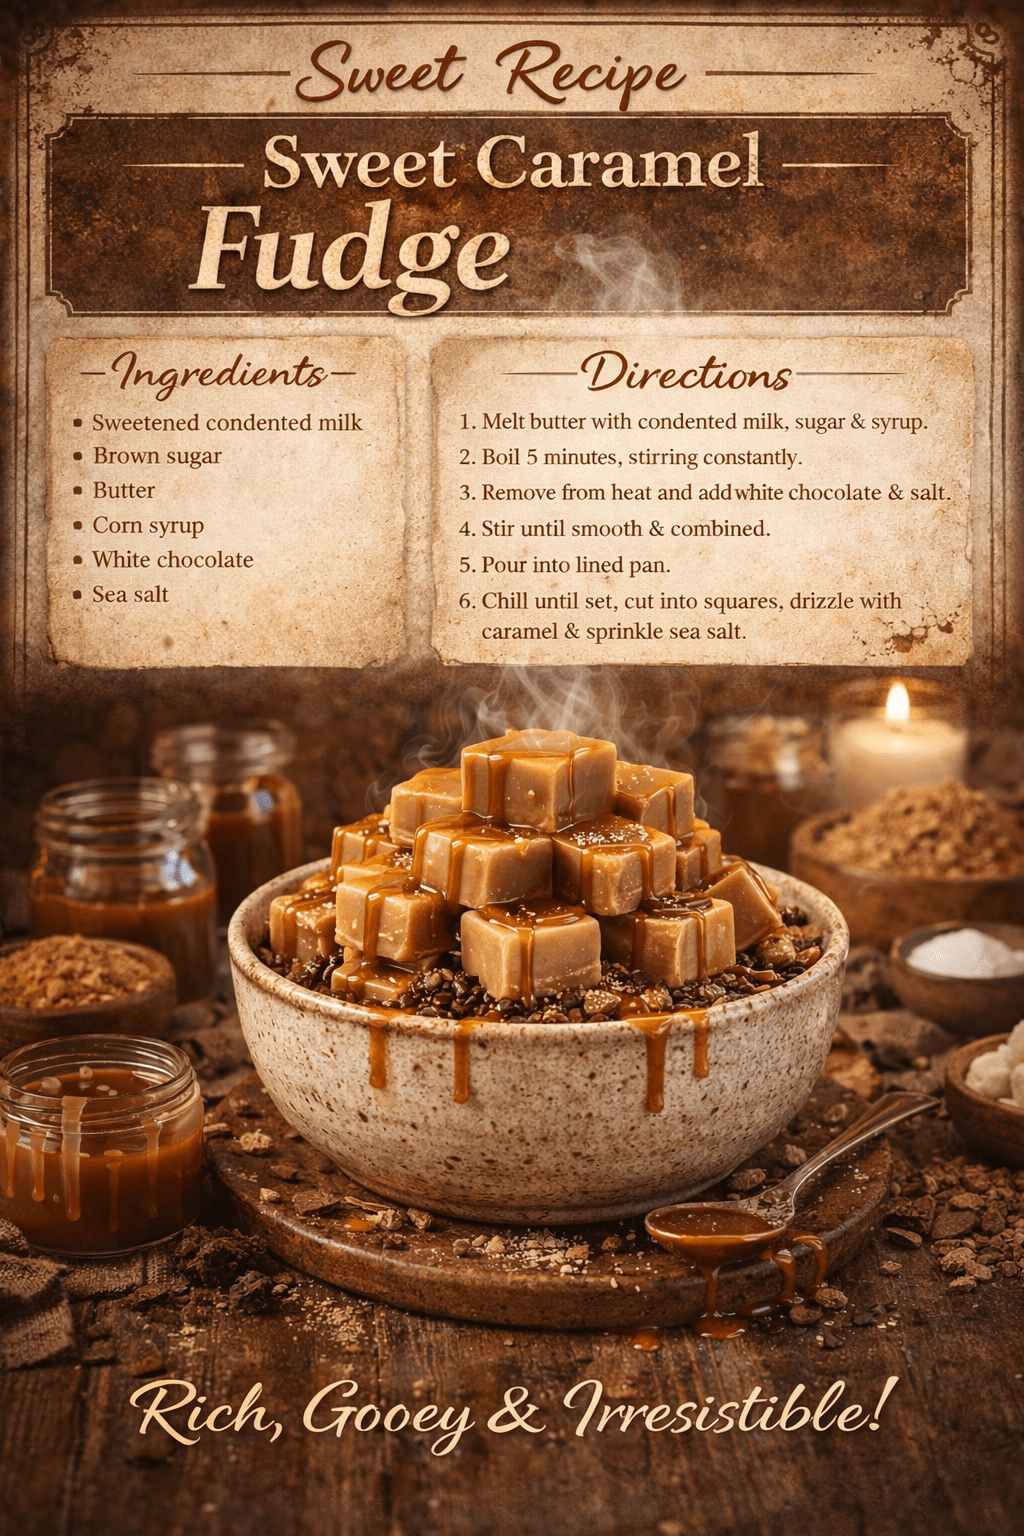
Easy No-Bake Caramel Fudge Recipe That You’ll Love
Ingredients
Equipment
Method
- Line a square pan with parchment paper.
- Heat sugar in a saucepan over medium heat until melted.
- Stir in butter and cream carefully.
- Cook until smooth and thick.
- Pour into pan and let cool completely.
Notes
Store caramel fudge in an airtight container at room temperature for up to 5 days or refrigerate for 2 weeks.
Common Missteps
Line the pan before you start cooking. Caramel changes quickly once it reaches the right color, and you do not want to stop and wrestle with parchment while the mixture thickens in the saucepan. Leave a little parchment overhang on two sides so the cooled fudge can be lifted out cleanly.
Use steady medium heat for melting the sugar. High heat may seem faster, but it often causes dark spots before the center has melted, which can make the fudge taste bitter. If some sugar clumps form, lower the heat slightly and keep cooking until they dissolve. A few tiny crystals can usually be smoothed out once the cream is added, but large dry lumps are harder to fix.
When adding butter and cream, expect bubbling. This happens because the dairy is cooler than the caramel and releases steam immediately. Add the cream slowly and stir with a wooden spoon or heat-safe spatula until the mixture turns glossy and thick. If the caramel seizes into a firm lump, keep the pan on low heat and stir patiently; most seized caramel will melt back into the cream.
Let the fudge cool at room temperature before refrigerating if possible. Sudden chilling can create condensation on the surface, making the top slightly sticky. For clean squares, chill only after the fudge has set, then slice with a sharp knife warmed under hot water and dried well.
Other Directions
For salted caramel fudge, increase the salt slightly and sprinkle flaky sea salt over the surface while the fudge is still warm. The salt gives each square a sharper caramel flavor and makes the buttery sweetness feel more balanced.
For a nutty version, fold in toasted pecans, walnuts, or almonds just before pouring the mixture into the pan. Toasting the nuts first is worth the extra few minutes because it brings out a warm, roasted aroma and keeps the pieces from tasting flat against the caramel.
For chocolate caramel fudge, scatter finely chopped dark chocolate into the warm mixture after it has thickened, then stir until smooth. Dark chocolate works better than milk chocolate here because the fudge is already sweet, and a little bitterness gives the final bite more depth.
You can also add espresso powder, cinnamon, or a splash of maple extract for a seasonal twist. If using liquid flavorings, keep them small and add them with the vanilla so the fudge does not become loose. For a dairy-free variation, use a plant-based butter and full-fat coconut cream, though the texture may be softer and the flavor will carry a mild coconut note.
Sugar Crystals, and How to Keep Them Small
A boiled sugar syrup is a supersaturated solution: it holds more sugar than the water can normally dissolve. That state is unstable. One stray crystal is enough to start a chain reaction that turns the whole batch sandy, and it happens in seconds.
Three things trigger it. Stirring once the syrup is boiling. Undissolved sugar clinging to the side of the pan, which falls back in and seeds the mixture. And disturbing the syrup while it is still hot instead of letting it cool undisturbed first.
The fixes follow directly. Wash the pan walls down with a wet pastry brush early on. Stop stirring once it boils, and swirl the pan instead if you need to even out the heat. For fudge, cool it to about 43 °C (110 °F) before you beat it. Beating hot fudge is the single most common reason a batch turns grainy.
Some ingredients block crystals physically. Corn syrup, honey, butter, and cream all get in the way of the sugar lattice forming, which is why nearly every reliable caramel recipe includes at least one of them. They are not there for flavour alone.
Temperature decides the final texture, and the margins are narrow. Soft-ball, 112 to 116 °C, gives fudge and fondant. Firm-ball, 118 to 121 °C, gives chewy caramels. Hard-crack, 149 to 154 °C, gives brittle and toffee. A few degrees is the difference between a caramel you can cut and one you cannot chew.
Frequently Asked Questions
- Q: Why is my caramel fudge gritty? Grittiness usually comes from sugar crystals forming while the sugar melts. Avoid stirring too early, use medium heat, and make sure the sugar is mostly melted before adding butter and cream.
- Q: What should I do if the caramel seizes? Keep the pan over low heat and stir steadily. The hardened caramel usually melts back into the cream as the temperature evens out.
- Q: How do I know when the fudge is thick enough? The mixture should look glossy, move slowly when stirred, and leave a brief trail on the bottom of the pan before flowing back together.
- Q: Can I make this no-bake caramel fudge ahead of time? Yes. Store it in an airtight container at room temperature for up to 5 days or refrigerate it for up to 2 weeks. Separate layers with parchment so the pieces do not stick.
- Q: Why is my fudge too soft to slice? It may not have cooked long enough, or it may need more cooling time. Chill it for 30 to 60 minutes, then slice with a clean, sharp knife.