The Best Easy Chocolate Fudge (3 Ingredients, No Bake)
Easy chocolate fudge made with just 3 ingredients! This rich, creamy no-bake dessert is perfect for holidays, parties, or quick sweet cravings.
📋 Table of Contents
Why You’ll Love This Recipe
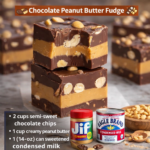
This easy chocolate fudge is the kind of no-bake dessert I reach for when I want something glossy, rich, and dependable without pulling out a candy thermometer. After testing this 3-ingredient chocolate fudge with both semi-sweet and milk chocolate chips, the semi-sweet version gave the cleanest balance: sweet, but not sticky-sweet, with a deeper cocoa aroma as it melted into the condensed milk. Milk chocolate makes a softer, creamier fudge with a classic holiday sweetness, which is lovely for kids’ trays or gifting.
The real strength of this recipe is the texture. When the chocolate is melted gently, the fudge sets into smooth, dense squares that feel creamy on the tongue rather than crumbly or waxy. The condensed milk does more than sweeten; it adds dairy solids and moisture, helping the chocolate firm up into a sliceable block without becoming hard like a candy bar. Vanilla goes in at the end because heat can dull its aroma. Stirred in off the heat, it leaves a warm bakery scent that rounds out the chocolate.
One mistake I see often is overheating the mixture. If the saucepan is too hot, the chocolate can seize or turn slightly grainy. The fix is to remove it from the heat immediately and stir in one or two teaspoons of warm condensed milk, cream, or even a small pat of butter until the mixture loosens. Low heat and steady stirring give the best result; the fudge should look shiny and pourable, not thick and separated.
I also recommend lining the pan with parchment that hangs over two sides. It sounds small, but it prevents broken corners and lets you lift the slab out cleanly for neat squares. Chill until the center feels firm, then cut with a warm knife wiped between slices. The result is a rich, creamy no-bake chocolate fudge with clean edges, a soft bite, and that nostalgic cocoa-and-vanilla smell that belongs on every dessert table.
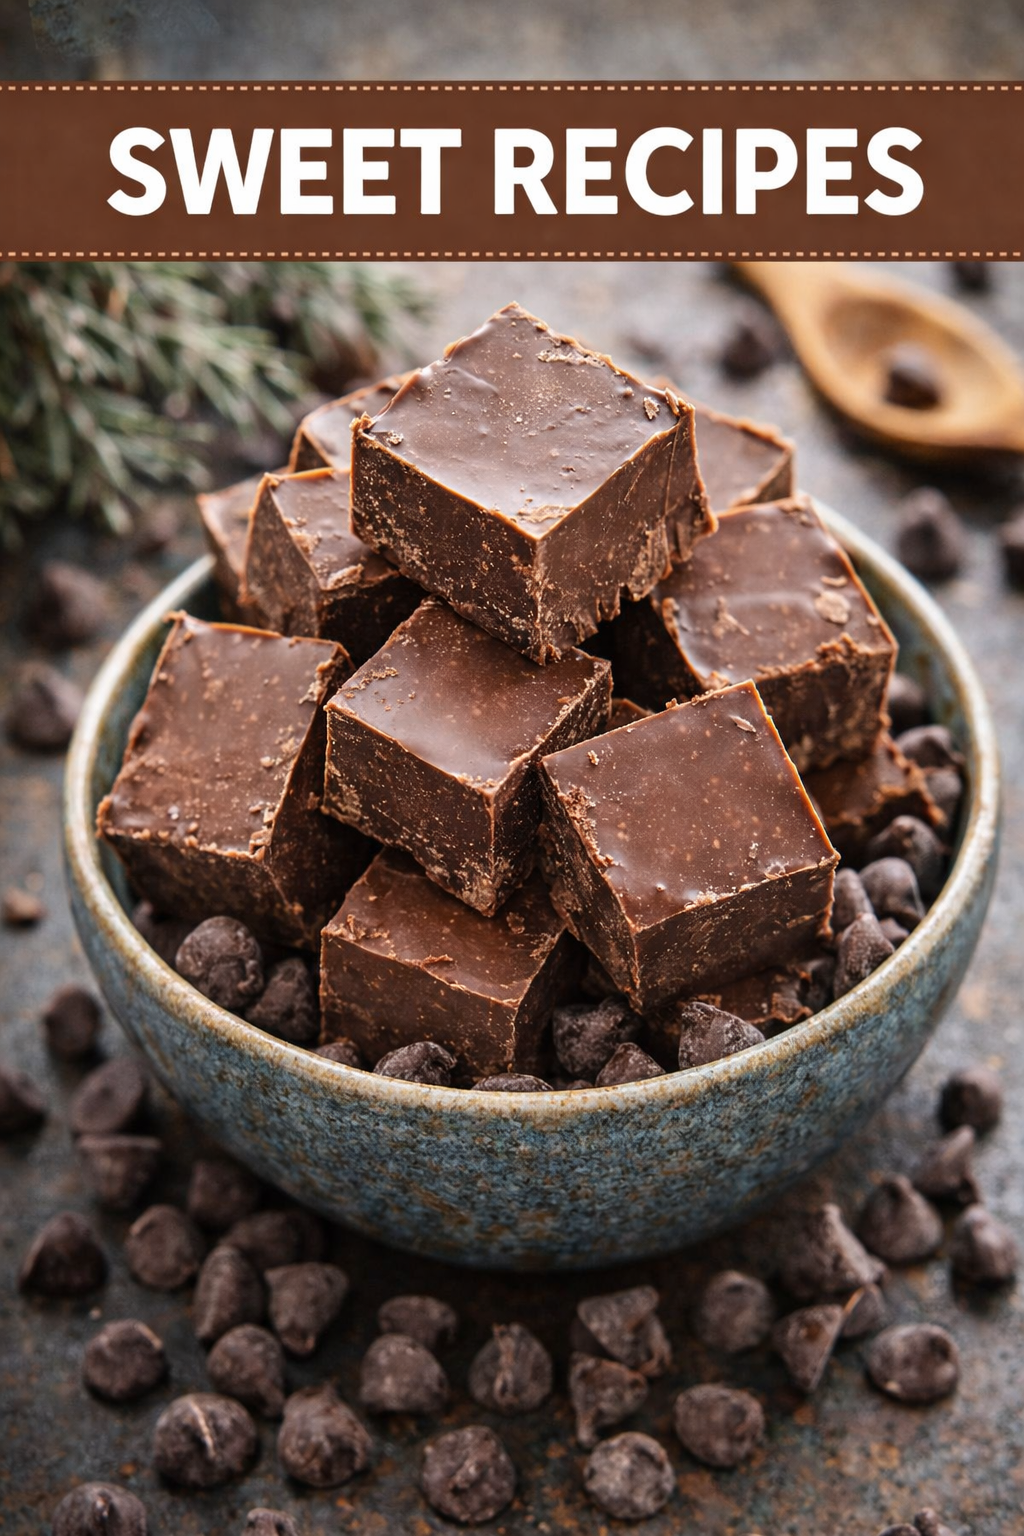
Easy Chocolate Fudge (3 Ingredients, No Bake)
Ingredients
Equipment
Method
- Prepare the pan
- Line an 8×8-inch baking pan with parchment paper.
- Melt the chocolate
- In a saucepan over low heat, combine chocolate chips and condensed milk. Stir constantly until smooth and fully melted.
- (You can also microwave in 30-second intervals, stirring each time.)
- Add flavor
- Remove from heat and stir in vanilla extract (and any optional add-ins).
- Pour and spread
- Pour the mixture into the prepared pan and spread evenly.
- Chill
- Refrigerate for at least 2 hours, or until firm.
- Cut and serve
- Lift out using parchment paper and cut into squares.
Notes
Don’t overheat or the fudge can become grainy
For clean cuts, use a warm knife
Store in the fridge for a firmer texture
Expert Tips & Techniques
Use a heavy-bottomed saucepan if you are cooking on the stove. Thin pans create hot spots, and hot spots are where chocolate scorches first. Keep the heat low and stir with a silicone spatula, scraping the bottom and corners of the pan. The mixture is ready when the chocolate chips have fully melted and the fudge looks smooth, thick, and glossy.
If using the microwave, heat in 30-second bursts at first, then 15-second bursts once the chocolate begins to soften. Stir well after every interval, even if the chips still look whole. Residual heat melts chocolate more gently than constant heating, and that gentle finish helps prevent a grainy texture.
For the cleanest flavor, choose chocolate chips you would enjoy eating on their own. Semi-sweet chips make the fudge rich and balanced, while milk chocolate creates a softer, sweeter square. Avoid chocolate that tastes flat or waxy, because there are only three ingredients and every one is noticeable.
Chilling matters. Two hours gives the fudge enough time to firm through the center, but overnight chilling creates the neatest cuts. Store the squares in an airtight container in the refrigerator for a firmer bite, or let them sit at room temperature for 10 minutes before serving if you prefer a softer, creamier texture.
Variations & Alternatives
For a salted chocolate fudge, sprinkle flaky sea salt over the top while the surface is still soft. The salt sharpens the cocoa flavor and keeps the sweetness from feeling too heavy. For a holiday version, fold in chopped toasted walnuts, pecans, crushed peppermint, or dried cranberries just before spreading the fudge into the pan.
Peanut butter lovers can swirl two tablespoons of warmed peanut butter through the top with a knife. Do not overmix; a few ribbons give a better look and a stronger roasted-nut aroma. For mocha fudge, add one teaspoon of instant espresso powder with the vanilla. It will not make the fudge taste strongly like coffee, but it deepens the chocolate flavor.
This recipe is naturally egg-free and usually gluten-free, but always check chocolate chip and condensed milk labels if serving guests with allergies. For a dairy-free version, use dairy-free chocolate chips and sweetened condensed coconut milk. The coconut version sets slightly softer and brings a faint tropical note, so it pairs especially well with toasted coconut flakes.
Frequently Asked Questions
- Q: Why did my fudge turn grainy? Grainy fudge usually comes from overheating the chocolate or stirring over heat for too long. Remove it from the heat as soon as it melts, and stir gently until glossy.
- Q: Can I make this chocolate fudge ahead of time? Yes. It keeps well in the refrigerator for about one week in an airtight container, making it a reliable make-ahead dessert for holidays, parties, and edible gifts.
- Q: Can I freeze this fudge? Yes. Wrap the cut squares tightly, place them in a freezer-safe container, and freeze for up to two months. Thaw in the refrigerator so condensation does not make the surface sticky.
- Q: Why is my fudge too soft? It may need more chilling time, or the chocolate-to-condensed-milk ratio may have been changed. Use a full 12 ounces of chocolate chips and chill until the center feels firm.
- Q: What is the best way to cut clean squares? Lift the fudge out with parchment, warm a sharp knife under hot water, dry it completely, then slice. Wipe the blade between cuts for smooth edges.