The Ultimate Guide to Perfect French Macarons
French macarons, with their delicate crisp shell, chewy interior, and luscious filling, are a true masterpiece of patisserie. Often deemed challenging, mastering these elegant confections is incredibly rewarding. This comprehensive guide will demystify the process, providing you with the essential techniques, troubleshooting tips, and a step-by-step approach to baking perfect macarons every time. Get ready to impress with these vibrant, flavorful, and utterly irresistible treats!
By Sweet Recipe Team | June 16, 2026
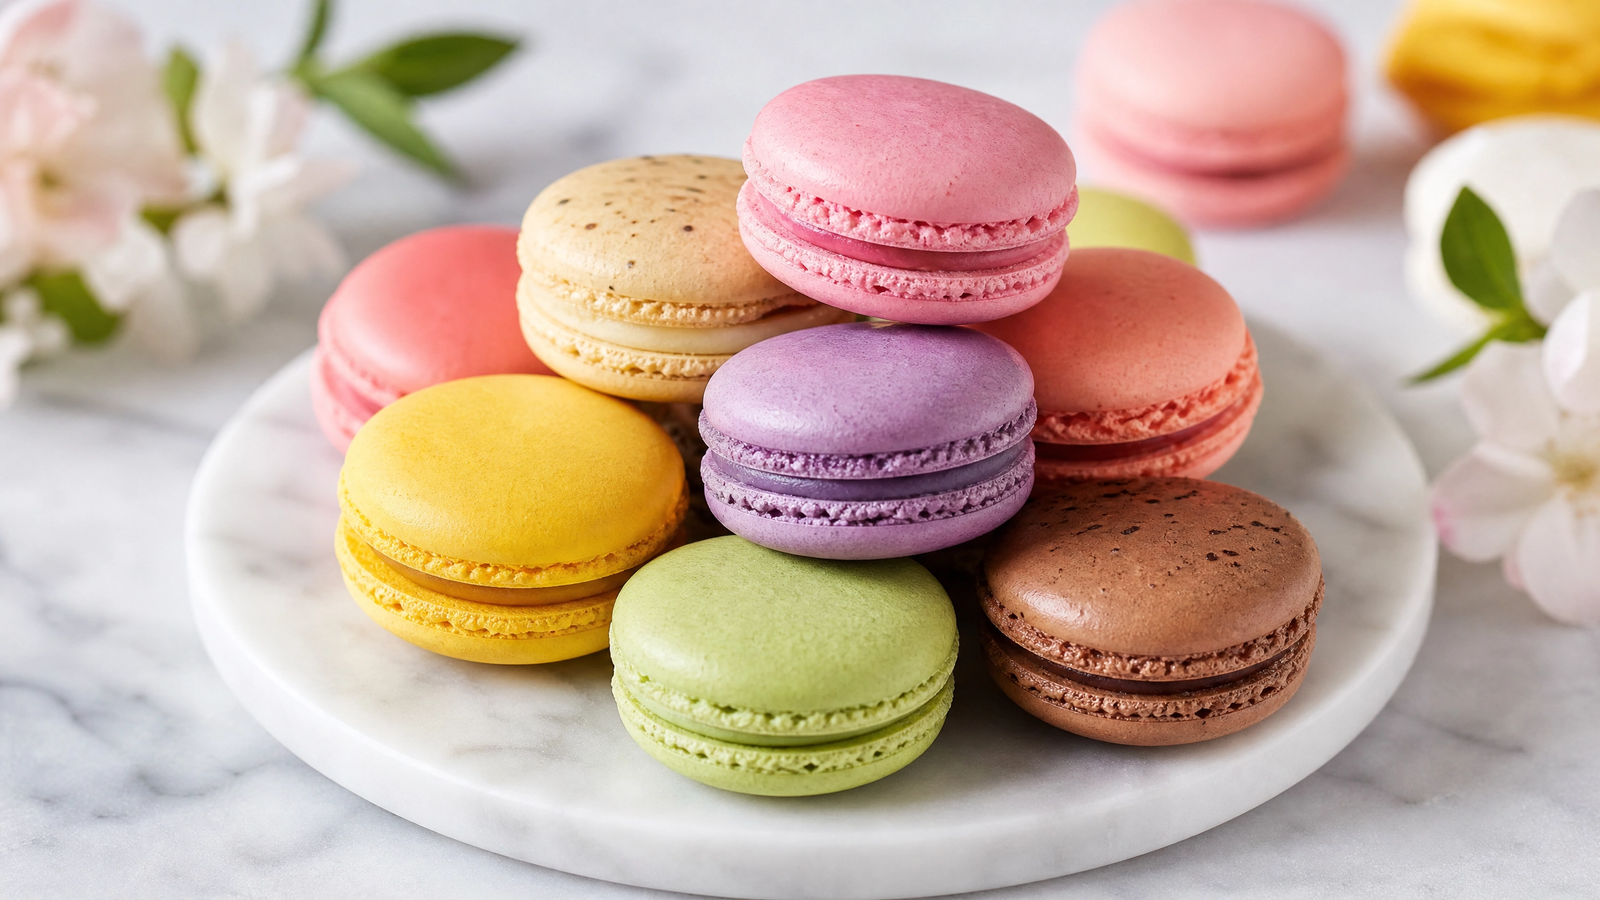
Unlocking the Secrets of the Macaron: Precision and Patience
Baking macarons is a delicate dance between precision and technique. Every step, from preparing the meringue to the final baking, plays a crucial role in achieving that coveted smooth shell and characteristic ‘foot’. While it may seem daunting, understanding the science behind each stage and paying close attention to detail will set you on the path to success. Let’s break down the process and transform your macaron dreams into a delicious reality.
1. Accurate Ingredient Measurement: The Golden Rule
Macarons are notoriously finicky, and even a slight deviation in ingredient ratios can lead to disaster. Using a digital scale for all ingredients, especially almond flour, powdered sugar, and egg whites, is non-negotiable. Too much almond flour can result in thick, lumpy shells, while too little can make them fragile and prone to cracking. The precise balance ensures the correct batter consistency for the perfect ‘macaronage’. Imagine a macaron that’s perfectly round, with a smooth, unblemished top and a delicate crunch that gives way to a soft, chewy center.
Tip: Always weigh your ingredients. Don’t rely on volume measurements for macarons. Sift your almond flour and powdered sugar together multiple times to ensure there are no lumps, which can cause bumpy shells. This meticulous approach guarantees a uniform texture and appearance, crucial for macaron perfection.
2. Aging Egg Whites: A Crucial Step
Many macaron recipes call for aged egg whites. This means separating the egg whites a day or two in advance and letting them sit, covered loosely, in the refrigerator. Aging allows some of the water to evaporate, concentrating the proteins and making them more stable for whipping into meringue. Fresh egg whites can be too watery, leading to a less stable meringue that struggles to hold its shape, resulting in flat or cracked shells. The stability of the meringue is paramount for the macaron’s delicate structure.
Tip: Separate your egg whites carefully, ensuring no yolk contaminates them. Store them in a clean, airtight container in the fridge for 24-48 hours. Bring them to room temperature before whipping. This small step significantly improves the meringue’s stability, leading to stronger, more consistent macaron shells with that desirable ‘foot’.
3. Achieving the Perfect Meringue: Stiff Peaks are Key
Whether you choose the French, Italian, or Swiss meringue method, achieving stiff, glossy peaks is fundamental. The meringue provides the structure and airiness for the macaron shells. An undermixed meringue will be too soft, leading to flat, spreading shells, while an overmixed meringue can be dry and brittle, causing hollow or cracked shells. The meringue should be firm enough to hold its shape when the whisk is lifted, with a slight sheen, indicating proper aeration and sugar dissolution. The texture should be smooth and marshmallow-like, ready to embrace the dry ingredients.
Tip: Use a clean, grease-free bowl and whisk. Gradually add sugar to the egg whites once they start to foam. Whip until the meringue forms stiff, glossy peaks that stand upright. If using Italian or Swiss methods, ensure your sugar syrup or bain-marie reaches the correct temperature. The stability of your meringue directly impacts the success of your macaron shells.
4. Macaronage: The Art of Folding
Macaronage is the most critical and often the most challenging step. It’s the process of folding the dry ingredients (almond flour and powdered sugar) into the meringue until the batter reaches the perfect consistency – often described as lava-like or flowing like a thick ribbon. Over-macaronage will result in a runny batter that spreads too much, leading to flat, footless shells. Under-macaronage will yield a thick batter that doesn’t spread enough, resulting in lumpy, peaked shells. The batter should flow slowly and continuously off your spatula, forming a figure eight before breaking. This delicate balance is key to the macaron’s signature texture and appearance.
Tip: Use a flexible spatula and fold gently, scraping down the sides of the bowl. Test the consistency frequently by lifting your spatula and letting the batter fall back into the bowl. Stop folding as soon as the batter reaches the desired consistency. This step requires a keen eye and a gentle hand, but mastering it is immensely satisfying.
5. Piping: Uniformity is Key
Once your macaronage is perfect, it’s time to pipe. Uniformly sized circles are essential for even baking and a professional appearance. Use a piping bag fitted with a round tip (like an Ateco 805 or 806) and pipe vertically onto parchment paper or silicone mats. The batter should spread slightly to form a smooth circle. Inconsistent piping can lead to some macarons baking faster than others, resulting in uneven textures and colors. The visual appeal of perfectly matched macaron shells is undeniable.
Tip: Use a macaron template placed under your parchment paper to guide your piping. Pipe from a consistent height and apply even pressure. After piping, firmly tap the baking sheets on your counter a few times to release any trapped air bubbles, which can cause hollow shells or cracks. This also helps the batter settle into a smooth, even circle.
6. Drying (Croutage): Forming the Skin
After piping, macarons need to dry, or ‘croutage,’ before baking. This involves letting them sit at room temperature until a skin forms on the surface. This skin is crucial for the development of the ‘foot’ – the ruffled edge that is characteristic of a perfect macaron. If you touch the surface gently, it should not stick to your finger. This drying process can take anywhere from 30 minutes to a few hours, depending on the humidity in your environment. The shells will feel slightly firm to the touch, indicating they are ready for the oven.
Tip: High humidity is the enemy of macaron drying. If you live in a humid climate, consider using a fan to circulate air around your piped macarons. The skin formation prevents the top of the macaron from cracking and forces the batter to rise through the bottom, creating that iconic ‘foot’. Patience here is key; don’t rush this step.
7. Baking Temperature and Time: The Delicate Balance
Baking macarons requires precise temperature control. Too high a temperature can cause them to crack, brown too quickly, or become hollow. Too low a temperature can prevent the ‘foot’ from forming and result in chewy, underbaked shells. Most recipes call for a relatively low oven temperature (around 285-325°F or 140-160°C) for a specific duration. The goal is to bake them just enough so they are cooked through but still retain a slightly chewy interior. The shells should lift easily from the baking mat when done, with a firm, dry bottom.
Tip: Use an oven thermometer to ensure your oven’s temperature is accurate. Rotate your baking sheets halfway through baking for even heat distribution. If your macarons are browning too quickly, try lowering the temperature slightly or baking them on a lower rack. A perfectly baked macaron has a crisp shell, a chewy interior, and a well-developed ‘foot’.
8. Cooling Completely Before Filling: Patience Rewarded
Once baked, macarons must be cooled completely on the baking sheet before attempting to remove them or fill them. Trying to remove them too soon will cause them to stick and break. Cooling allows the shells to firm up and fully detach from the baking surface. This also prevents the filling from melting or making the shells soggy. The delicate structure of the macaron needs time to stabilize, ensuring that satisfying crispness when you bite into it. The aroma of the baked shells will be subtle, awaiting the complementary scent of the filling.
Tip: Transfer the baking mat with the macarons to a wire rack immediately after removing them from the oven. Allow them to cool for at least 15-20 minutes, or until completely cool to the touch. This step is crucial for maintaining the integrity of the shells and ensuring a clean release, preserving their perfect shape.
9. Choosing the Right Filling: Flavor Harmony
The filling is just as important as the shell, providing moisture, flavor, and balancing the sweetness of the macaron. Popular fillings include ganache, buttercream, fruit curds, and jams. The consistency of the filling is key; it should be firm enough to hold its shape but soft enough to pipe easily. The flavor should complement the macaron shell without overpowering it. Imagine a rich dark chocolate ganache paired with a vanilla bean shell, or a vibrant raspberry curd with a delicate rose macaron. The combination of textures and flavors creates a harmonious bite.
Tip: Ensure your filling is at the right temperature and consistency for piping. If it’s too soft, it will ooze out; if too firm, it will be difficult to pipe. Experiment with different flavor combinations to find your favorites. Allow filled macarons to mature in the refrigerator for 24 hours for the flavors to meld and the shells to soften slightly, creating that signature chewy texture.
10. Maturation: The Secret to Perfect Texture
This is perhaps the most overlooked, yet crucial, step for achieving the perfect macaron texture. After filling, macarons need to mature in the refrigerator for at least 12-24 hours. During this time, the moisture from the filling migrates into the shells, softening them slightly and creating that characteristic chewy, melt-in-your-mouth texture. Without maturation, the shells can be too crisp and brittle. The flavors also have time to meld and deepen, resulting in a more harmonious and delicious treat. The anticipation of this final stage is well worth the wait.
Tip: Store filled macarons in an airtight container in the refrigerator. This prevents them from drying out and allows for proper maturation. Bring them to room temperature for about 15-30 minutes before serving for the best flavor and texture experience. The slight chill and then warming enhances the sensory delight of each bite.
Conclusion: Your Journey to Macaron Mastery
Baking French macarons is a rewarding challenge that hones your precision, patience, and culinary intuition. By understanding and meticulously executing each step – from accurate measurements and stable meringue to proper macaronage, piping, and crucial maturation – you can consistently achieve those coveted perfect shells with their delicate ‘feet’ and irresistible chewy centers. Don’t be discouraged by initial setbacks; every attempt is a learning opportunity. Embrace the process, savor the journey, and delight in creating these exquisite, colorful confections that are as beautiful to behold as they are delicious to taste. Happy macaron making!
FAQ: French Macaron Troubleshooting
Q: Why are my macaron shells hollow?
A: Hollow shells can be caused by over-whipping the meringue, over-macaronage (too much folding), or baking at too high a temperature. Try reducing whipping time slightly, being gentler with macaronage, and ensuring your oven temperature is accurate and not too hot.
Q: Why do my macarons crack on top?
R: Cracking is often due to insufficient drying (croutage), meaning the skin didn’t form properly, or baking at too high a temperature. Ensure your macarons dry long enough until a skin forms, and verify your oven temperature with an oven thermometer.
Q: My macarons don’t have ‘feet’. What went wrong?
R: The absence of ‘feet’ is typically caused by under-macaronage (batter too thick), insufficient drying, or incorrect oven temperature (too low). The ‘foot’ forms when the skin on top prevents the macaron from expanding upwards, forcing the batter to rise from the bottom. Adjust your macaronage and ensure proper drying and baking temperature.